- | / Save up to % Save % Save up to Save Sale Sold out In stock
Free Continental U.S. Shipping $99+


Front Bumper for Model 3 Highland

Front Bumper for Model 3 Highland
$528.00 AUD - $542.00 AUD
.svg?v=144615871337664008991737747827)


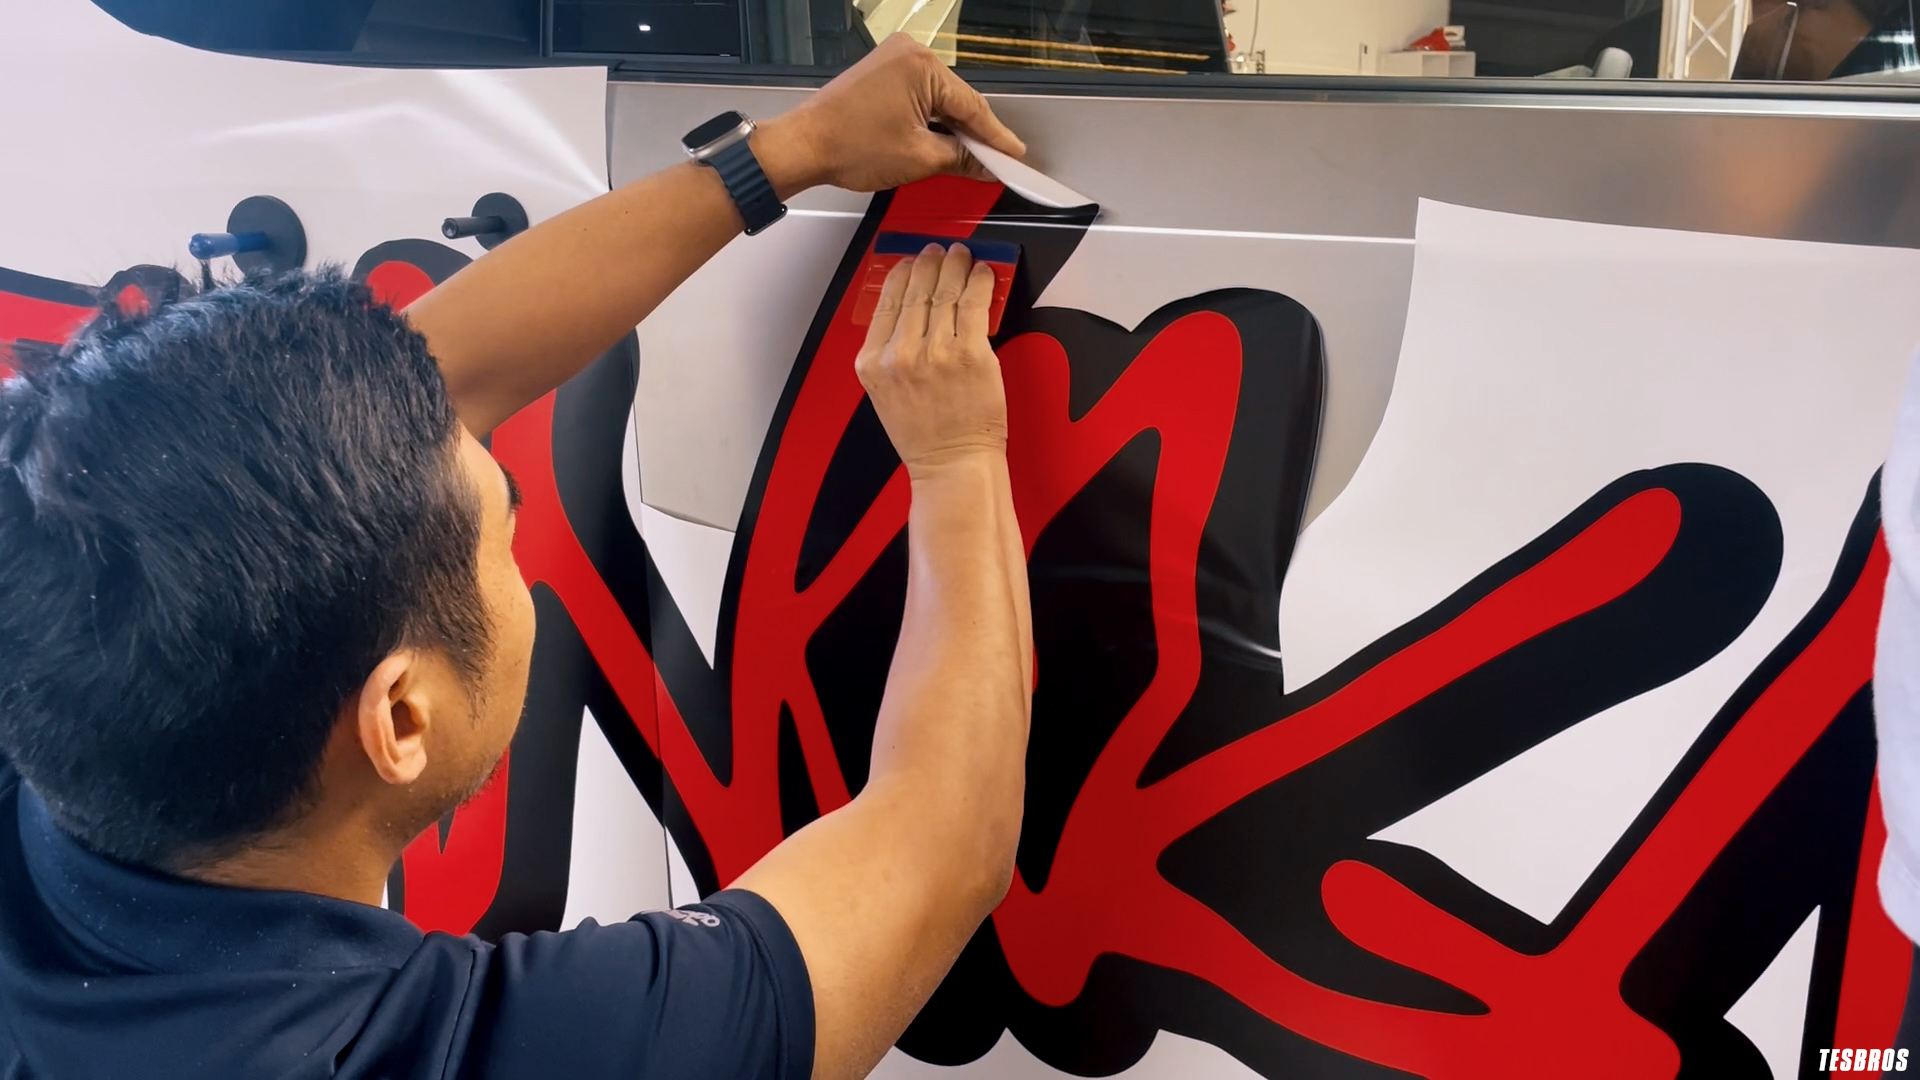
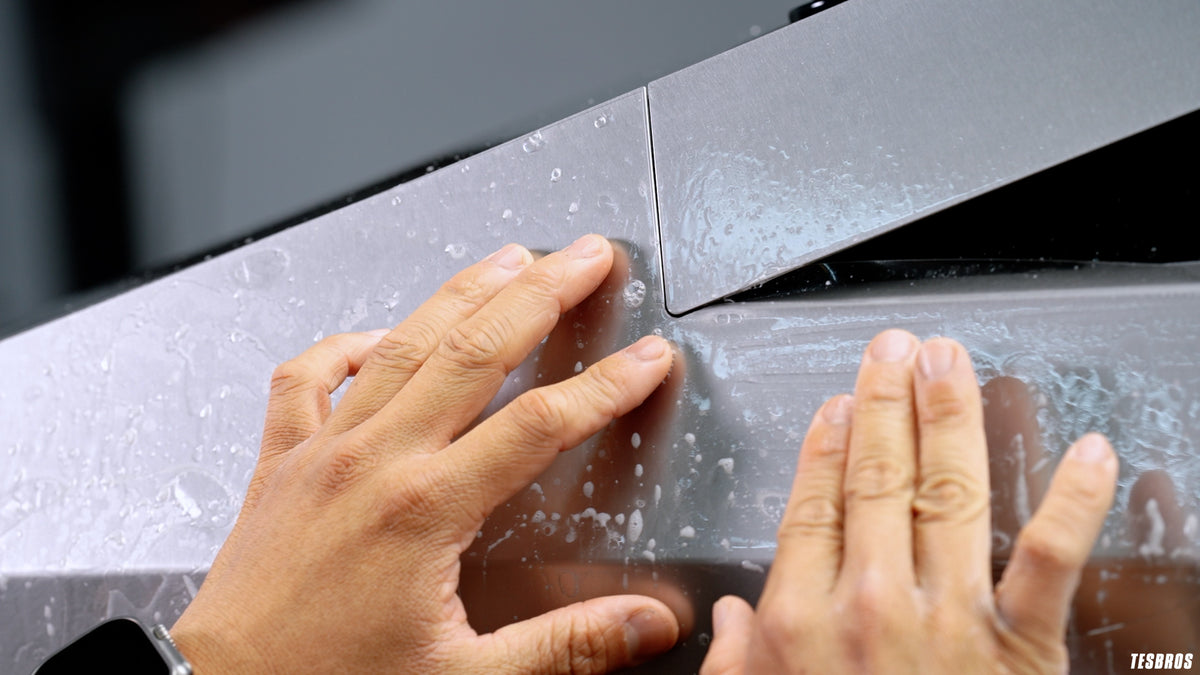
Protect your Tesla's most vulnerable areas from rocks, scratches, and insects.
Our DIY Protection Kit comes with everything you need to keep your Tesla safe from the elements, including a video course and expert support so you can get all the help you need.
We've taken all the pain points from a professional install and either eliminated them or made them easier for anyone to do. We've also included all the tools that we've decided over our install experience are the best. Get yours today and let's get started talking all things PPF!
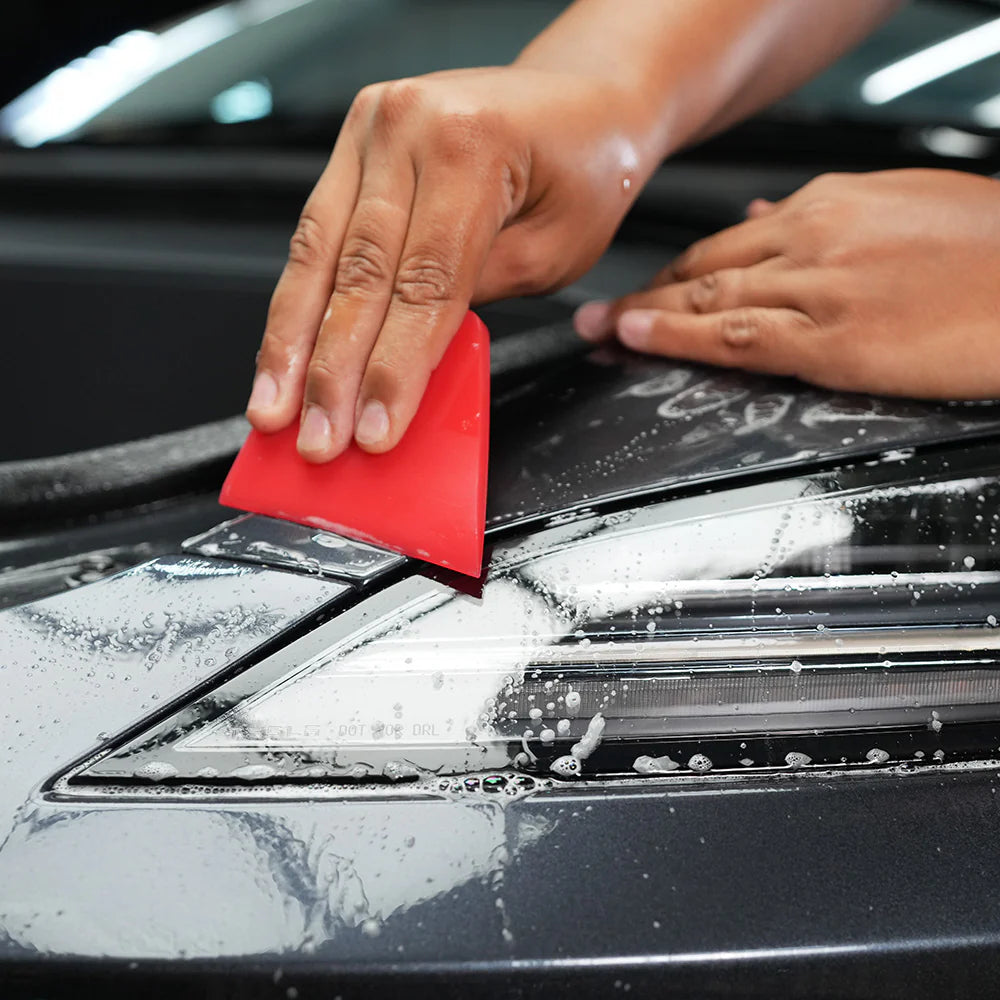
- DIY peel & apply application
- Tools & online courses provided
- Lasts 10 years
- Designed and made in the USA
Includes:
- Bumper PPF
Specs:
- Avery Supreme Defense Gloss PPF
- Fits 2024+ Tesla Model 3 Highland
Lifetime Vinyl/PPF Warranty: Have an issue with our kits? We'll send you a replacement. Just cover the shipping. Contact us at: support@tesbros.com
You may also like
Total 5 star reviews: 6 Total 4 star reviews: 0 Total 3 star reviews: 0 Total 2 star reviews: 1 Total 1 star reviews: 0
86%would recommend these products
Slide 1 selected
7 reviews
- EPEfra P.Verified Buyer2 weeks agoRated 5 out of 5 starsI am pleased with the results!
I didn’t want to spend close to $2000 to apply PPF protection for my new Model 3. I took a risk in doing this myself as I have never done PPF protection. I was pleasantly surprised after I received the materials and watched the videos on how professional are the videos and great quality of the products I got. It gave me all the skills I needed to do the job myself.
- LTLeonardo T.Verified Buyer2 months agoRated 5 out of 5 starsDoable
First of all, TESBROS’ customer service is amazing, which is why bought from them rather than a competitor. The instruction videos are very good. If you watch them, you’ll be able to install the kit. A few lessons I’ve learned in the process:
1. This is not particularly hard. It is particularly time consuming, so you’ll have to be patient to get good results. It took me 4 hours to prep the environment (vacuuming walls and floor of the garage) and the car (washing, prep washing, and claying). I’ve spent 24 hours installing film and am halfway through the kit (doors, fenders, front bumper, mirrors, and pillars). In summary, be mentally ready for a 50-hour project.
2. Work from easier to harder panels to get practice. Pillars > Hood > Doors > Mirrors > Trunk > Quarter Panels > Fenders > Rockers > Back Bumper > Front Bumper
3. Double check for issues as you go. Before doing a second squeegee pass on an area (what they call a “double take”), wipe it dry and check for contamination and bubbles. It’s much easier to fix problems at that point than after the whole panel is done.
4. Overhang should be at least ~5mm for edges to be wrapped, stretching the film if needed. Stop just short of the edge everywhere else. Stopping 1mm short of the edge is better leaving 1mm overhang, as you may not be able to wrap that and have to resort to cutting.
5. Tack edges and let them dry for a few hours prior to wrapping them. Sometimes you’ll have to apply pressure and hold for a couple of…
- EBEric B.Verified Buyer4 months agoRated 5 out of 5 starsAmazing Value!
I recently installed this on my 2025 Model 3 the day of delivery and highly recommended the full front kit. The set by step video instructions were excellent and I had no issues installing. Everything was cut perfectly and seemed of excellent quality. I had no experience with PPF prior to this install and everything come out nearly perfect!
- JIJay I.Verified Buyer6 months agoRated 5 out of 5 starsGreat kit
Love the new design with single piece fenders. Easier to install and quicker.
- MAMarlon A.Verified Buyer2 weeks agoRated 2 out of 5 starsModel 3 Highland Performance front ppl kit
Honestly the film material is sensitive in showing imperfections especially for first time DIY users. Most end user that will purchase this kit are novices and will likely make a couple of mistakes . In my opinion, the quality of the material needs to be more durable.