


Pre-Cut PPF: Precision-cut PPF for selected Exterior Panels for Your Tesla.
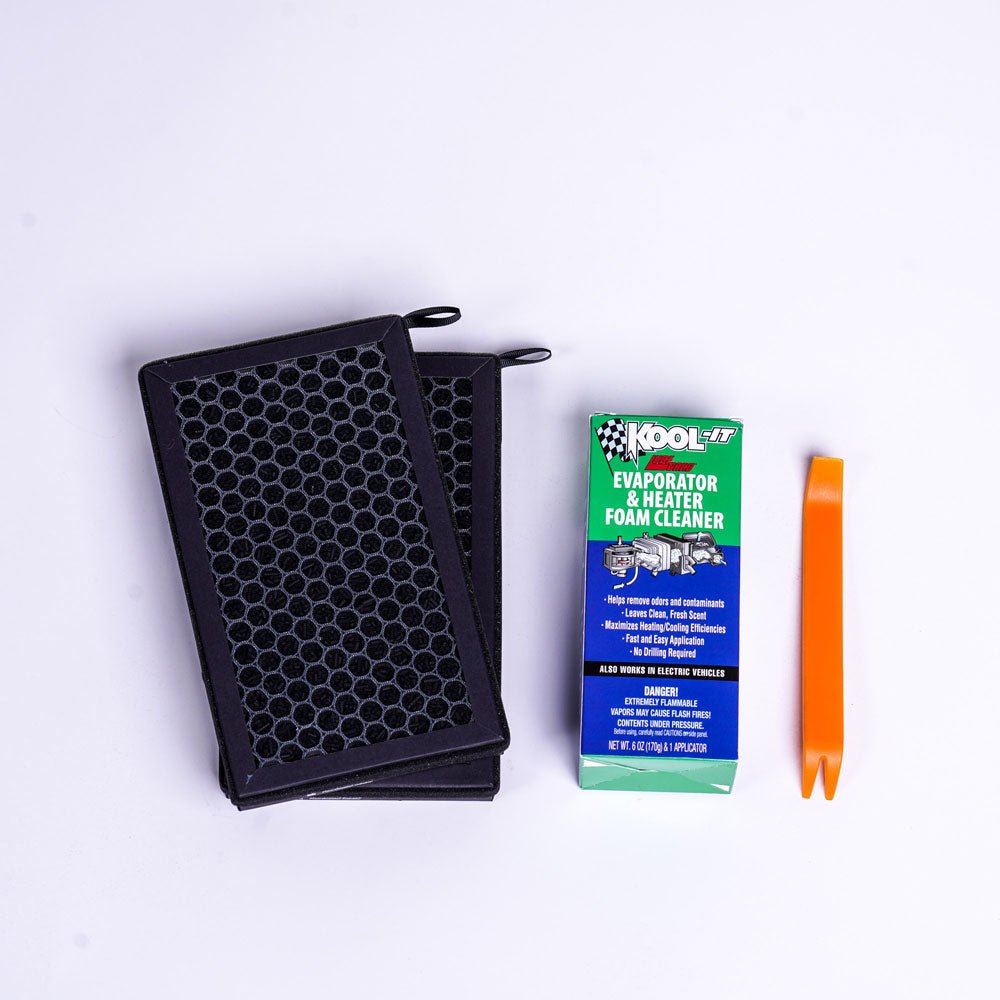
Tools for Prep and Installation: A complete set of tools to prepare and install the PPF with ease.
Step-by-Step Video Course: Access a free video course to guide you through each step of the installation.
DIY Group Access: Join our community of Tesla owners to share experiences and ask questions during your installation journey.
- | / Save up to % Save % Save up to Save Sale Sold out In stock
Free Continental U.S. Shipping $99+
DIY Protection Kit - PPF for Model 3 2024-2025 Highland
Sale
- Protect & Prevent Scratches
- Precise fit for your Tesla
- Ultimate Protection
DIY Protection Kit - PPF for Model 3 2024-2025 Highland
Sale
- Protect & Prevent Scratches
- Precise fit for your Tesla
- Ultimate Protection
$2,905.00 AUD$3,823.00 AUD

.svg?v=144615871337664008991737747827)


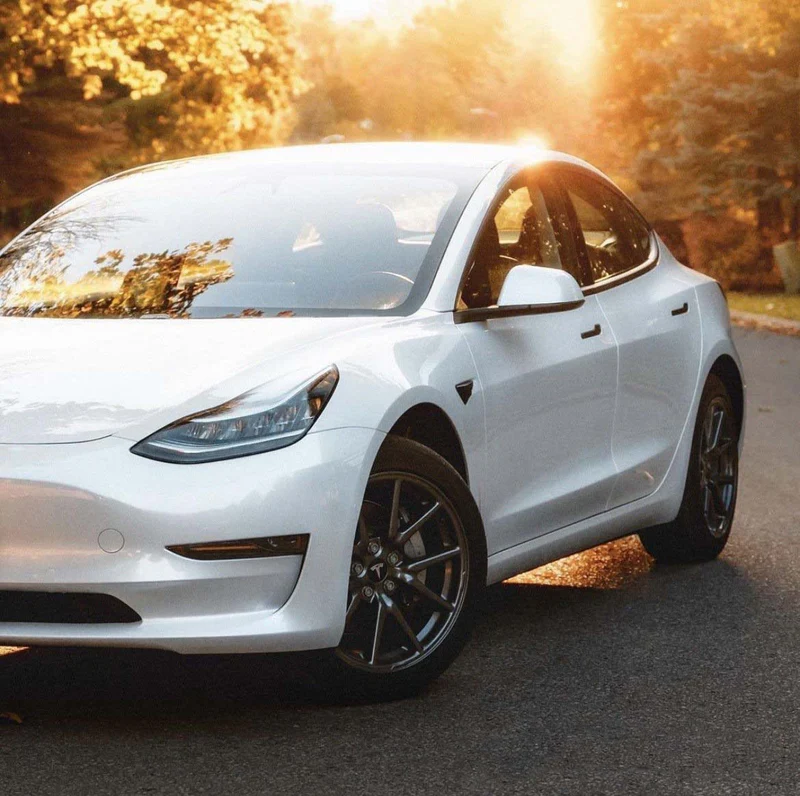
Protect Your Tesla Model 3 Highland with Ease
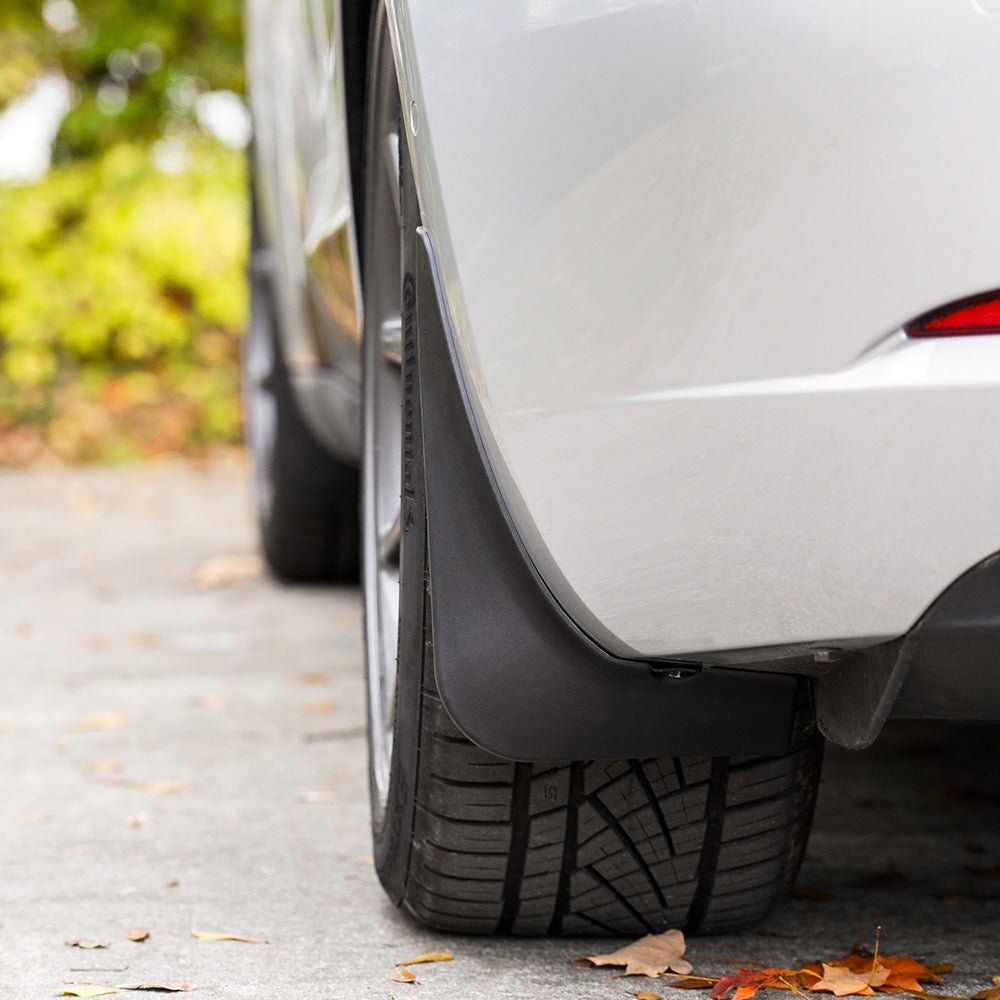
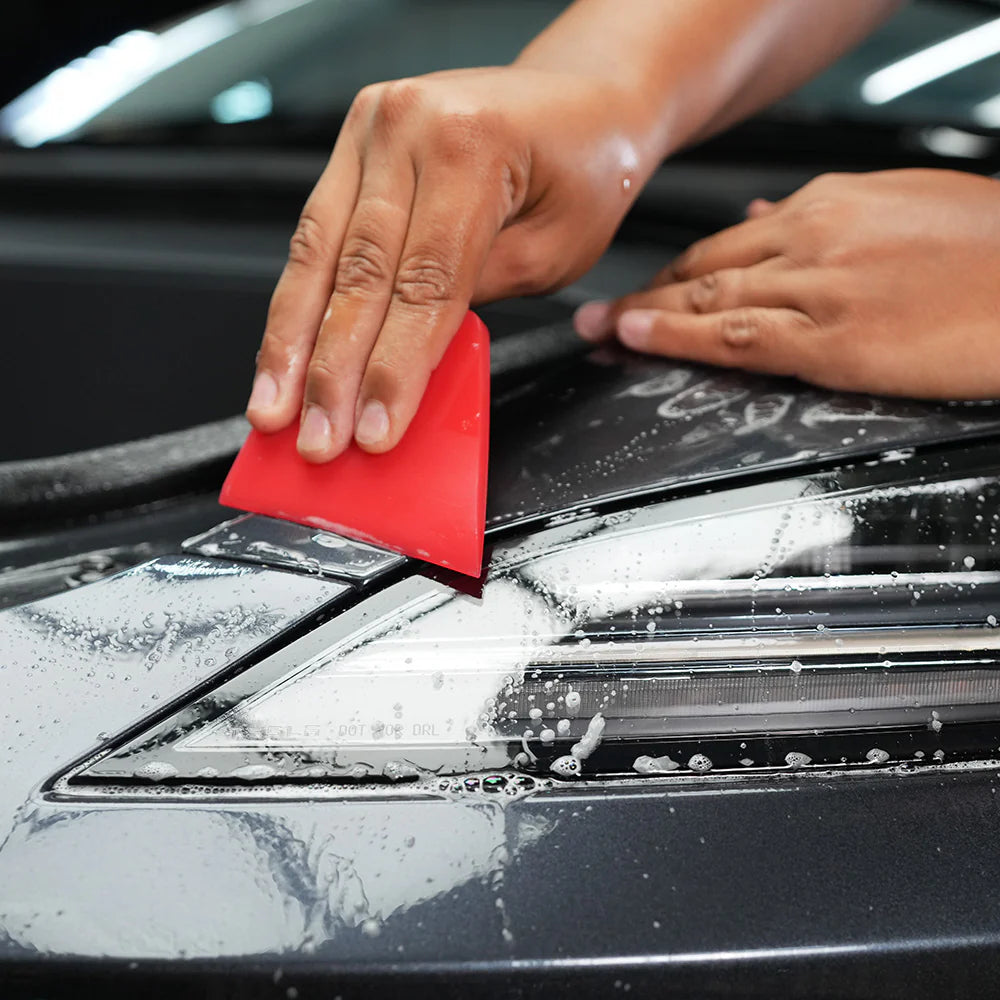
Safeguard your Tesla Model 3 Highland from rock chips, scratches, and pesky insects with our DIY Front Protection Kit. Designed for easy installation, this comprehensive kit includes everything you need to keep your vehicle looking pristine.
Whats the difference between Model 3, Model 3 Highland Standard, and Model 3 Highland Performance?


Can I install PPF over ceramic coating?
Unfortunately, PPF will not adhere to ceramic coating. We do not recommend installing if you already have a ceramic coat.
Do I have to disassemble parts of the car to apply the wrap?
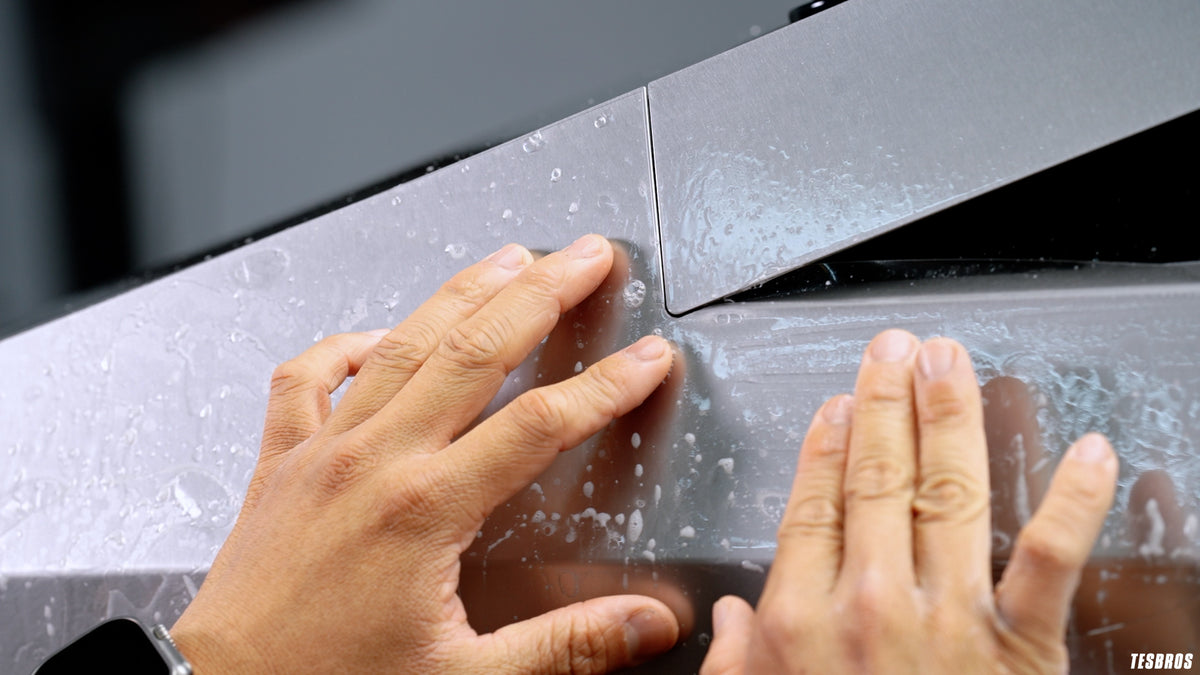
Not at all! Our kit was carefully designed to fit without removing anything or having to use a knife on the car.
How long does PPF last?
We use Avery Supreme Defense PPF that is rated for 10-years of durability. The film will not yellow or crack over time.
Do I need prior experience with PPF?
Nope! We designed this kit for the average Joe. We include everything you need to learn as you go.
How long does it take to install?
This can depend on the person, but we estimate it will take 8-12 hours if installed alone.
What’s the difference between your kit and other PPF kits?
We include in-depth courses that walk you through the installation process. Other kits require prior PPF knowledge, while ours is completely beginner-friendly.
Can I put ceramic coating over PPF?
Absolutely. There are many ceramic coatings that are specifically for PPF which will make the car even easier to keep clean!
This kit is not eligible for returns or refunds. Reach out to us at support@tesbros.com with any questions or replacement needs.
@teslabros
See How 17K+ Tesla Owners Transformed Their Rides

Exceptional!!!! This was 100% amazing! You guys are super with communication and I appreciate how you helped me out when I ruined one of the pieces. My Cybertruck looks amazing now and everyone keeps asking how I changed it to black!
Daniel
united states

Amazing! The instructional videos were so helpful and covered every step required for applying. Easy to follow along. Some pieces take a little more time and attention. Overall love it!
Jordann
united states

Transformed!! I really wanted to stand out from all the other white model 3s, so I ordered the pillar delete. Everything was pre-cut to fit. This was my first time applying and I couldn't be more happier with the results. The kit came with all the tools needed. Excellent product and excellent service with Tesbros!
Edward
united states

M3P install this past weekend, first timer. Experience overall was good...having a 2nd person helps a lot. Glad it’s done and protected, cheers!
Alex
united states

Fantastic Product. This kit was top notch quality from packaging to tutorial vids, tools and film. The application was very doable for the DIY novice and I'm super impressed with my results. Definitely will recommend..10 out of 10 plus 10!
Michele
united states

Protection kit works and easy DIY instructions. Great product!
Tiffany
united states


All-Inclusive Protection Kit for your Tesla
Our DIY Protection Kit offers durable, easy-to-apply materials to shield your Tesla from everyday damage.

Ample Coverage
Complete coverage for key areas vulnerable to scratches, chips, and environmental damage.

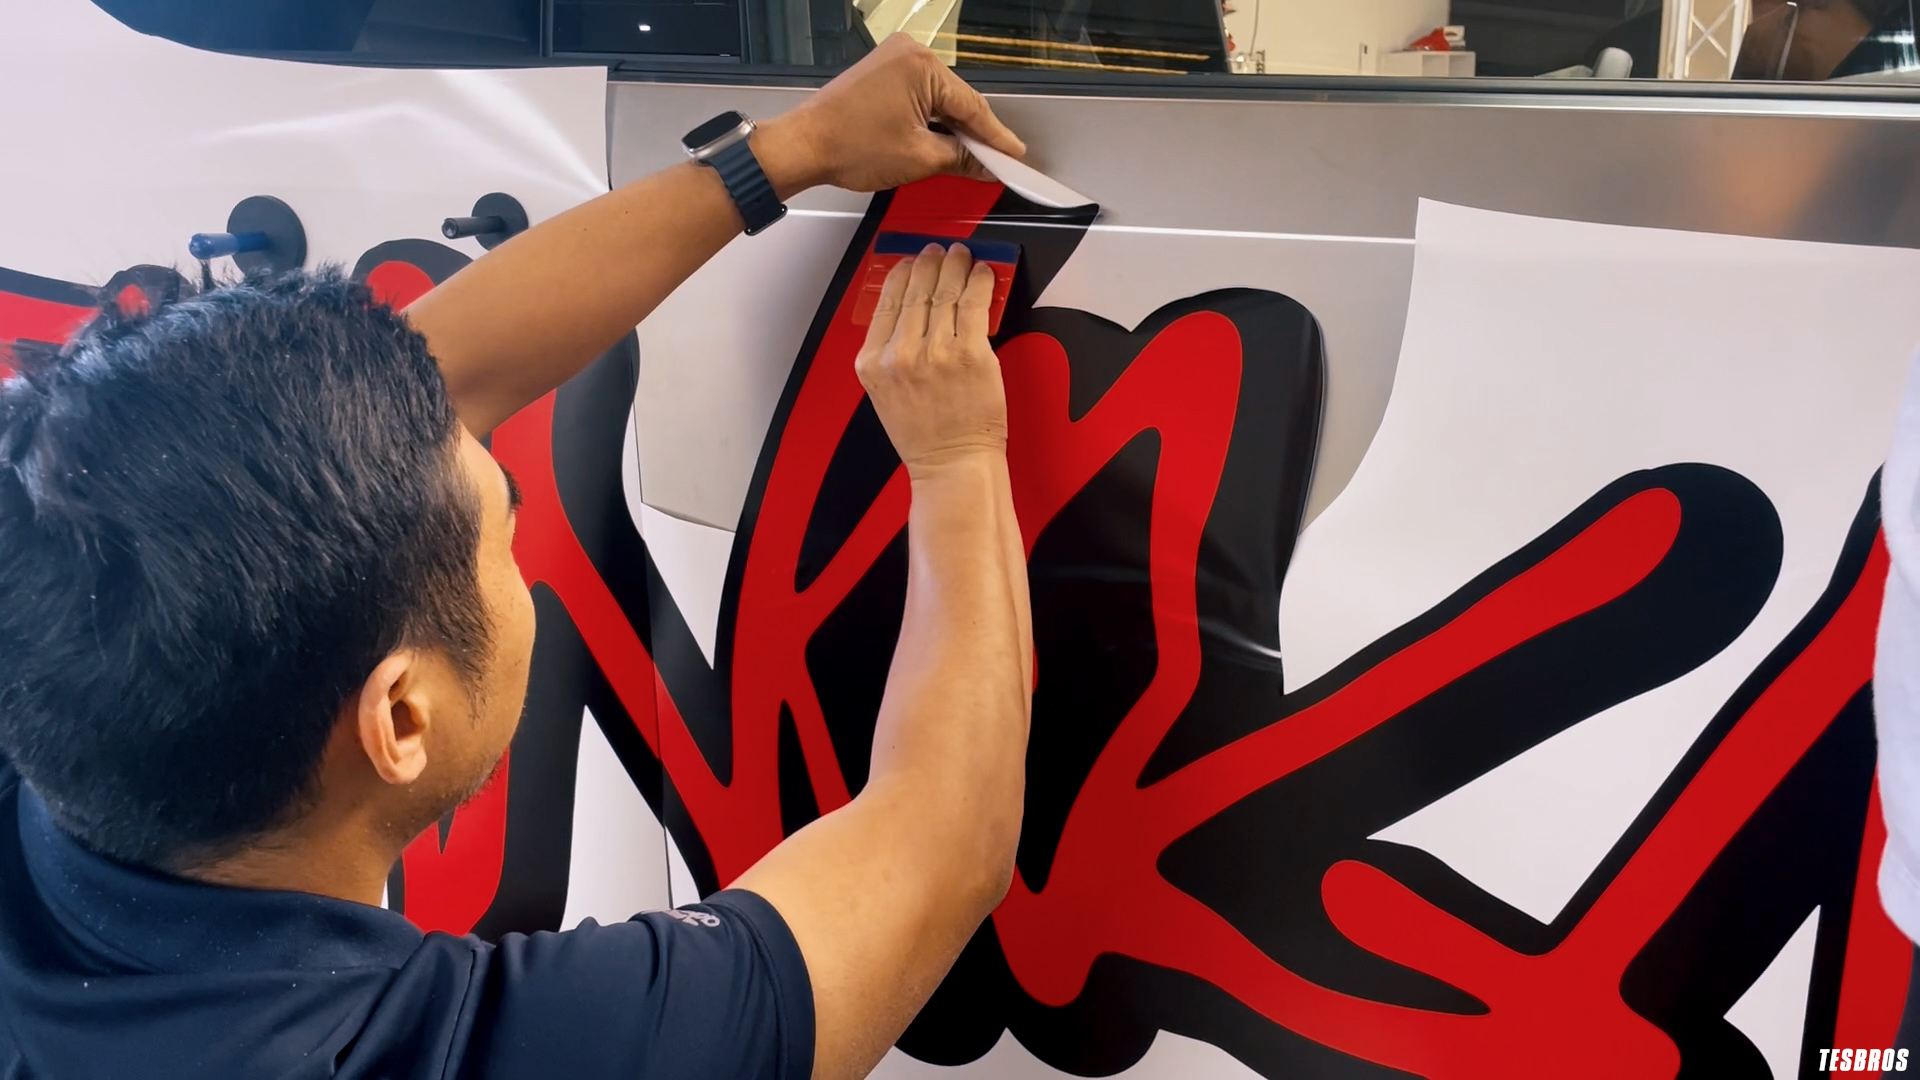
Lightweight & Easy Application
Our protection film is lightweight yet durable, making application a breeze.

Customizable Fit
Just like adjustable pouches, our kit allows you to tailor your protection to specific areas of your Tesla, ensuring a perfect fit every time.
Hear From Our Community
Total 5 star reviews: 6 Total 4 star reviews: 0 Total 3 star reviews: 0 Total 2 star reviews: 1 Total 1 star reviews: 0
86%would recommend these products
Slide 1 selected
7 reviews
- EPEfra P.Verified Buyer2 weeks agoRated 5 out of 5 starsI am pleased with the results!
I didn’t want to spend close to $2000 to apply PPF protection for my new Model 3. I took a risk in doing this myself as I have never done PPF protection. I was pleasantly surprised after I received the materials and watched the videos on how professional are the videos and great quality of the products I got. It gave me all the skills I needed to do the job myself.
- LTLeonardo T.Verified Buyer2 months agoRated 5 out of 5 starsDoable
First of all, TESBROS’ customer service is amazing, which is why bought from them rather than a competitor. The instruction videos are very good. If you watch them, you’ll be able to install the kit. A few lessons I’ve learned in the process:
1. This is not particularly hard. It is particularly time consuming, so you’ll have to be patient to get good results. It took me 4 hours to prep the environment (vacuuming walls and floor of the garage) and the car (washing, prep washing, and claying). I’ve spent 24 hours installing film and am halfway through the kit (doors, fenders, front bumper, mirrors, and pillars). In summary, be mentally ready for a 50-hour project.
2. Work from easier to harder panels to get practice. Pillars > Hood > Doors > Mirrors > Trunk > Quarter Panels > Fenders > Rockers > Back Bumper > Front Bumper
3. Double check for issues as you go. Before doing a second squeegee pass on an area (what they call a “double take”), wipe it dry and check for contamination and bubbles. It’s much easier to fix problems at that point than after the whole panel is done.
4. Overhang should be at least ~5mm for edges to be wrapped, stretching the film if needed. Stop just short of the edge everywhere else. Stopping 1mm short of the edge is better leaving 1mm overhang, as you may not be able to wrap that and have to resort to cutting.
5. Tack edges and let them dry for a few hours prior to wrapping them. Sometimes you’ll have to apply pressure and hold for a couple of…
- EBEric B.Verified Buyer4 months agoRated 5 out of 5 starsAmazing Value!
I recently installed this on my 2025 Model 3 the day of delivery and highly recommended the full front kit. The set by step video instructions were excellent and I had no issues installing. Everything was cut perfectly and seemed of excellent quality. I had no experience with PPF prior to this install and everything come out nearly perfect!
- JIJay I.Verified Buyer6 months agoRated 5 out of 5 starsGreat kit
Love the new design with single piece fenders. Easier to install and quicker.
- MAMarlon A.Verified Buyer2 weeks agoRated 2 out of 5 starsModel 3 Highland Performance front ppl kit
Honestly the film material is sensitive in showing imperfections especially for first time DIY users. Most end user that will purchase this kit are novices and will likely make a couple of mistakes . In my opinion, the quality of the material needs to be more durable.