


Find what you seek.
53 results
Installation - Mirror Delete Kit for CT
Installation time: 30 min Recommended Temperature: Any temperature How to Video:
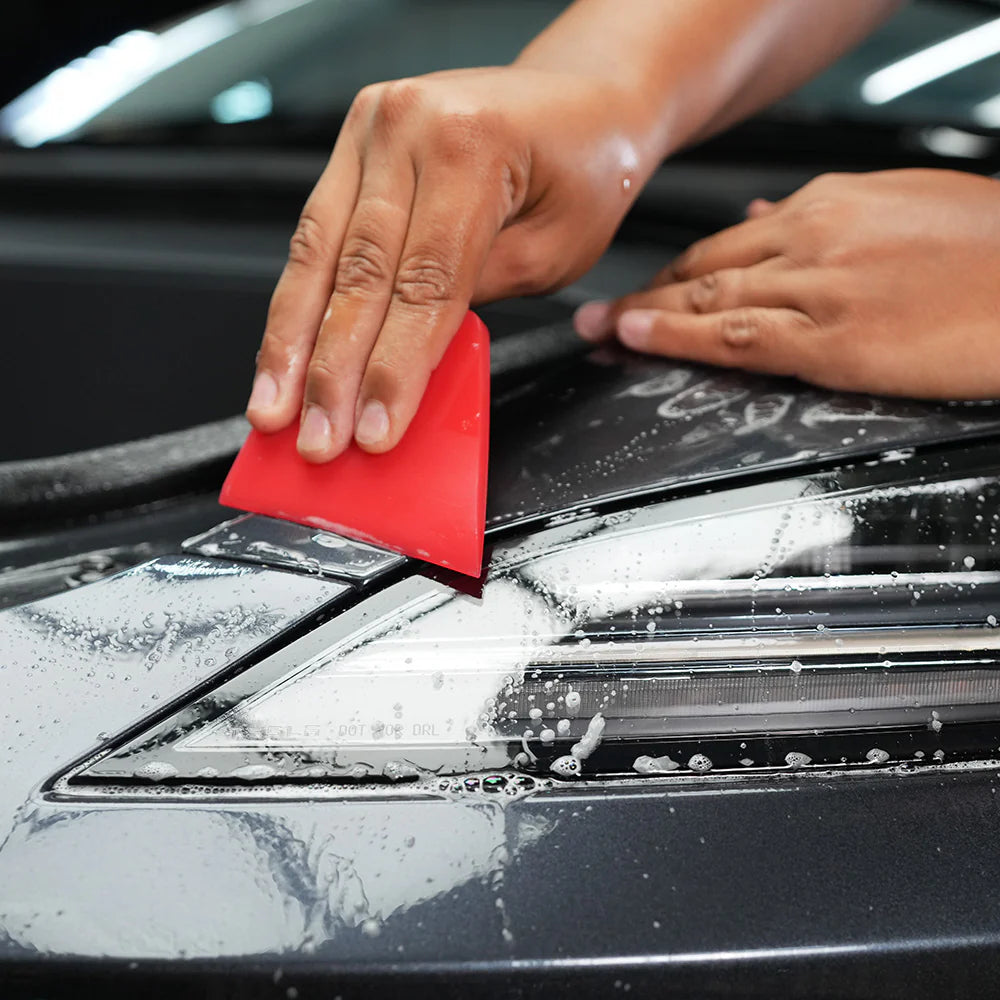
Installation - Tron Wrap Kit for CT
Most customers install this kit themselves. Some experience with vinyl wrap installation is helpful but not necessary Installation time: 1 hour Recommended Temperature: 65°F – 75°F How to Video:
Includes: Tron Wrap Kit for CT
Premium reflective vinyl from Avery Dennison V4000 Instructional video
Learn More - Model Y Practice Kit
To figure out whether your Tesla is equipped with ultrasonic sensors or not, please review the image below. If you purchased our kit prior to your delivery and your Tesla does NOT have the sensors, please email us at...
FAQ - 3H Color Vinyl
Is it difficult to wrap my Tesla Model 3? For the past 5–7 years, we’ve been perfecting DIY vinyl kits to make application as simple and beginner-friendly as possible. By offering pre-cut, smaller vinyl pieces and convenient backing cuts, our...
What's Included - DIY Color Vinyl Wrap for 3H
Includes: Full pre-cut vinyl panels Vinyl Practice Kit Pro Tool Kit Prep Kit Online Step-by-Step Install Course : Avery SW900 Supreme Wraps or 3M 2080 Fits 2024 Model 3 Highland
Installation: Mud Flaps for Cybertruck
Most customers install this themselves. We recommend watching the how to video to ensure correct usage. Installation time: 30 min How to Video:
Fitment Highland Bumpers
Easily spot the slight differences in the bumpers of the Standard Model 3, Model 3 Highland, and Model 3 Highland Performance with our photos below. What's a practice kit? Our Practice Kit includes everything you need to try it...
Installation - Rear Camera Washer for Cybertruck
Most customers install this kit themselves but it can be completed by a auto shop. Tools ARE required for this installation. Installation time: 2-4 Hours How to Install>
FAQ - Cybertruck Rear Camera Washer
How does it work? We tap into the OEM hose for the front sprayer using a t-valve. This allows you to use the same button that you use for the front sprayer. Can this be DIY-able? Absolutely. However, this is...
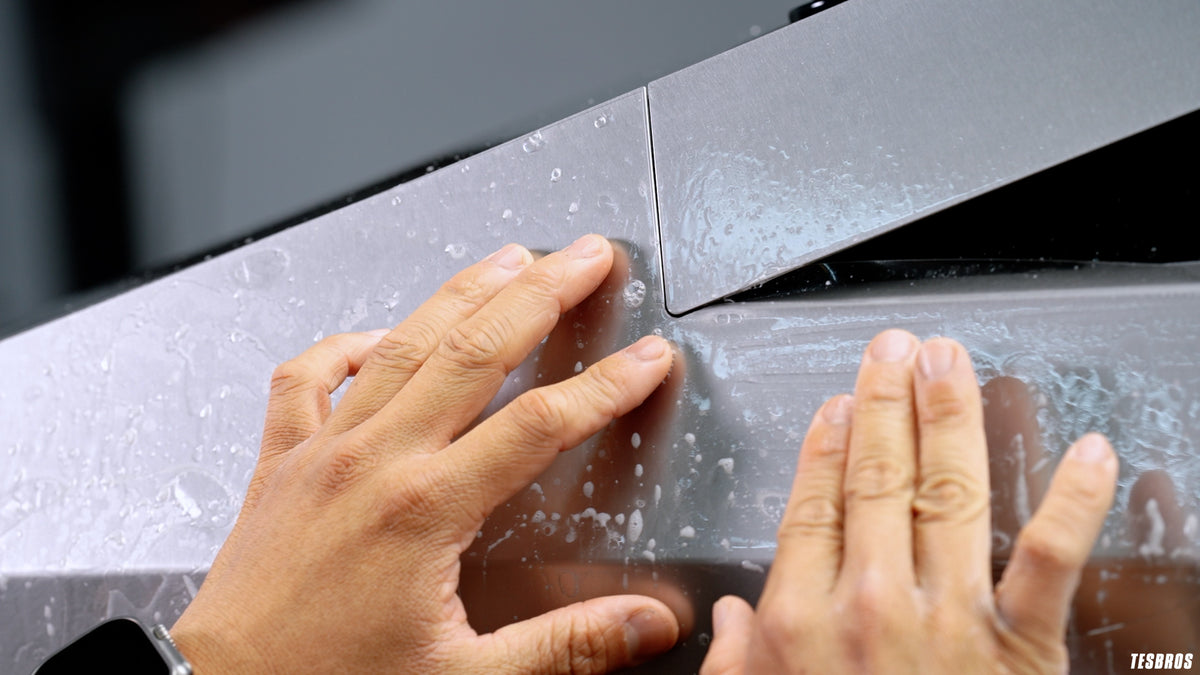
Installation - DIY Protection Kit - PPF for Cybertruck
Most customers install this kit themselves. Some experience with vinyl wrap or PPF installation is helpful, but not necessary Installation time: 8-12 HRS Recommended Temperature: 65°F – 75°F How to Install>
DIY Protection for Model 3 Highland
The World’s First Tesla Front PPF Kit Designed to be DIY. We designed our kit from start to finish to be installed by someone with no prior PPF experience. That means working with smaller sections, including all the tools you...
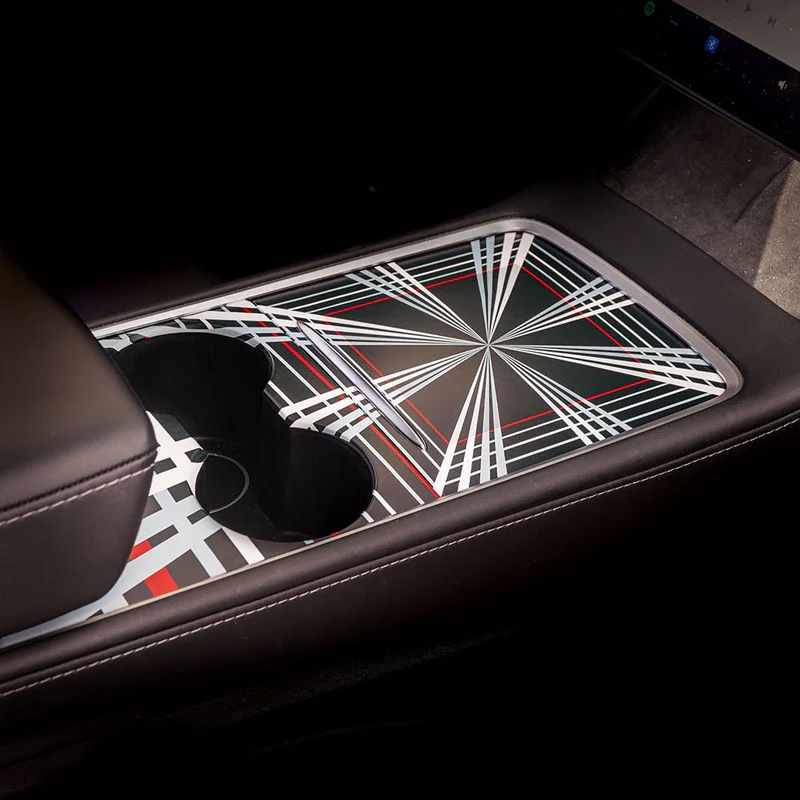
FAQ - TPE Mats
What material is this made of? Each mat is made from high-grade Thermoplastic Elastomer (TPE), offering durability, odorlessness, and eco-friendliness.
Installation - B-pillar wrap
Most customers install this kit themselves. Some experience with vinyl wrap installation is helpful, but not necessary Installation time: 30 min Recommended Temperature: 65°F – 75°F How to Install:
Installation - Frunk Panel Cybertruck
Most customers install this kit themselves. Some experience with vinyl wrap installation is helpful, but not necessary Installation time: 4-6 Hours Recommended Temperature: 65°F – 75°F How to Install>
Installation - Pillar Cybertruck
Most customers install this kit themselves. Some experience with vinyl wrap installation is helpful, but not necessary Installation time: 1 Hour Recommended Temperature: 65°F – 75°F How to Install:
Installation - Fender Flare
Most customers install this kit themselves. Some experience with vinyl wrap installation is helpful, but not necessary Installation time: 1 Hour Recommended Temperature: 65°F – 75°F How to Install:
Special Fit - Model Y HW3 vs HW4
NOTICE: Starting in 2023, Tesla starting rolling out HW4.0 to the Model Y. The rear camera placement is slightly off so the jig is different for HW3.0 and HW4.0. To figure out whether your Model Y has HW3.0 or HW4.0,...
Installation - Foundation Badge
Most customers install this kit themselves. Some experience with vinyl wrap installation is helpful, but not necessary Installation time: 15 minutes Recommended Temperature: 65°F – 75°F How to Install:
Installation - Cybertruck Headlight and Fog Light
Most customers install this kit themselves. Some experience with vinyl wrap installation is helpful, but not necessary Installation time: 15 minutes Recommended Temperature: 65°F – 75°F How to Video:
Installation - Cybertruck Taillight
Most customers install this kit themselves. Some experience with vinyl wrap installation is helpful, but not necessary Installation time: 15 minutes Recommended Temperature: 65°F – 75°F How to Video:
Installation - Cybertruck Charge Port Wrap
Most customers install this kit themselves. Some experience with vinyl wrap installation is helpful, but not necessary Installation time: 15 minutes Recommended Temperature: 65°F – 75°F How to Video:
Installation - Cybertruck Beast Badge
Most customers install this kit themselves. Some experience with vinyl wrap installation is helpful, but not necessary Installation time: 15 minutes Recommended Temperature: 65°F – 75°F How to Video:
Installation - Door Button & B Pillar PPF for Cybertruck
Most customers install this kit themselves. Some experience with vinyl wrap installation is helpful, but not necessary Installation time: 15 minutes Recommended Temperature: 65°F – 75°F How to Video:
Installation - Center Console Wrap for Cybertruck
Most customers install this kit themselves. Some experience with vinyl wrap installation is helpful, but not necessary Installation time: 15 minutes Recommended Temperature: 65°F – 75°F How to Video:
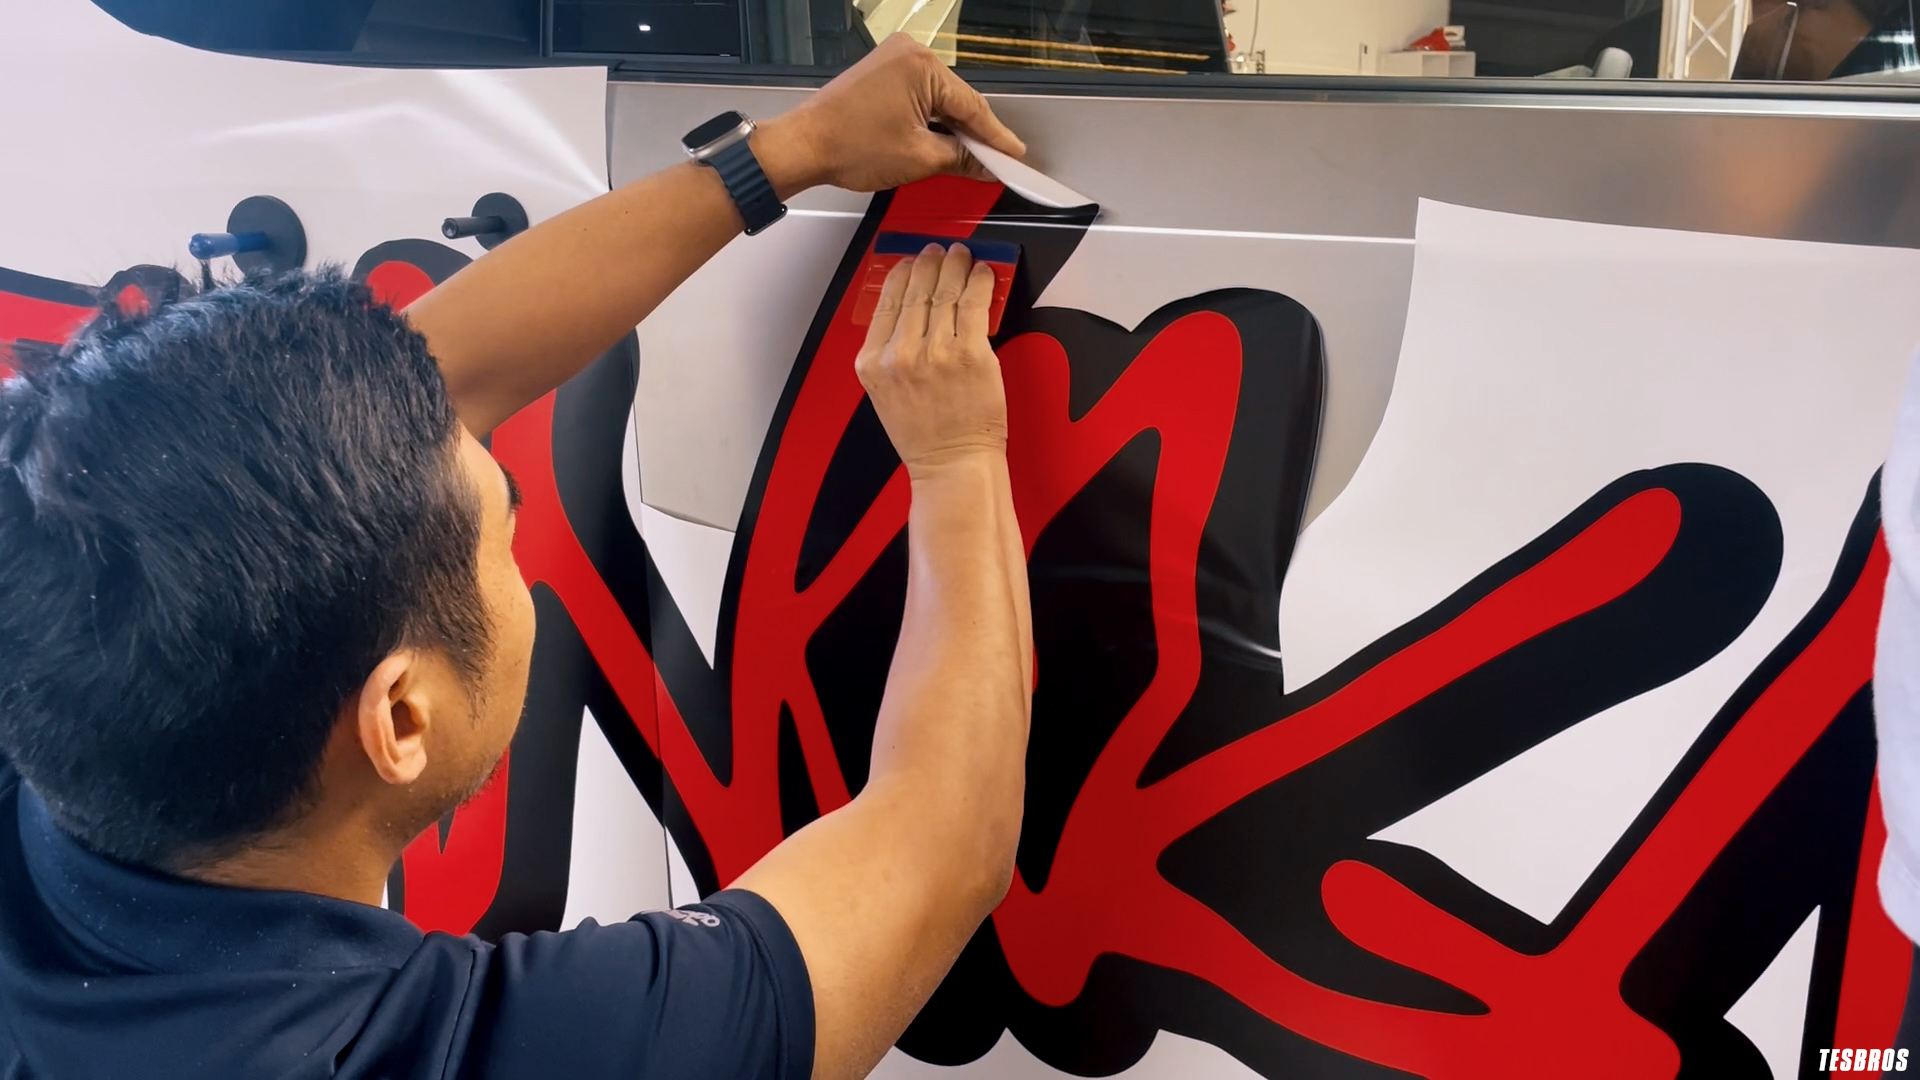
Installation - DIY Full Body Vinyl Wrap for Cybertruck
Online Course:Access the online course here, which includes all the information you need to successfully install your DIY wrap kit. View CourseTime: 12-16 hours NOTE: You will receive FREE access to course via email after purchase.
Cybertruck wrap - Returns & Exchanges
Our Cybertruck kits typically ship out within 7 business days. The roll(s) are ordered within 24 hours of the order. We receive it in 1-3 business days and takes 1-2 days to cut and package the kit. Since the...
FAQ - Cybertruck Vinyl
Is it difficult to wrap my Cybertruck? Compared to other Tesla models, the Cybertruck is flatter, which makes it much easier to apply vinyl. We’ve been developing DIY vinyl kits for the past 5-7 years, and we’ve learned a lot...
Installation - Active 2.0
Please review the Active 2.0 for installation instructions provided in the kit.
FAQ - Active 2.0
HOW DOES THE ACTIVE 2.0 (SE01/SE02) DIFFER FROM THE ACTIVE VE52/VE56? The Active 2.0 is a ground up development to double the life-cycle of the pump and motor in comparison with the Active VE52/VE56. The pump and motor consist of...
Installation: Model 3/Y Wiring Harness
Installation time: 1-2 hours How to Video:
Installation - GYEON Leathershield Bundle
Simply clean, prep and coat! Installation time: 30 minutes How to Video:
FAQ - GYEON Leathershield Bundle
Where can I apply this product? We recommend applying it anywhere that's pleather. That includes seats, side pleather panels, door switch area, pleather part of the center console and the steering wheel. As long as it is pleather, it can...
Installation: Model Y Hitch
Installation time: 2-4 hours Tools needed: 10 mm socket 15 mm socket 13 mm socket Ratchet Torque wrench Torque wrench extender Zinc washers (optional, if pulling heavy things with your hitch) Dielectric grease (optional, if pulling heavy things with your hitch)...
Special Fit - Y Trunk Bins
NOTICE: Please keep in mind that there is a difference in design for the 7-seater and the 5-seater. During mid to late 2022, Austin-built Model Y's had a slightly different fitment. If you have a Austin-built, we currently do not...
Special Fit - DIY Front Kits Sensors 3/Y
NOTICE: Tesla recently announced that all Model 3 and Model Y's will no longer be equipped with Ultrasonic Sensors in favor of its "Tesla Vision" system. To figure out whether your Tesla is equipped with ultrasonic sensors or not, please...
DIY Front Protection for Model Y
The World’s First Tesla Front PPF Kit Designed to be DIY. We designed our kit from start to finish to be installed by someone with no prior PPF experience. That means working with smaller sections, including all the tools you...
Installation: DIY Front Protection Kit - PPF for Model 3
Thinking about whether you can do this or not? Our kit was designed with beginners in mind! If this is your first PPF install, click here to see how it works. Online Course: The first step is to access your online course which...
Front PPF Warranty Guarantee
PPF Warranty: Our DIY Front Protection Kit uses premium materials that are flexible but we understand that mistakes can happen. If you need extra pieces, let us know and we'd be happy to send you a piece at a discounted rate.
Installation: Droplock
Installation time: 5 minutes How to Video:
FAQ - Hitch Cover Removal
How does this work? Using both pry tool, it leverages without damaging the hitch cover that loosens the clips. Are they durable? Yes. They are made with lightweight aluminum which lasts a very long time.
FAQ - Droplock
How do you remove these? To ensure everyone's safety, we don't post it publicly but each kit comes with a instructional guide on removing the DropLock. If a thief wants to get in, they can pry it out can't they? ...
PDP - NO Returns & Exchanges
This kit is not eligible for returns or refunds. Reach out to us at support@tesbros.com with any questions or replacement needs.
Special Fit - Door Switch
The door switches went through small design changes for the door buttons and the rear seat air vent ports. 2017-2020 has a straight white line on the door buttons and USB Type A. 2021-2022 has an icon of the door...
Special Fit - Charge Port
For Model 3s made between 2017-2020, the charge ports were NOT heated and the T logo indicator was centered with the hinge. Model 3 and Ys made after 2020 most likely have the heated version which has the T logo...
Special Fit - Wall Connector Wraps
Our faceplate wraps are only available for Gen 2 and Gen 3. Please see the guide below to see which one you have based on the years.