- | / Économiser jusqu'à % Sauvegarder % Économiser jusqu'à Enregistrer Vente Épuisé En stock
Livraison gratuite sur les commandes américaines de 69 $ et plus
Tesla Protection
Tout magasiner
Livraison gratuite sur les commandes américaines de 69 $ et plus
Tesla Protection
Tout magasiner
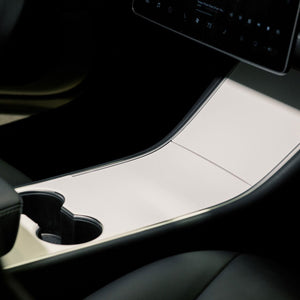
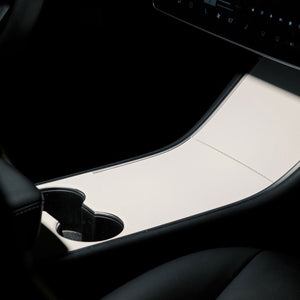
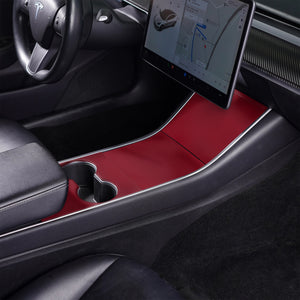
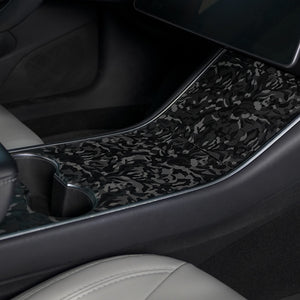
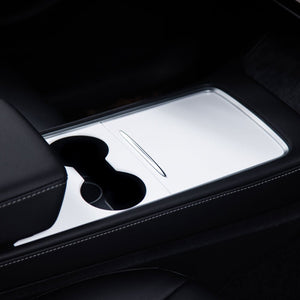
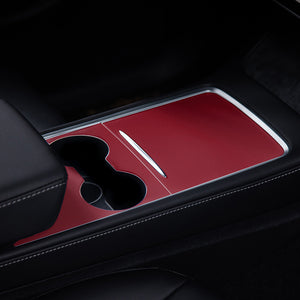
Shipped Quickly from Chattanooga, TN
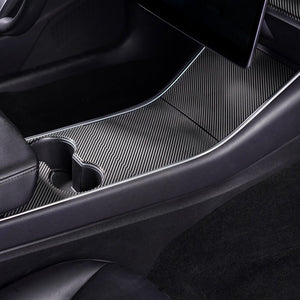
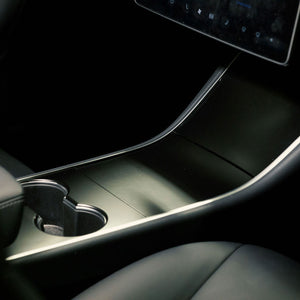
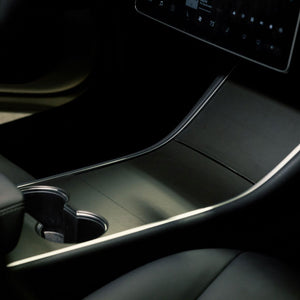
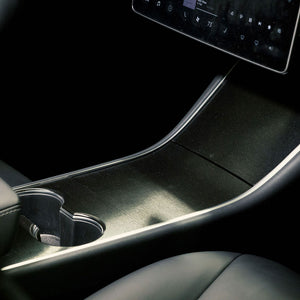
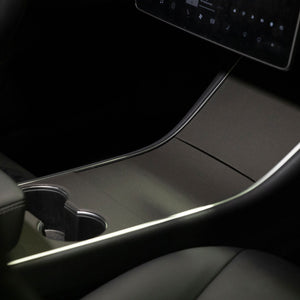
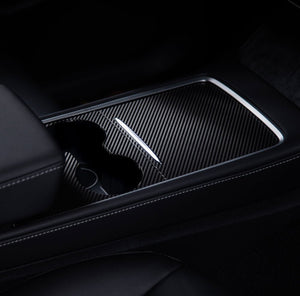
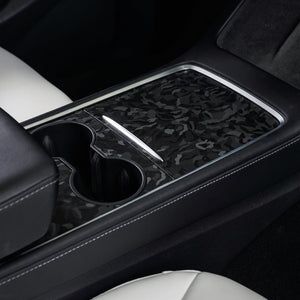
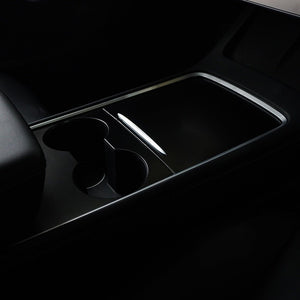
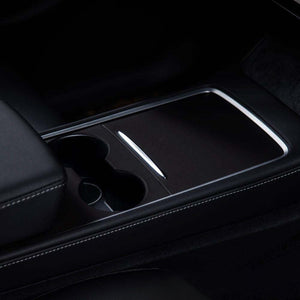
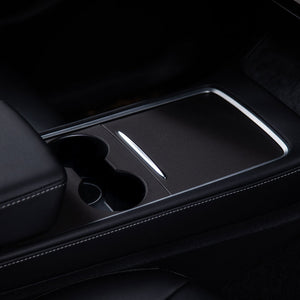
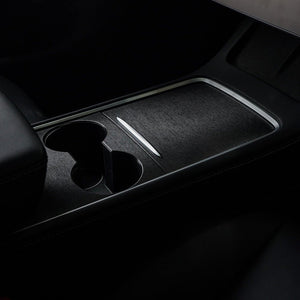
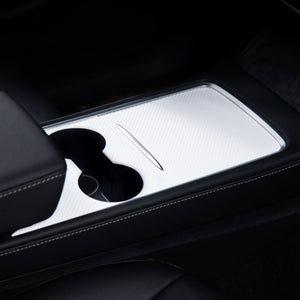
Choisissez parmi nos différentes options de couleurs et de textures pour créer le look que vous souhaitez. Notre méthode d'installation exclusive le rend super facile à installer.
Veuillez consulter le guide ci-dessous pour voir quelle console centrale vous avez. 
1.0 (2017-2020) : Le 1.0 dispose d'une console centrale en 3 parties qui se relève au milieu.

2.0 (2020-présent) : Le 2.0 dispose d'une console centrale en 2 pièces avec une porte coulissante.
La plupart des clients installent ce kit eux-mêmes. Une certaine expérience de l'installation d'une pellicule de vinyle est utile, mais pas nécessaire
Temps d'installation : 0,25 heures
Température recommandée : 65°F – 75°F
Outils nécessaires : pistolet thermique / sèche-cheveux recommandé mais non obligatoire
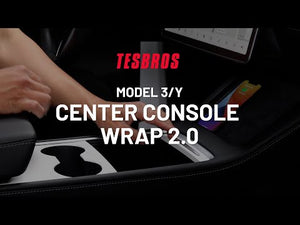
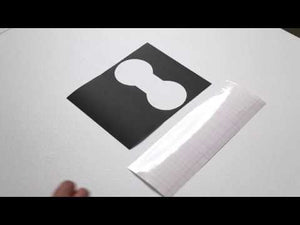
Comment faire une vidéo :
2017-2021 (ORIGINE)
2021-2022 (RAFRAÎCHISSEMENT PORTE COULISSANTE)
Non pas du tout. Le kit de wrap vous permet d'appliquer un wrap d'aspect professionnel sans démontage.
À moins que vous ne l'ayez VRAIMENT trop étiré, vous pouvez le ramener à un étirement normal. Le vinyle est basé sur la mémoire, donc si vous le chauffez, il reviendra à son état d'origine. Utilisez un pistolet thermique ou un sèche-cheveux et maintenez votre chaleur en mouvement dans la zone. Vous le verrez reculer. Si vous ne voyez pas qu'il rétrécit, vous avez peut-être ajouté trop de chaleur et devrez utiliser votre pièce supplémentaire.
Vous pouvez utiliser un pistolet thermique ou un sèche-cheveux, mais vous souhaitez utiliser un pistolet thermique chaque fois que vous avez besoin de vous étirer ou de vous conformer autour de zones difficiles. Lorsque vous utilisez de la chaleur, ne restez pas dans une zone. Gardez votre arme en mouvement et à environ 6 pouces de distance.
Le kit est livré avec tout ce dont vous avez besoin, sauf une source de chauffage. Nous vous recommandons d'utiliser un pistolet thermique ou même un sèche-cheveux si nécessaire.
Nos kits de bricolage sont conçus pour les débutants. Vous n'avez pas besoin de connaissances préalables pour installer ces kits, cependant, nous vous recommandons d'étudier nos vidéos et de vous familiariser avec le vinyle pour tirer le meilleur parti de votre kit !
@teslabros
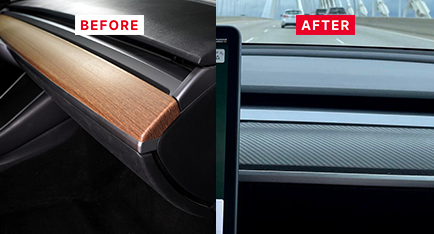
Easy to install and elegant transformation. I wasn’t a big fan of the wood grain dash. The carbon fiber dash wrap completely transformed the look of the dash making it look more like a sporty yet luxurious interior. Highly recommend!
Dominique
united states
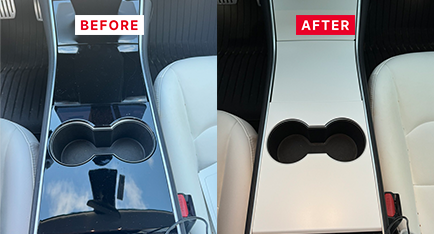
Finally decided to wrap my center console after 4 years of ownership. Bye bye to piano black, finger print & dust magnet. Hello, satin white!
Kaylor
united states
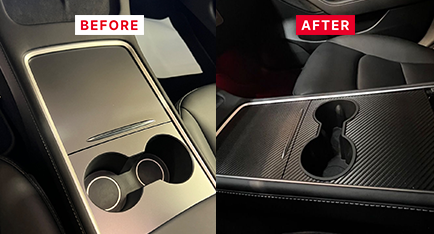
Super easy bc the material is very forgiving allowing me to lift and reposition multiple times until it was perfect. If you’re trying to decide, just do it! Videos provided walked me through each step so I love the final product. Arrived in two days too.
Richard
united states
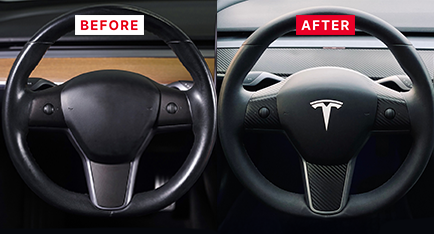
Great looking, simple upgrade.The OEM steering wheel is a bit plain. I installed the black carbon fiber version of this kit to match the dash and center console kits I also added. Looks great! Piece of cake to install with the precisely cut pieces and included tools!
Brian
united states
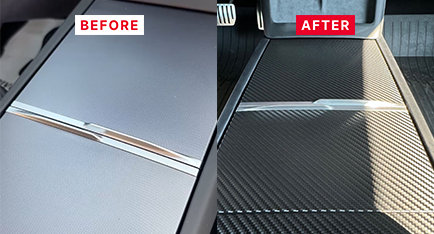
Quick delivery, great quality wraps and easy to install. Highly recommend the carbon fiber wrap!
Christel
united states
Your Pre-Cut Vinyl Wraps
All Required Tools Included

Step-by-Step Installation Guide
Once I figured the alignment on the sliding cover. I used 2 pieces of masking tape to hold the wrap in place.
I then remove the backing of the lower strip, the part that has the hole for the push bar.
Squeegee out the wrinkles and you are done.
Same with the cup holder part. Align then peal the backing
This is a 20 min job for me.
First wrap I received had an issue and these guys sent me a new one out immidiately, it’s easy to install for someone who’s never done it. Great product I love it
I went with the Satin Black color and it looks way better than the stock piano black. A clean, subtle upgrade. Installation was mostly smooth, though I messed up a bit on the far top trim and cupholder section (not very noticeable). Luckily, Tesbros sent me replacements for the pieces I messed up, though I had to cover shipping despite purchasing the $5 guarantee.
Customer service was excellent throughout. The first wrap I received had a huge hole in it and was unusable, but they quickly sent a replacement. They also helped with the second one when I ran into install issues.
Overall, it took about 3 weeks from start to finish, but the final look is worth it. It would’ve been a 5/5 if the initial product didn’t arrive damaged and require me to use the guarantee right away.
Looks good overall, a little hard to install. There were some edges that did not separate properly.
I bought the center console wrap for my 2019 Tesla model 3 and it looks amazing. I messed up the first one while trying to wrap it so I ended up buying another set to redo it and it looks amazing. Trial and error right? Anyway this company has the best for all your Tesla needs. Here is the second time result.
100% Satisfaction Guarantee
Fast & Free Shipping for orders $99+
Veuillez consulter le guide ci-dessous pour voir quelle console centrale vous avez. 
1.0 (2017-2020) : Le 1.0 dispose d'une console centrale en 3 parties qui se relève au milieu.

2.0 (2020-présent) : Le 2.0 dispose d'une console centrale en 2 pièces avec une porte coulissante.
