- | / Économiser jusqu'à % Sauvegarder % Économiser jusqu'à Enregistrer Vente Épuisé En stock
Free Continental U.S. Shipping $99+


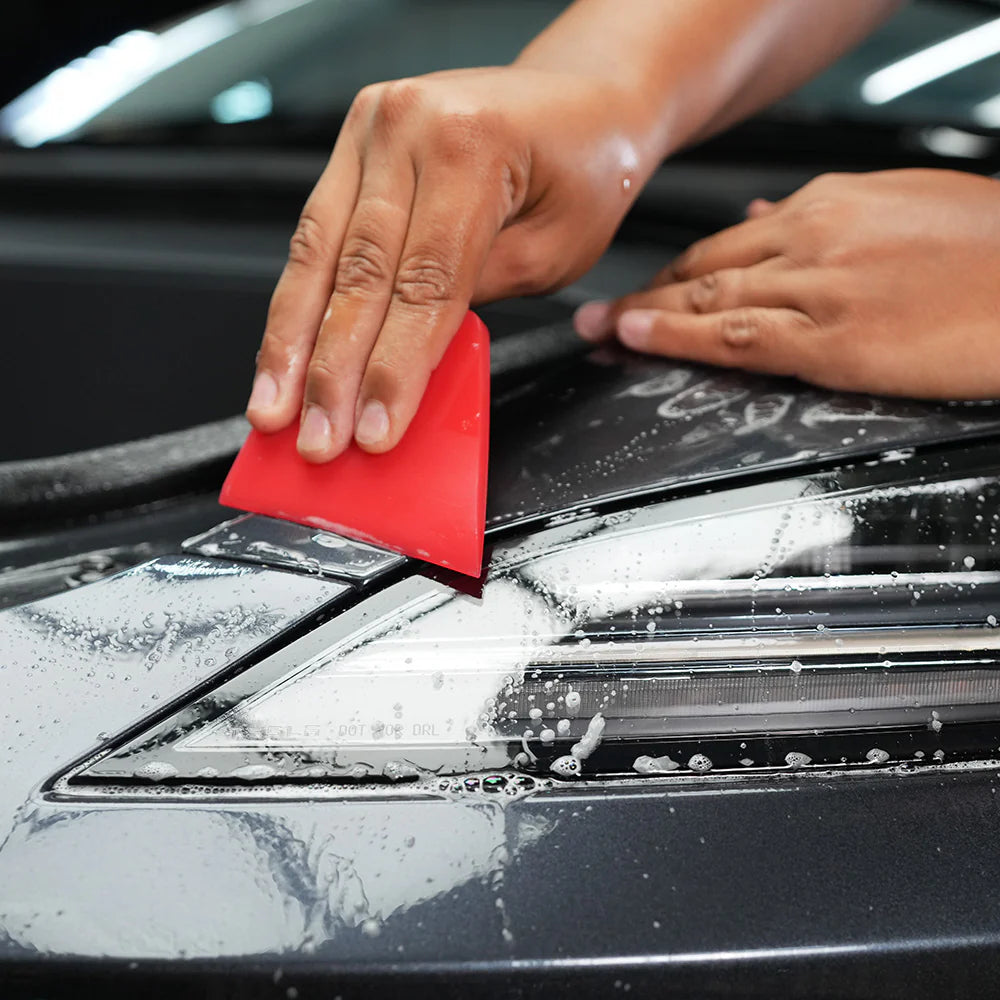

Capot

Capot
€310,95 EUR
.svg?v=144615871337664008991737747827)


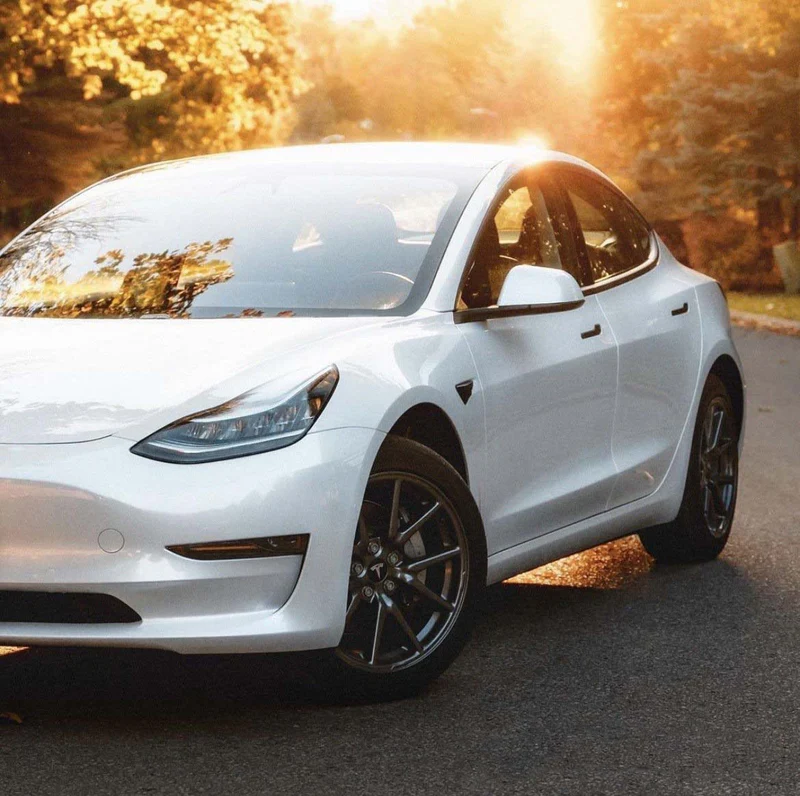
Protégez les zones les plus vulnérables de votre Tesla contre les rochers, les rayures et les insectes.
Notre kit de protection DIY est livré avec tout ce dont vous avez besoin pour protéger votre Tesla des éléments, y compris un cours vidéo et une assistance d'experts afin que vous puissiez obtenir toute l'aide dont vous avez besoin.
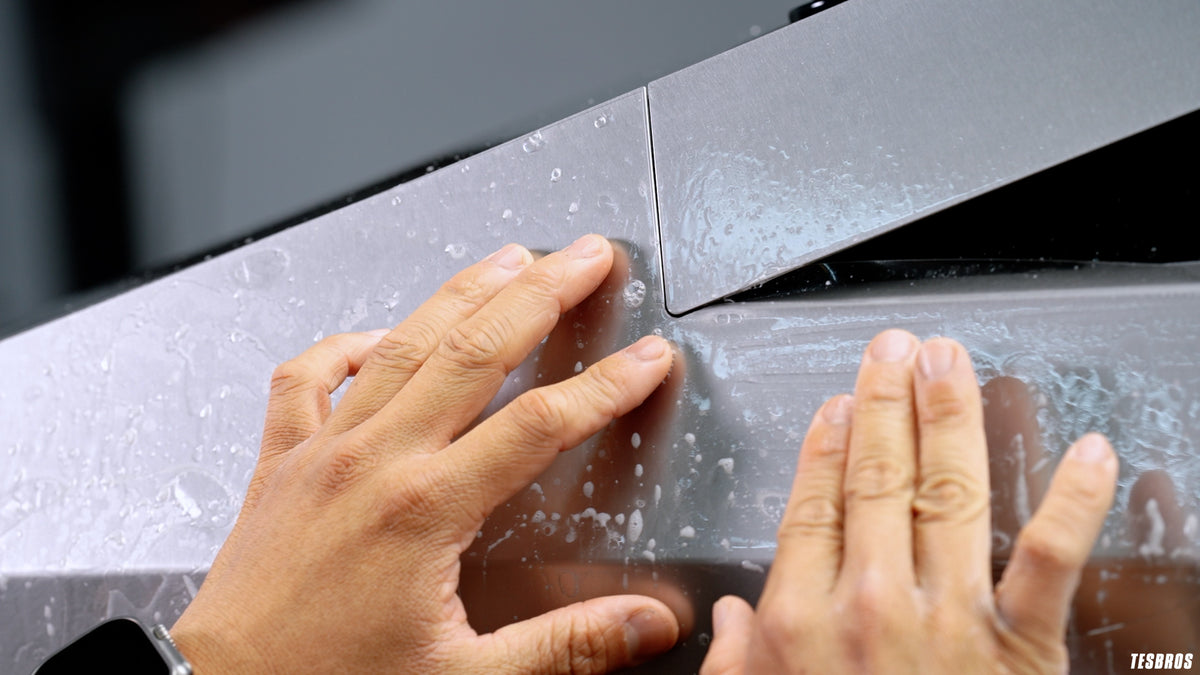
Nous avons pris tous les points faibles d'une installation professionnelle et les avons soit éliminés, soit simplifiés pour quiconque. Nous avons également inclus tous les outils qui, selon notre expérience d'installation, sont les meilleurs. Obtenez le vôtre aujourd'hui et commençons à parler de tout ce qui concerne PPF !
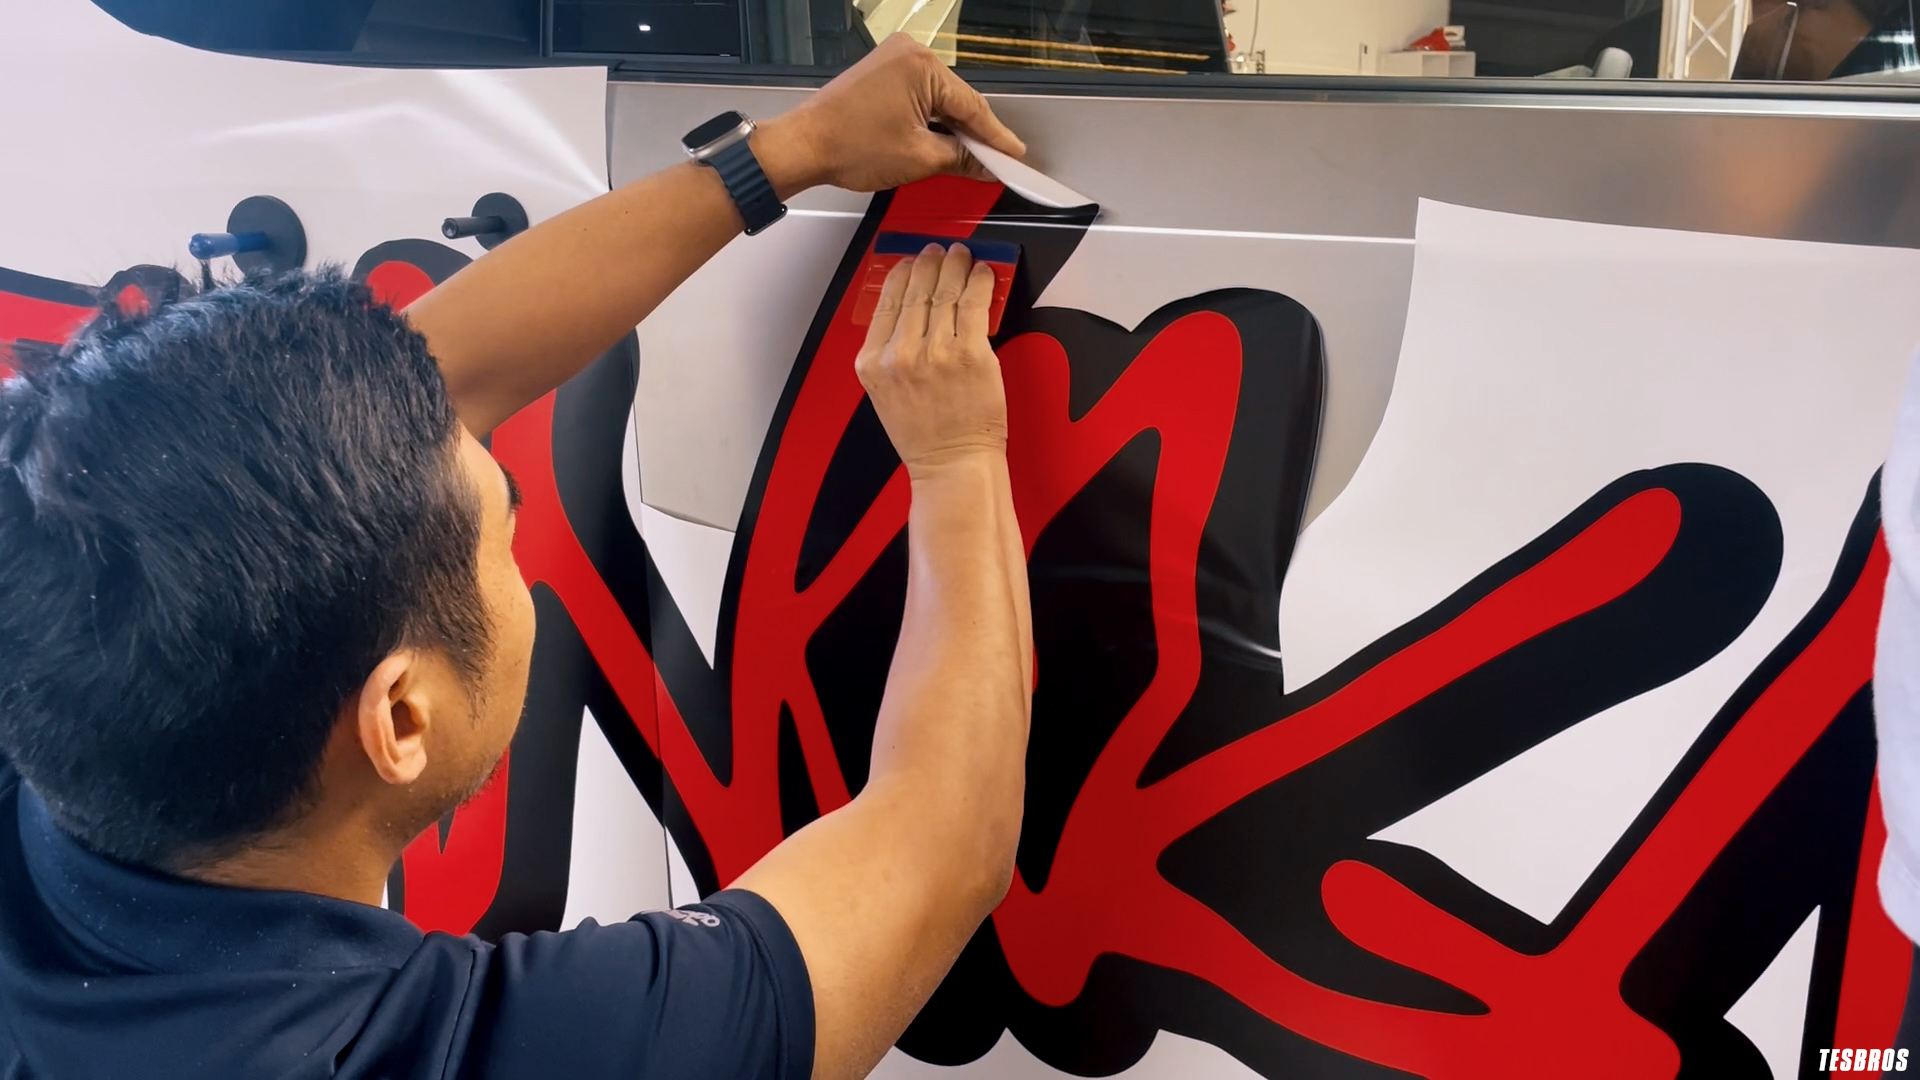
- Application de peeling et d'application de bricolage
- Outils et cours en ligne fournis
- Dure 10 ans
- Conçu et fabriqué aux États-Unis
Comprend :
- Capot PPF
Spécifications :
- Avery Supreme Defense PPF
- Convient au Tesla Model Y 2020+
Garantie à vie vinyle/PPF : vous avez un problème avec nos kits ? Nous vous enverrons un remplacement. Couvrez juste l'expédition. Contactez-nous à : support@tesbros.com
Tu pourrais aussi aimer
Total 5 star reviews: 5 Total 4 star reviews: 0 Total 3 star reviews: 0 Total 2 star reviews: 0 Total 1 star reviews: 0
100%would recommend these products
Slide 1 selected
5 reviews
- LTLeonardo T.Verified Buyer2 weeks agoRated 5 out of 5 starsDoable
First of all, TESBROS’ customer service is amazing, which is why bought from them rather than a competitor. The instruction videos are very good. If you watch them, you’ll be able to install the kit. A few lessons I’ve learned in the process:
1. This is not particularly hard. It is particularly time consuming, so you’ll have to be patient to get good results. It took me 4 hours to prep the environment (vacuuming walls and floor of the garage) and the car (washing, prep washing, and claying). I’ve spent 24 hours installing film and am halfway through the kit (doors, fenders, front bumper, mirrors, and pillars). In summary, be mentally ready for a 50-hour project.
2. Work from easier to harder panels to get practice. Pillars > Hood > Doors > Mirrors > Trunk > Quarter Panels > Fenders > Rockers > Back Bumper > Front Bumper
3. Double check for issues as you go. Before doing a second squeegee pass on an area (what they call a “double take”), wipe it dry and check for contamination and bubbles. It’s much easier to fix problems at that point than after the whole panel is done.
4. Overhang should be at least ~5mm for edges to be wrapped, stretching the film if needed. Stop just short of the edge everywhere else. Stopping 1mm short of the edge is better leaving 1mm overhang, as you may not be able to wrap that and have to resort to cutting.
5. Tack edges and let them dry for a few hours prior to wrapping them. Sometimes you’ll have to apply pressure and hold for a couple of…
- EBEric B.Verified Buyer2 months agoRated 5 out of 5 starsAmazing Value!
I recently installed this on my 2025 Model 3 the day of delivery and highly recommended the full front kit. The set by step video instructions were excellent and I had no issues installing. Everything was cut perfectly and seemed of excellent quality. I had no experience with PPF prior to this install and everything come out nearly perfect!
- JIJay I.Verified Buyer4 months agoRated 5 out of 5 starsGreat kit
Love the new design with single piece fenders. Easier to install and quicker.
- JJonathanVerified Buyer1 week agoRated 5 out of 5 starsQuality parts, videos, and service!
You know Ji cares when he takes the time to video every step and provide tips along the way! Watch the videos and do the practice kit and you'll be fine. Plan for a day to prep and a day to install. Very happy with the quality of film and kit. Buy the insurance in case you mess up, and a color match paint pen to fix any chips after final prep.
With all of the hazards and rocks in my area, ppf is a must. I dont know why I didnt do it sooner on other cars.
- BLBrian L.Verified Buyer1 month agoRated 5 out of 5 starsNot easy, but worth it!
I debated whether or not to have ppf professionally installed or do it myself before coming across Tesbros front diy ppf kit for my highland 3. Ji makes it look fairly easy on the install videos, but it’s really not. My install was far from perfect, but the tesbros support team was quick to respond and helped me fix my issues. If you can follow directions and have the patience/time, it will definitely be worth it! But you will need to dedicate a whole day to get this done.