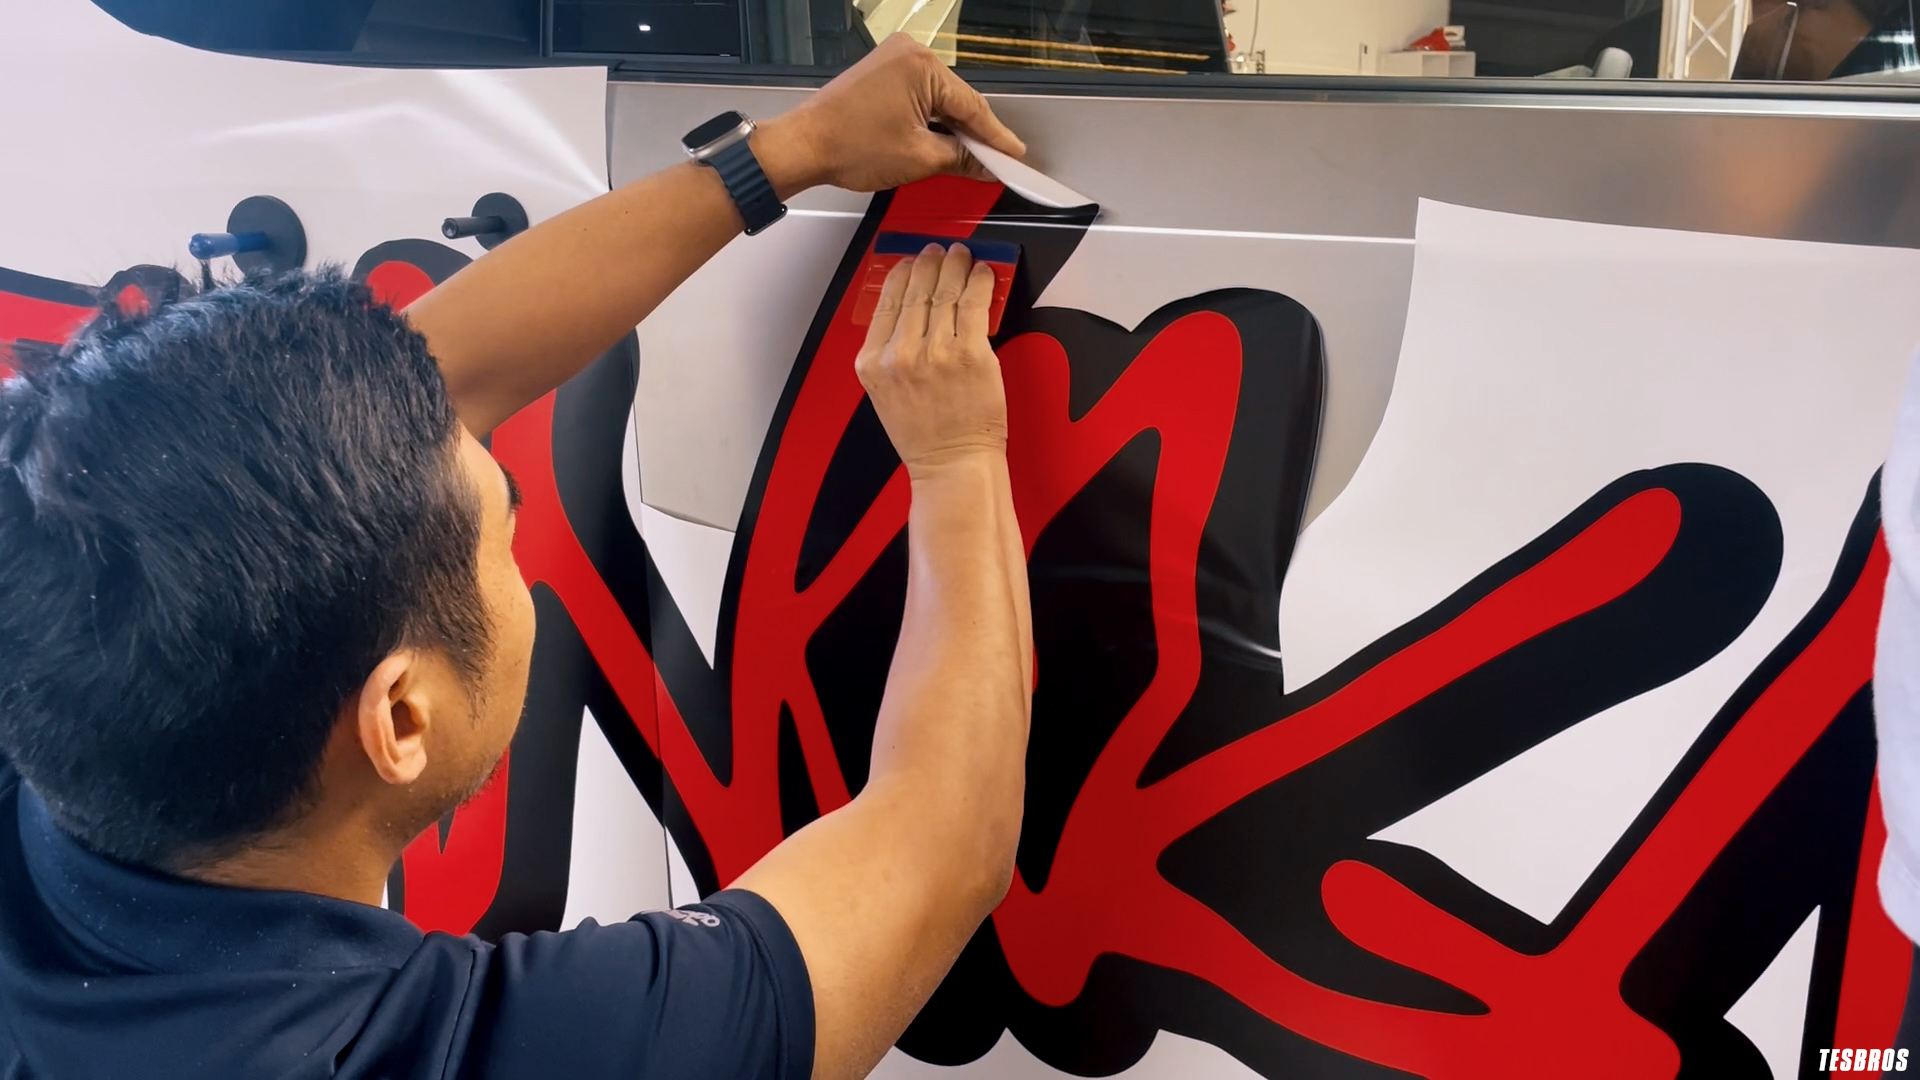


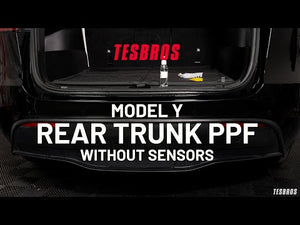


- PPF for Trunk Protection
- Slip Bottle
- Tack Bottle
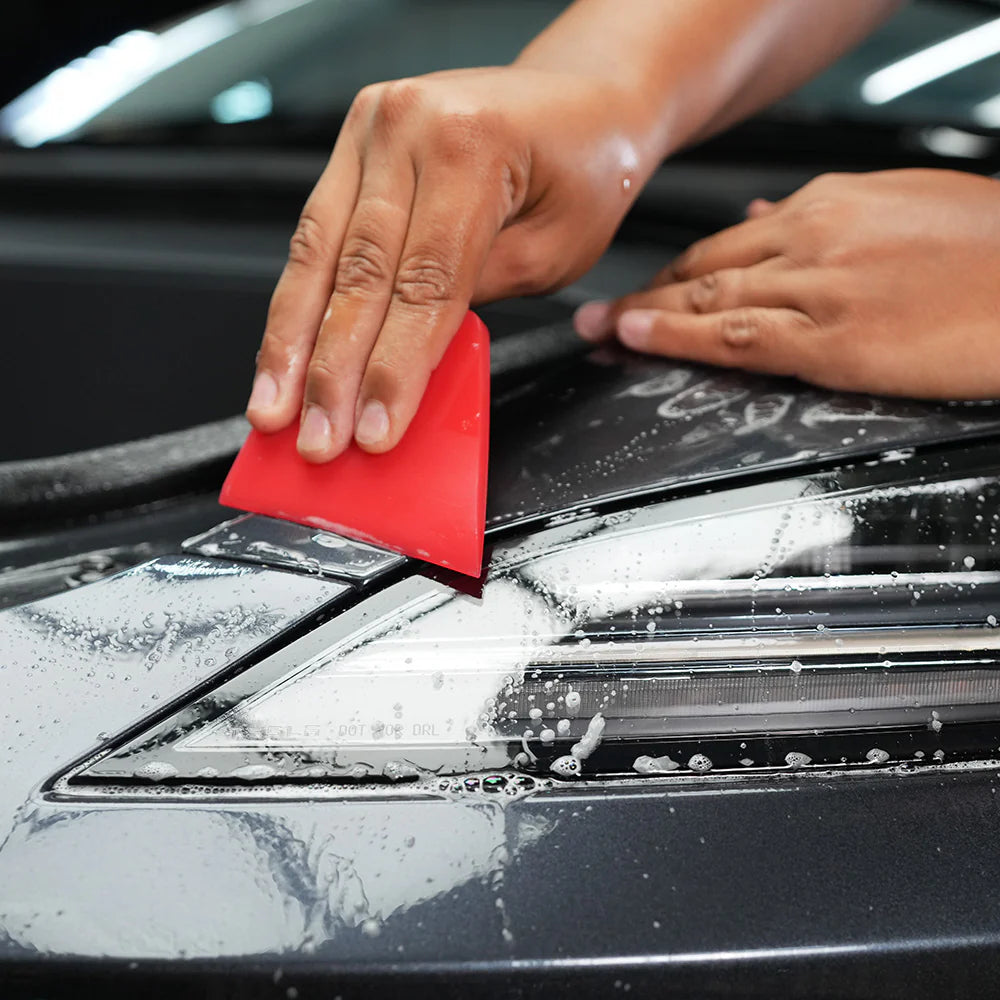
- Squeegee
- Install Guide
- | / Économiser jusqu'à % Sauvegarder % Économiser jusqu'à Enregistrer Vente Épuisé En stock

.svg?v=144615871337664008991737747827)


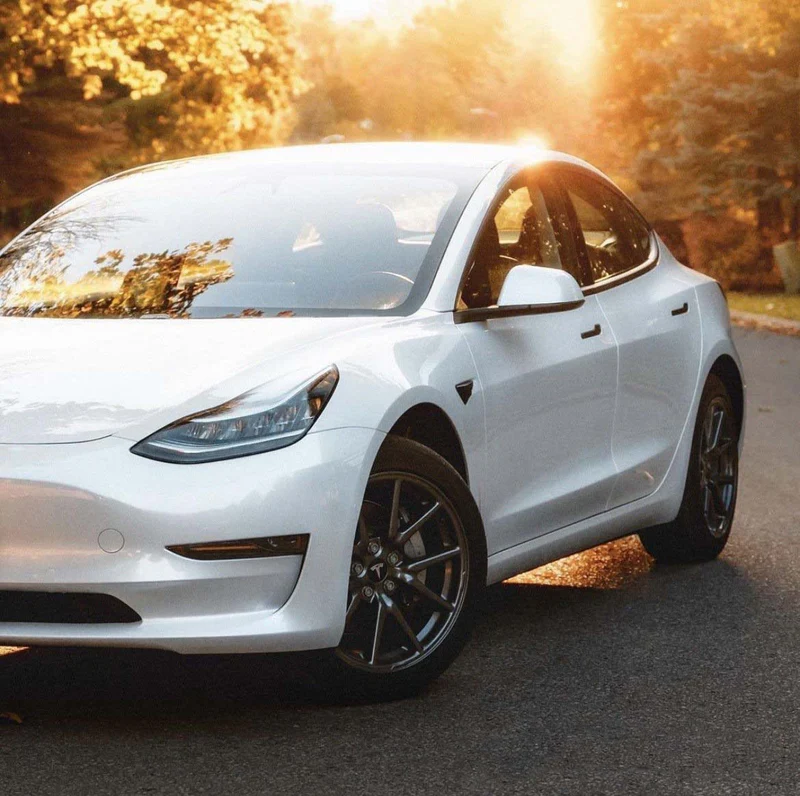
Il est parfait pour les propriétaires qui utilisent souvent leur coffre pour transporter des bagages, des vélos, des poussettes, etc.
La plupart des clients installent ce kit eux-mêmes. Une certaine expérience de l'installation de PPF est utile, mais pas nécessaire.
Temps d'installation : 0,5 heure
Température recommandée : 65°F – 75°F
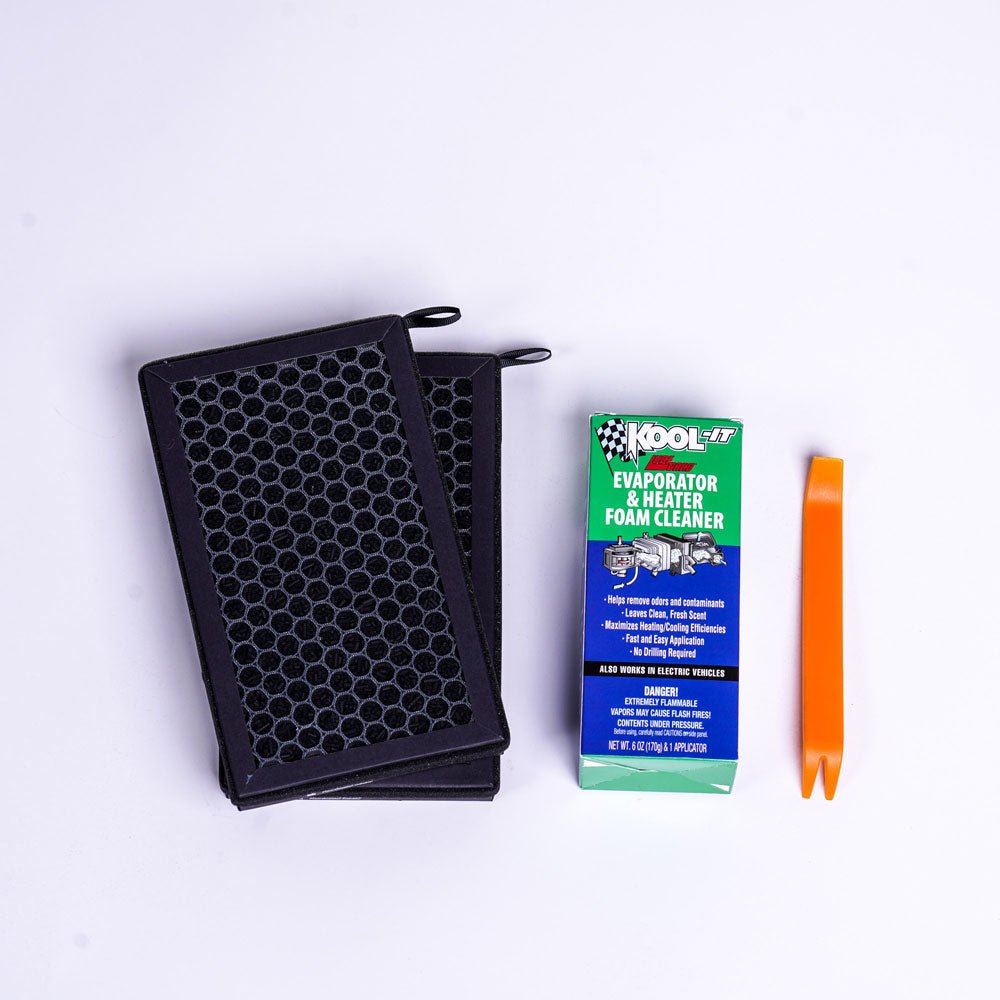
Outils nécessaires : Ajoutez simplement de l'eau dans les bouteilles d'installation fournies.Comment faire une vidéo :
Malheureusement, le PPF n'adhère pas au revêtement céramique. Nous ne recommandons pas l'installation si vous avez déjà une couche de céramique.
Nous vous recommandons fortement d'attendre au moins 24 heures avant de prendre la route. Cela garantit que votre PPF a eu le temps d'adhérer complètement afin que l'eau et les débris ne puissent pas pénétrer sous la surface.
Le PPF est mieux installé à des températures comprises entre 65 et 75 degrés F. S'il fait trop froid, il peut sembler plus rigide. S'il fait trop chaud, il s'étirera davantage.
S'il s'agit d'un petit doigt, le moyen le plus simple de le pousser vers le bas est d'utiliser votre solution collante, puis de le pousser vers le bas avec votre raclette. Si cela persiste, enveloppez votre raclette de microfibre et raclez-la. La microfibre absorbera l'eau, la rendant plus collante.
S'il est plus grand qu'un nickel, vous voulez soulever le PPF et le racler à nouveau. S'il est plus petit qu'un nickel, il devrait se dissiper et s'évaporer avec le temps.
Nous vous recommandons d'attendre au moins 24 heures mais 48 heures pour être en sécurité.
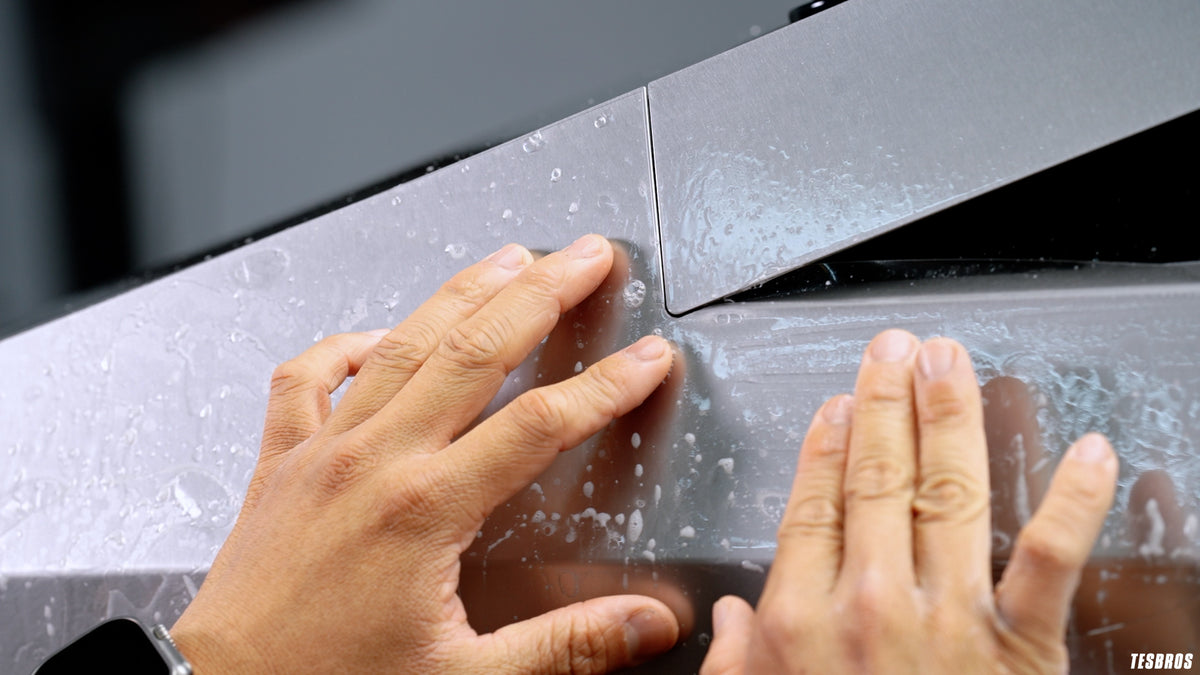
Oui, tout ce dont vous avez besoin est fourni dans les kits. Tout ce que vous aurez besoin d'ajouter est de l'eau dans les bouteilles de glissement et de tack.
Non, nos kits sont pré-découpés pour vous faciliter l'installation !
Vous pouvez, mais soyez extrêmement prudent. Vous voulez être prudent sur tous les bords. Si vous pointez directement le pistolet pulvérisateur près du bord, cela peut enlever le film. Ne vaporisez pas directement sur les bords et tout ira bien.
Le PPF est plus facile à régler car il s'agit d'une installation humide par rapport au vinyle qui est une installation à sec. Si vous faites une erreur, contactez-nous et nous pourrons vous envoyer un remplacement au prix coûtant.
Notre film est classé 10 ans.
Absolument. Il existe de nombreux revêtements céramiques spécialement conçus pour le PPF, ce qui rendra la voiture encore plus facile à nettoyer !
@teslabros

Exceptional!!!! This was 100% amazing! You guys are super with communication and I appreciate how you helped me out when I ruined one of the pieces. My Cybertruck looks amazing now and everyone keeps asking how I changed it to black!
Daniel
united states

Amazing! The instructional videos were so helpful and covered every step required for applying. Easy to follow along. Some pieces take a little more time and attention. Overall love it!
Jordann
united states

Transformed!! I really wanted to stand out from all the other white model 3s, so I ordered the pillar delete. Everything was pre-cut to fit. This was my first time applying and I couldn't be more happier with the results. The kit came with all the tools needed. Excellent product and excellent service with Tesbros!
Edward
united states

M3P install this past weekend, first timer. Experience overall was good...having a 2nd person helps a lot. Glad it’s done and protected, cheers!
Alex
united states

Fantastic Product. This kit was top notch quality from packaging to tutorial vids, tools and film. The application was very doable for the DIY novice and I'm super impressed with my results. Definitely will recommend..10 out of 10 plus 10!
Michele
united states

Protection kit works and easy DIY instructions. Great product!
Tiffany
united states


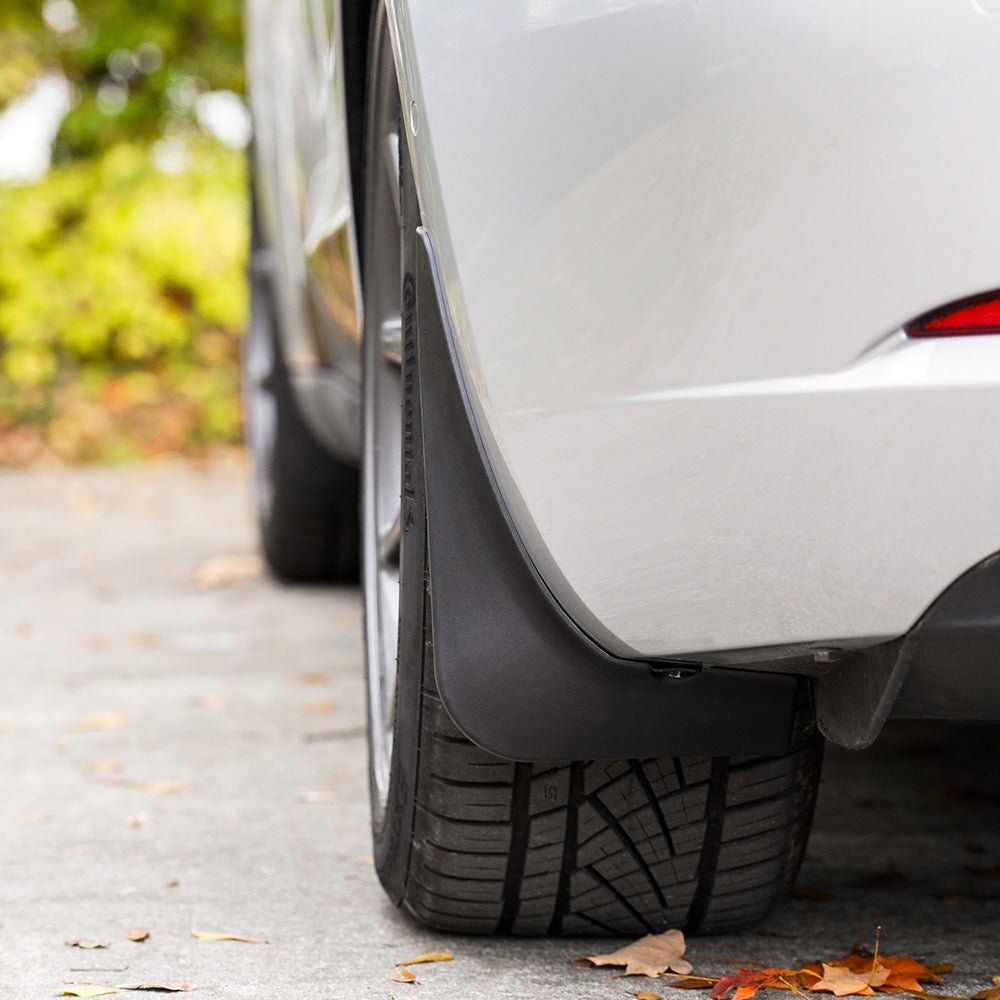
Our DIY Protection Kit offers durable, easy-to-apply materials to shield your Tesla from everyday damage.

Shields key spots like door handles, mini rockers, and B-pillars from scratches, chips, and daily wear.

Our protection film is lightweight yet durable, making application a breeze.

Each piece is precision cut for a seamless fit on your Tesla’s most vulnerable small surfaces.
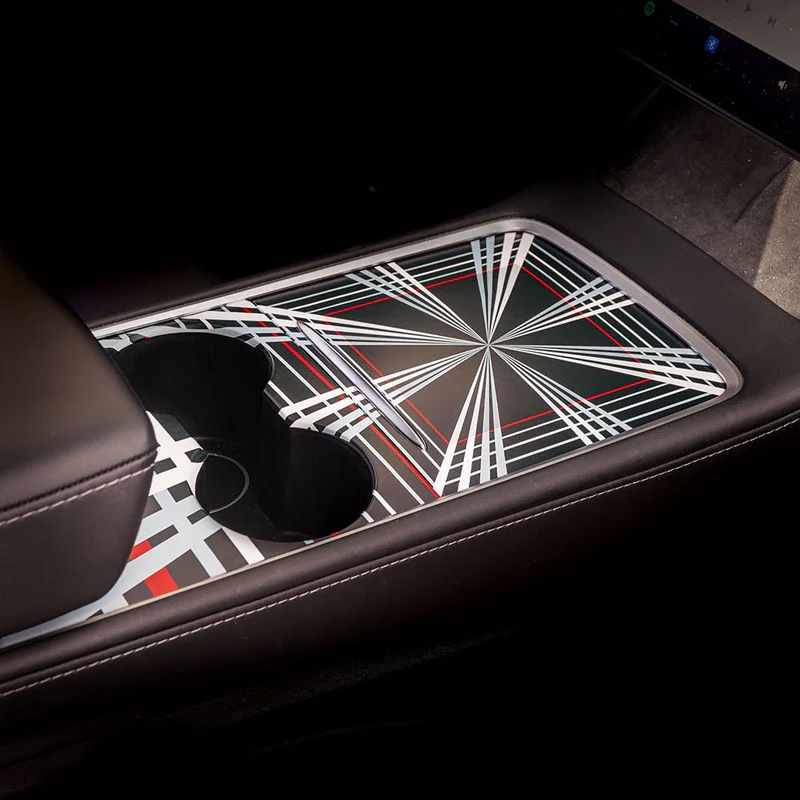
Your Pre-Cut PPF Protection

All Required Tools Included

Step-by-Step Installation Guide
I was a little concerned with this installation due to the corner on the bumper. I watched & followed the video instructions carefully & the result turned out quite good. Not bad for a beginner.
My 2023 Model Y has no bumper sensors. I used only the left vinyl guide. Once I had the left side anchored, the rest was relatively straightforward.
It’s difficult to see the edge of the PPF so the picture provided is from the left side where a scratch is visible from someone’s luggage (LOL).
After using the "Test Kit" provided with the order and doing really well with the mirror, I decided to attack the task! Took me 2 afternoons to do the job, and it came out pretty good, I end up with couple bobbles that went away with couple weeks.
TESBROS installation videos are great. Great product, ppf is cut exactly to size and specs of the vehicle
Very easy to install. Spray the slip solution liberally, in this case, less is not more.
Here are my few notes, which made me take a star off. Since I have a MYLR '23, I do not have sensor hole cut outs. There was no obvious way of knowing if the straight edge of the PPF, or the curved edge of the PPF went towards the rubber seal of the hatch. The answer: the curved side goes towards the seat, the flat edge goes towards the ground/plastic trim.
So once I got everything set properly, I realized the error, and had to peel it off, quickly make more slip solution with some baby shampoo - and reapply it.
The second - it includes two pieces of vinyl as guides to install the film. I applied the vinyl in the right place - and either it's cut in the incorrect size, or the PPF is cut too small. The distance between the PPF and the vinyl guides was about a half inch either side. I would've expected tolerances that were a little closer, to help eyeball center.
Final note - the PPF towards the hatch gasket stops after the first lip of the bumper - it does not extend past that horizontal flat surface, and continue vertically - under the gasket. Not the end of the world - however just be careful, that flat surface gathers water and road grim easily, and a quick swipe with a microfiber will scratch it. It's visible from the back the car - but fortunately it's not an area that is generally looked at - and difficult to see when the hatch is closed.
If I were asked if I would…
Excellent product. Feels durable and easy to apply.