


Trouvez ce que vous cherchez.
53 résultats
Installation - Mirror Delete Kit for CT
Installation time: 30 min Recommended Temperature: Any temperature How to Video:
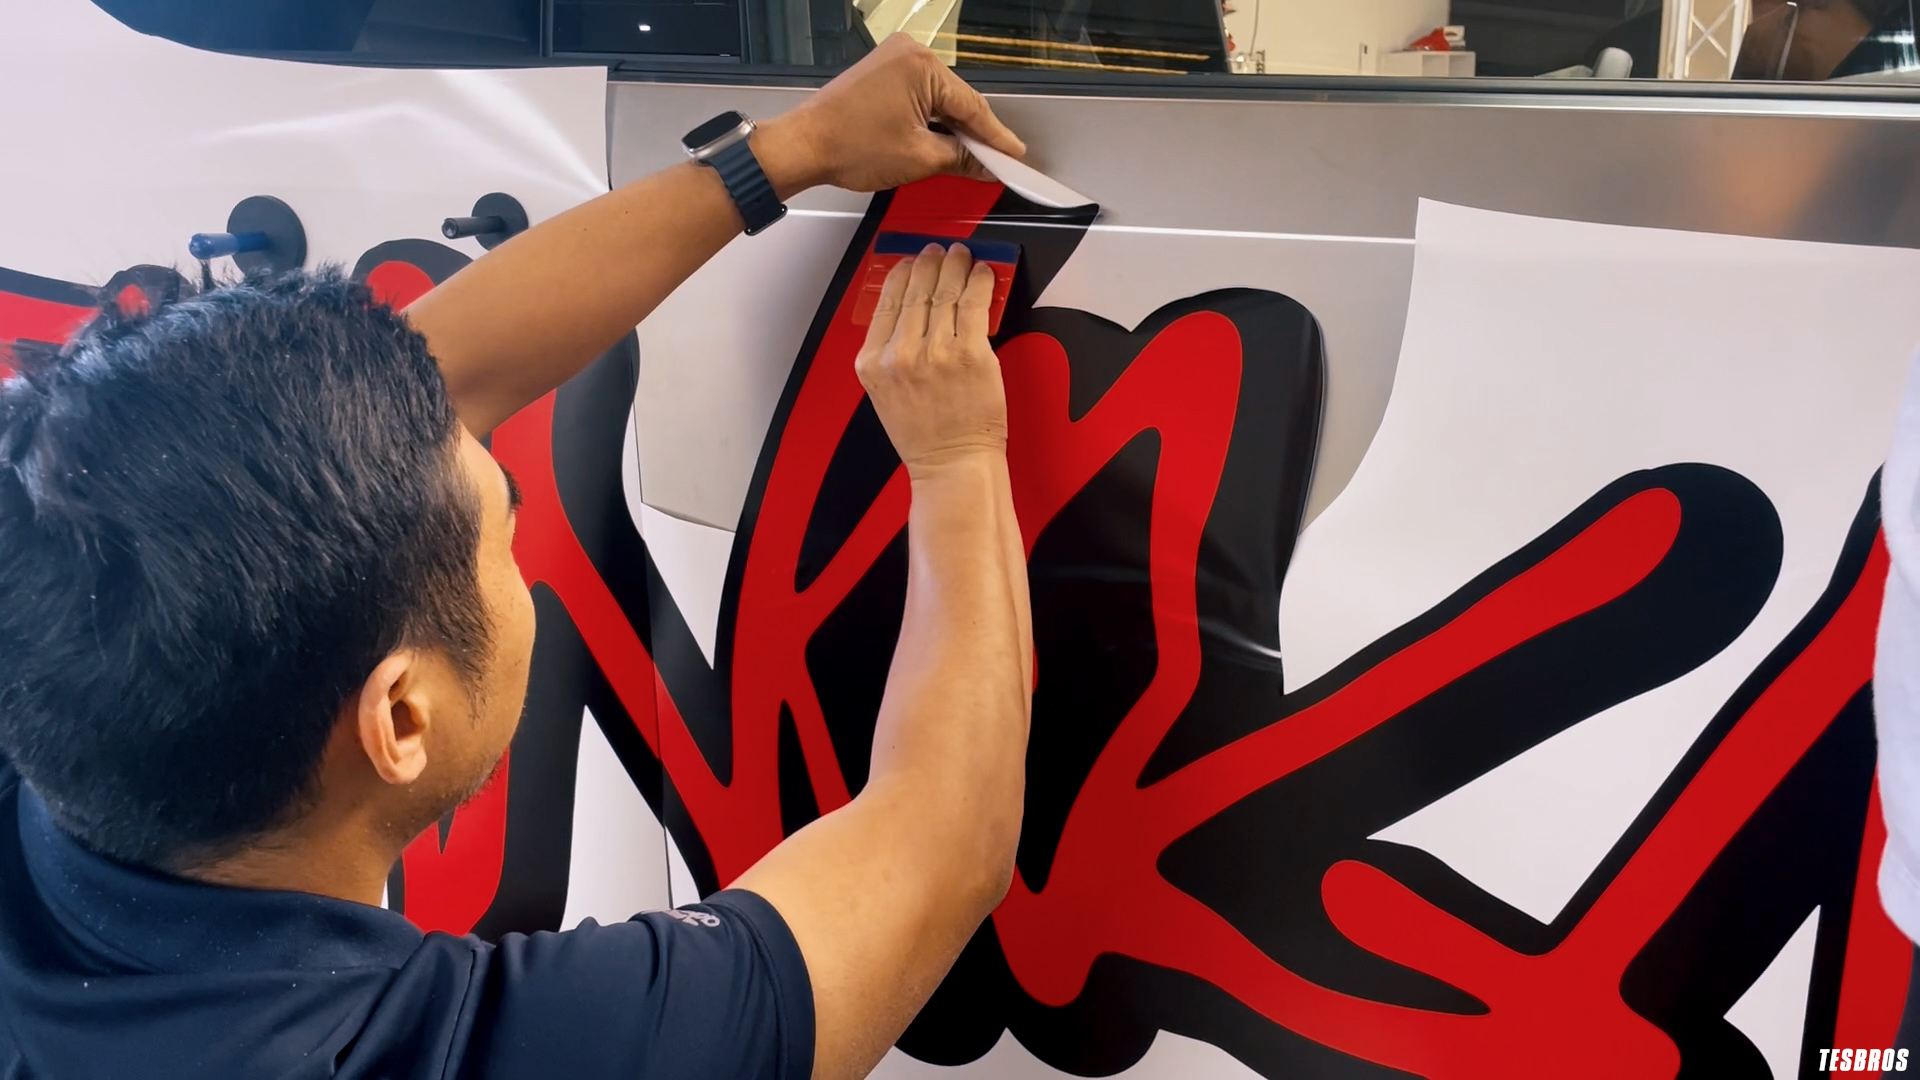
Installation - Tron Wrap Kit for CT
Most customers install this kit themselves. Some experience with vinyl wrap installation is helpful but not necessary Installation time: 1 hour Recommended Temperature: 65°F – 75°F How to Video:
Includes: Tron Wrap Kit for CT
Premium reflective vinyl from Avery Dennison V4000 Instructional video
Learn More - Model Y Practice Kit
To figure out whether your Tesla is equipped with ultrasonic sensors or not, please review the image below. If you purchased our kit prior to your delivery and your Tesla does NOT have the sensors, please email us at...
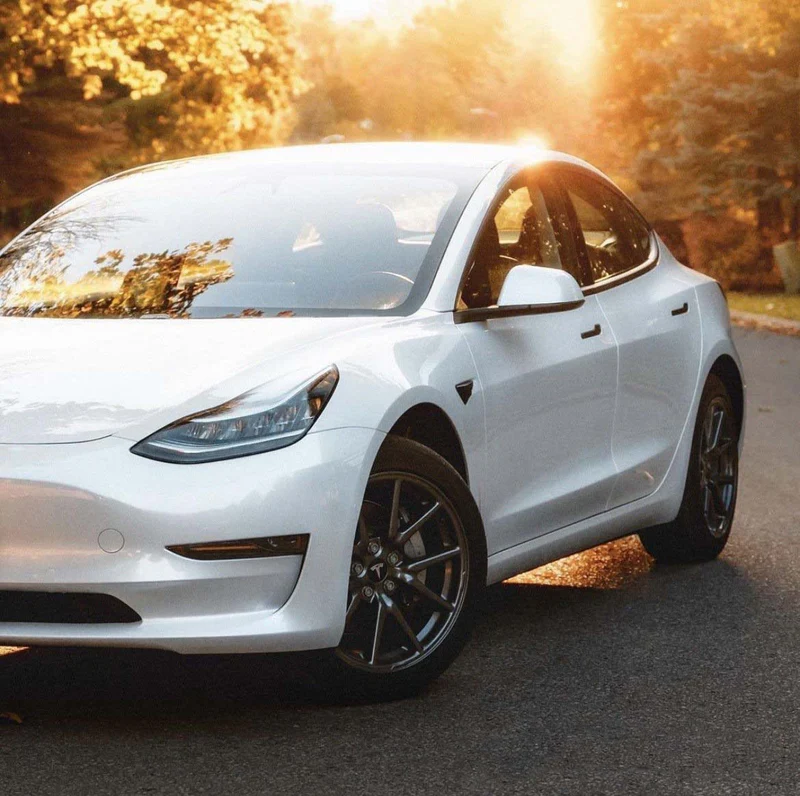
FAQ - 3H Color Vinyl
Is it difficult to wrap my Tesla Model 3? For the past 5–7 years, we’ve been perfecting DIY vinyl kits to make application as simple and beginner-friendly as possible. By offering pre-cut, smaller vinyl pieces and convenient backing cuts, our...
What's Included - DIY Color Vinyl Wrap for 3H
Includes: Full pre-cut vinyl panels Vinyl Practice Kit Pro Tool Kit Prep Kit Online Step-by-Step Install Course : Avery SW900 Supreme Wraps or 3M 2080 Fits 2024 Model 3 Highland
Installation: Mud Flaps for Cybertruck
Most customers install this themselves. We recommend watching the how to video to ensure correct usage. Installation time: 30 min How to Video:
Fitment Highland Bumpers
Easily spot the slight differences in the bumpers of the Standard Model 3, Model 3 Highland, and Model 3 Highland Performance with our photos below. What's a practice kit? Our Practice Kit includes everything you need to try it...
Installation - Rear Camera Washer for Cybertruck
Most customers install this kit themselves but it can be completed by a auto shop. Tools ARE required for this installation. Installation time: 2-4 Hours How to Install>
FAQ - Cybertruck Rear Camera Washer
How does it work? We tap into the OEM hose for the front sprayer using a t-valve. This allows you to use the same button that you use for the front sprayer. Can this be DIY-able? Absolutely. However, this is...
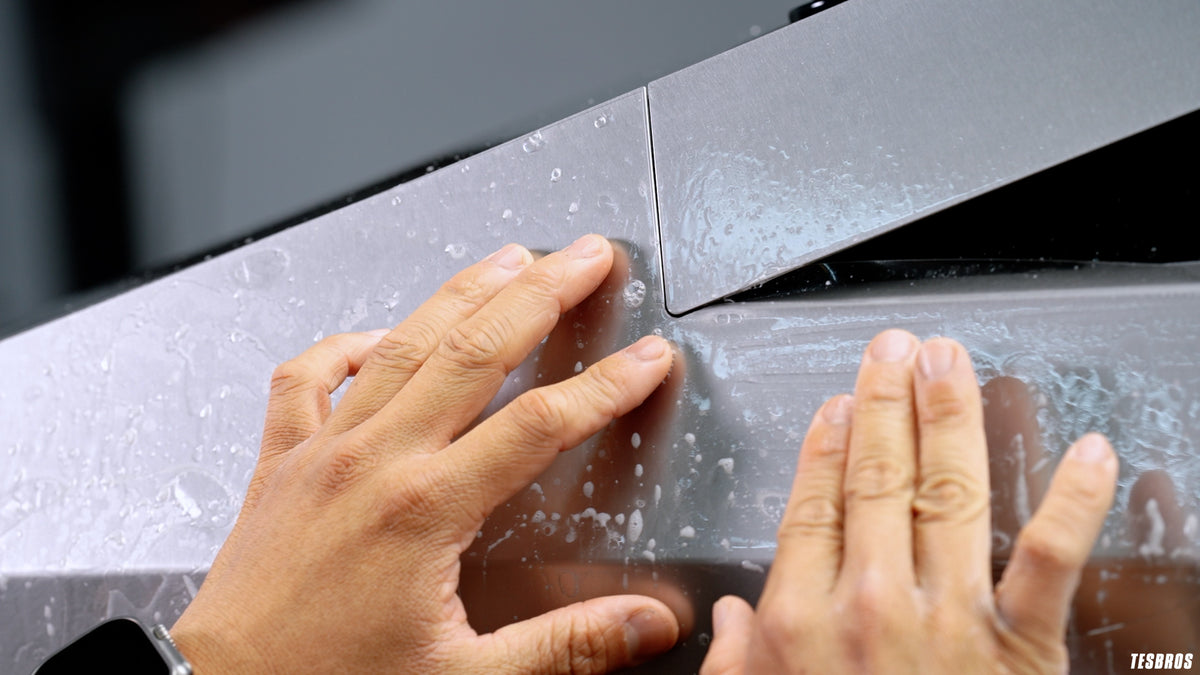
Installation - DIY Protection Kit - PPF for Cybertruck
Most customers install this kit themselves. Some experience with vinyl wrap or PPF installation is helpful, but not necessary Installation time: 8-12 HRS Recommended Temperature: 65°F – 75°F How to Install>
DIY Protection for Model 3 Highland
The World’s First Tesla Front PPF Kit Designed to be DIY. We designed our kit from start to finish to be installed by someone with no prior PPF experience. That means working with smaller sections, including all the tools you...
FAQ - TPE Mats
What material is this made of? Each mat is made from high-grade Thermoplastic Elastomer (TPE), offering durability, odorlessness, and eco-friendliness.
Installation - B-pillar wrap
Most customers install this kit themselves. Some experience with vinyl wrap installation is helpful, but not necessary Installation time: 30 min Recommended Temperature: 65°F – 75°F How to Install:
Installation - Frunk Panel Cybertruck
Most customers install this kit themselves. Some experience with vinyl wrap installation is helpful, but not necessary Installation time: 4-6 Hours Recommended Temperature: 65°F – 75°F How to Install>
Installation - Pillar Cybertruck
Most customers install this kit themselves. Some experience with vinyl wrap installation is helpful, but not necessary Installation time: 1 Hour Recommended Temperature: 65°F – 75°F How to Install:
Installation - Fender Flare
Most customers install this kit themselves. Some experience with vinyl wrap installation is helpful, but not necessary Installation time: 1 Hour Recommended Temperature: 65°F – 75°F How to Install:
Special Fit - Model Y HW3 vs HW4
NOTICE: Starting in 2023, Tesla starting rolling out HW4.0 to the Model Y. The rear camera placement is slightly off so the jig is different for HW3.0 and HW4.0. To figure out whether your Model Y has HW3.0 or HW4.0,...
Installation - Foundation Badge
Most customers install this kit themselves. Some experience with vinyl wrap installation is helpful, but not necessary Installation time: 15 minutes Recommended Temperature: 65°F – 75°F How to Install:
Installation - Cybertruck Headlight and Fog Light
Most customers install this kit themselves. Some experience with vinyl wrap installation is helpful, but not necessary Installation time: 15 minutes Recommended Temperature: 65°F – 75°F How to Video:
Installation - Cybertruck Taillight
Most customers install this kit themselves. Some experience with vinyl wrap installation is helpful, but not necessary Installation time: 15 minutes Recommended Temperature: 65°F – 75°F How to Video:
Installation - Cybertruck Charge Port Wrap
Most customers install this kit themselves. Some experience with vinyl wrap installation is helpful, but not necessary Installation time: 15 minutes Recommended Temperature: 65°F – 75°F How to Video:
Installation - Cybertruck Beast Badge
Most customers install this kit themselves. Some experience with vinyl wrap installation is helpful, but not necessary Installation time: 15 minutes Recommended Temperature: 65°F – 75°F How to Video:
Installation - Door Button & B Pillar PPF for Cybertruck
Most customers install this kit themselves. Some experience with vinyl wrap installation is helpful, but not necessary Installation time: 15 minutes Recommended Temperature: 65°F – 75°F How to Video:
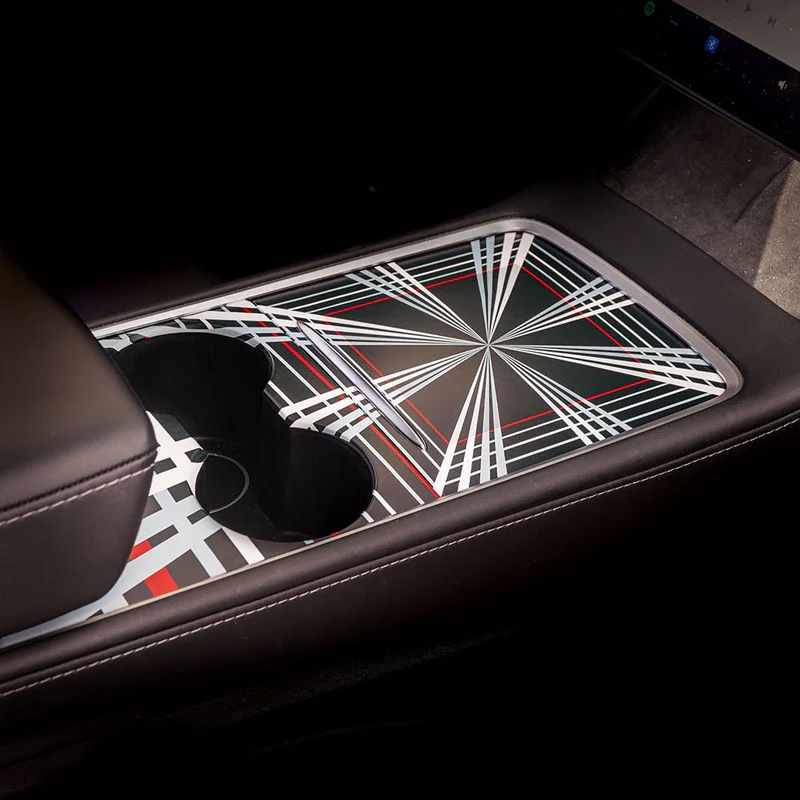
Installation - Center Console Wrap for Cybertruck
Most customers install this kit themselves. Some experience with vinyl wrap installation is helpful, but not necessary Installation time: 15 minutes Recommended Temperature: 65°F – 75°F How to Video:
Installation - DIY Full Body Vinyl Wrap for Cybertruck
Online Course:Access the online course here, which includes all the information you need to successfully install your DIY wrap kit. View CourseTime: 12-16 hours NOTE: You will receive FREE access to course via email after purchase.
Cybertruck wrap - Returns & Exchanges
Our Cybertruck kits typically ship out within 7 business days. The roll(s) are ordered within 24 hours of the order. We receive it in 1-3 business days and takes 1-2 days to cut and package the kit. Since the...
FAQ - Cybertruck Vinyl
Is it difficult to wrap my Cybertruck? Compared to other Tesla models, the Cybertruck is flatter, which makes it much easier to apply vinyl. We’ve been developing DIY vinyl kits for the past 5-7 years, and we’ve learned a lot...
Installation - Actif 2.0
Veuillez consulter Active 2.0 pour les instructions d'installation fournies dans le kit.
FAQ - Actif 2.0
EN QUOI L'ACTIVE 2.0 (SE01/SE02) DIFFÈRE-T-IL DE L'ACTIVE VE52/VE56 ? L'Active 2.0 est un développement de base pour doubler le cycle de vie de la pompe et du moteur par rapport à l'Active VE52/VE56. La pompe et le moteur sont constitués...
Installation : Faisceau de câblage modèle 3/Y
Temps d'installation : 1-2 heures Comment faire une vidéo :
Installation - Ensemble GYEON Leathershield
Nettoyez, préparez et enduisez simplement ! Temps d'installation : 30 minutes Comment faire une vidéo :
FAQ - Pack GYEON Leathershield
Où puis-je appliquer ce produit ? Nous vous recommandons de l'appliquer partout où il y a du cuir. Cela comprend les sièges, les panneaux latéraux en cuir, la zone des interrupteurs de porte, la partie en cuir de la console...
Installation : attelage modèle Y
Temps d'installation : 2-4 heures Outils nécessaires: douille de 10mm douille de 15 mm douille de 13 mm Rochet Clé dynamométrique Rallonge de clé dynamométrique Rondelles de zinc (facultatif, si vous tirez des objets lourds avec votre attelage) Graisse diélectrique...
Ajustement spécial - Bacs de coffre en Y
AVIS : Veuillez garder à l'esprit qu'il existe une différence de conception pour le 7 places et le 5 places. Du milieu à la fin de 2022, les modèles Y construits à Austin avaient un équipement légèrement différent. Si vous...
Ajustement spécial - Capteurs de kits avant de bricolage
AVIS : Tesla a récemment annoncé que tous les Model 3 et Model Y ne seront plus équipés de capteurs à ultrasons au profit de son système "Tesla Vision". Pour savoir si votre Tesla est équipée de capteurs à ultrasons ou...
Protection avant DIY pour Model Y
Le premier kit Tesla Front PPF au monde conçu pour le bricolage. Nous avons conçu notre kit du début à la fin pour être installé par quelqu'un sans expérience préalable en PPF. Cela signifie travailler avec des sections plus petites,...
Installation : kit de protection avant DIY - PPF pour modèle 3
Vous vous demandez si vous pouvez le faire ou non ? Notre kit a été conçu pour les débutants ! S'il s'agit de votre première installation de PPF, cliquez ici pour voir comment cela fonctionne. Cours en ligne: La première étape consiste...
Garantie de garantie PPF avant
Garantie PPF : notre kit de protection avant DIY utilise des matériaux flexibles de qualité supérieure, mais nous comprenons que des erreurs peuvent survenir. Si vous avez besoin de pièces supplémentaires, faites-le nous savoir et nous serons heureux de vous...
Installation : Droplock
Temps d'installation : 5 minutes Comment faire une vidéo :
FAQ - Retrait du couvercle d'attelage
Comment cela marche-t-il? En utilisant les deux leviers, il tire sans endommager le couvercle d'attelage qui desserre les clips. Sont-ils durables ? Oui. Ils sont fabriqués avec de l'aluminium léger qui dure très longtemps.
FAQ - Droplock
Comment les supprimez-vous ? Pour assurer la sécurité de tous, nous ne le publions pas publiquement, mais chaque kit est livré avec un guide d'instructions sur le retrait du DropLock. Si un voleur veut entrer, il peut le forcer, n'est-ce pas...
PDP - PAS de retours et d'échanges
Cet article est non retournable.
Ajustement spécial - Interrupteur de porte
Les interrupteurs de porte ont subi de petites modifications de conception pour les boutons de porte et les orifices de ventilation des sièges arrière. 2017-2020 a une ligne blanche droite sur les boutons de porte et USB de type A....
Ajustement spécial - Port de charge
Pour les modèles 3 fabriqués entre 2017 et 2020, les ports de charge n'étaient PAS chauffés et l'indicateur du logo T était centré avec la charnière. Les modèles 3 et Y fabriqués après 2020 ont très probablement la version chauffée...
Ajustement spécial - Enveloppes de connecteur mural
Nos enveloppes de façade ne sont disponibles que pour Gen 2 et Gen 3. Veuillez consulter le guide ci-dessous pour voir lequel vous avez en fonction des années.