Find what you seek.
62 results
Fitment Highland Bumpers
Easily spot the slight differences in the bumpers of the Standard Model 3, Model 3 Highland, and Model 3 Highland Performance with our photos below.
Installation - Rear Camera Washer for Cybertruck
Most customers install this kit themselves but it can be completed by a auto shop. Tools ARE required for this installation. Installation time: 2-4 Hours How to Install>
DIY Protection for Model 3 Highland
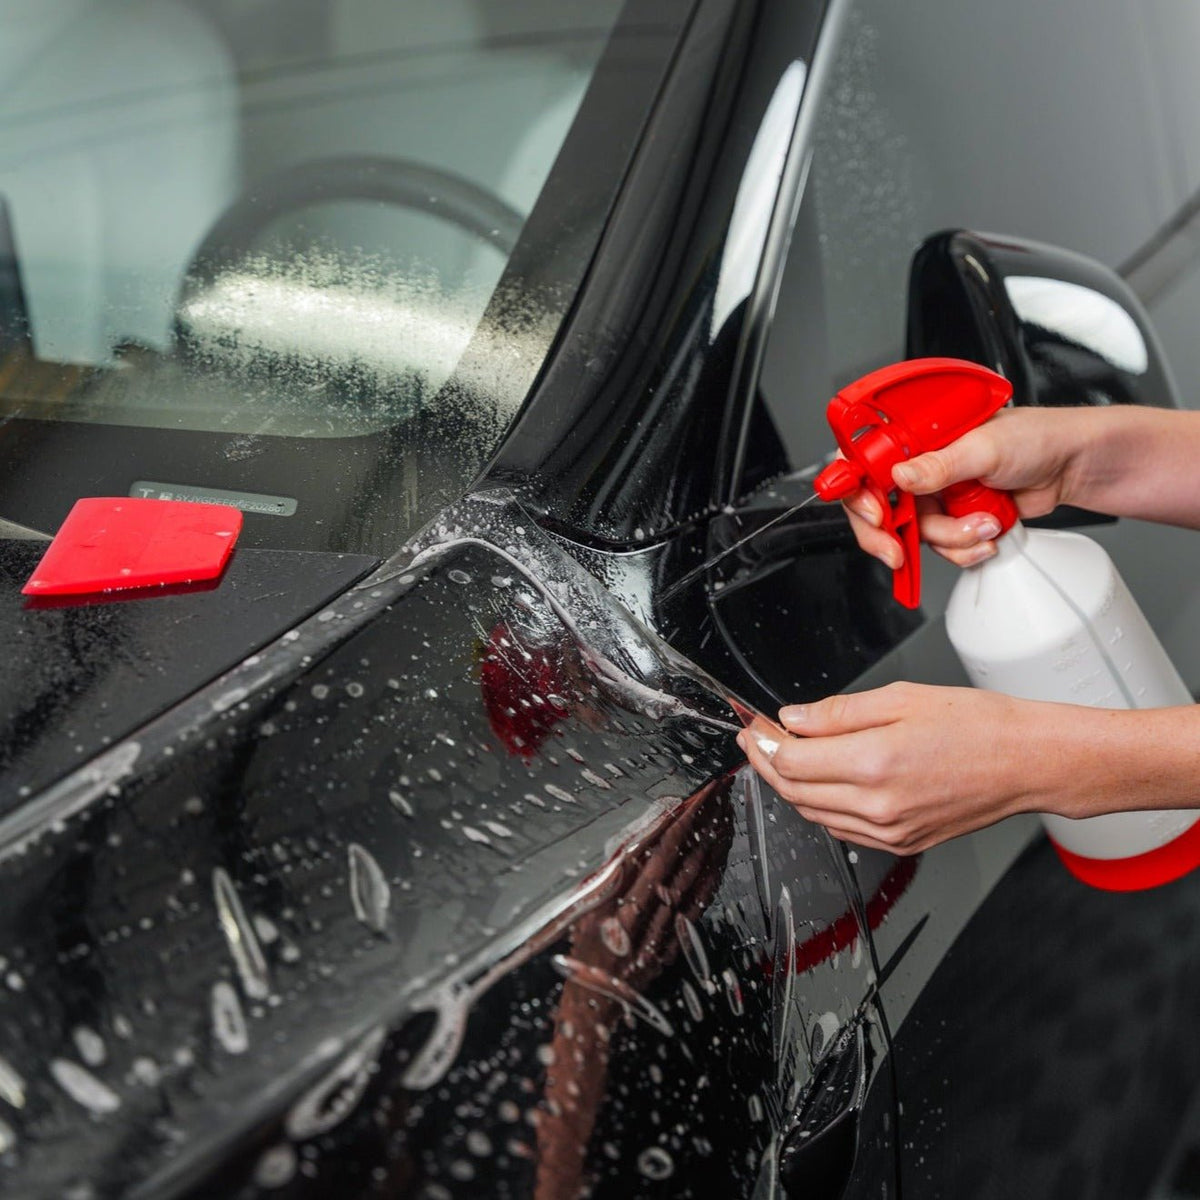
The World’s First Tesla Front PPF Kit Designed to be DIY. We designed our kit from start to finish to be installed by someone with no prior PPF experience. That means working with smaller sections, including all the tools you...
Installation - Fender Flare
Most customers install this kit themselves. Some experience with vinyl wrap installation is helpful, but not necessary Installation time: 1 Hour Recommended Temperature: 65°F – 75°F How to Install:
Installation - Foundation Badge
Most customers install this kit themselves. Some experience with vinyl wrap installation is helpful, but not necessary Installation time: 15 minutes Recommended Temperature: 65°F – 75°F How to Install:
インストール - Active 2.0
キットに含まれるインストール手順については、Active 2.0 を参照してください。
取り付け: モデル 3/Y ワイヤーハーネス
取り付け時間: 1~2時間 ビデオの作り方:
インストール - GYEON レザーシールド バンドル
掃除して準備してコーティングするだけです。 取り付け時間: 30分 ビデオの作り方:
取り付け: モデル Y ヒッチ
取り付け時間: 2~4時間 必要なツール: 10mmソケット 15mmソケット 13mmソケット ラチェット トルクレンチ トルクレンチエクステンダー 亜鉛ワッシャー (ヒッチで重いものを引っ張る場合はオプション) 誘電グリース (ヒッチで重いものを引っ張る場合はオプション) Goo Gone またはその他の接着剤除去剤 (オプション) ビデオの作り方:
スペシャルフィット - DIY フロントキットセンサー
注意: テスラは最近、すべてのモデル 3 とモデル Y に超音波センサーが搭載されなくなり、「テスラ ビジョン」システムが搭載されると発表しました。 あなたの Tesla に超音波センサーが装備されているかどうかを確認するには、下の画像を確認してください。 配送前に当社のキットを購入し、お使いの Tesla にセンサーが搭載されていない場合は、無料で交換品を入手できるよう、 support@tesbros.comまでメールでお問い合わせください。 車のフロントまたはリアバンパーに6つの丸いセンサーがある場合は、「センサーカットアウトあり」を選択してください。 車のフロントまたはリアバンパーのどこにも丸いセンサーがない場合は、オプションとして「センサーカットアウトなし」を選択してください。
モデルY用DIYフロントプロテクション
DIY 向けに設計された世界初の Tesla フロント PPF キット。私たちは、PPF の経験のない人でも取り付けられるように最初から最後までキットを設計しました。つまり、ガイドやビデオだけでなく、必要なすべてのツールを含む小さなセクションで作業することになります。
FAQ - ヒッチカバーの取り外し
これはどのように作動しますか? 両方のこじ開けツールを使用すると、ヒッチ カバーを損傷することなくてこを利用してクリップを緩めます。 耐久性はありますか? はい。軽量なアルミニウムで作られており、非常に長持ちします。
特別なフィット - 充電ポート
2017 年から 2020 年の間に製造された Model 3 の場合、充電ポートは加熱されておらず、T ロゴ インジケーターはヒンジの中央にありました。 2020年以降に製造されたモデル3とイースには、Tロゴインジケーターがヒンジの中心からずれているヒーテッドバージョンが搭載されている可能性が高いです。当社のキットには両方のセットが付属しており、裏面に非加熱バージョンには「I」、加熱バージョンには「II」というラベルが付いています。
特別なフィット - ハンショー フランク モデル 3
モデル 3 パワーフランクには、製造された年と月に基づいて複数のバリエーションがあります。フルランクキットを注文する前に、テスラの月/年をご確認ください。あなたの車両が中国製か米国製かを確認するには、運転席側ドア内側のドア敷居にある VIN 番号を確認してください。 *中国製のVINはLRWで始まります*米国製のVINは5YJで始まります
スペシャルフィット - モデル 3 フロアマット
モデル 3 のフロア マットの場合、助手席マットには年式に応じて 2 つの適合品があります。正しい年を選択していることを確認してください。
Is Ceramic Coating Your Tesla Worth It? Pros And Cons
10 Gifts Under $100 For Tesla Owners In 2024
Tesla Delivery Checklist
Used Tesla Delivery Checklist
Common PPF Issues When Wrapping Cars
Must Have Top Tesla Accessories
How To Install Tesla Wall Charger
How To Remove Cybertruck Mirrors
Selling Your Tesla Step By Step Process
Ultimate Guide To Buying A Used Tesla
10 Best Tesla Accessories Under $50
Tesla Road Trip Essentials!
What's Included - DIY Color Vinyl Wrap for 3H
Includes: Full pre-cut vinyl panels Vinyl Practice Kit Pro Tool Kit Prep Kit Online Step-by-Step Install Course : Avery SW900 Supreme Wraps or 3M 2080 Fits 2024 Model 3 Highland
Installation: Mud Flaps for Cybertruck
Most customers install this themselves. We recommend watching the how to video to ensure correct usage. Installation time: 30 min How to Video:
FAQ - Cybertruck Rear Camera Washer
How does it work? We tap into the OEM hose for the front sprayer using a t-valve. This allows you to use the same button that you use for the front sprayer. Can this be DIY-able? Absolutely. However, this is...
Installation - Cybertruck Headlight and Fog Light
Most customers install this kit themselves. Some experience with vinyl wrap installation is helpful, but not necessary Installation time: 15 minutes Recommended Temperature: 65°F – 75°F How to Video:
Installation - Cybertruck Beast Badge
Most customers install this kit themselves. Some experience with vinyl wrap installation is helpful, but not necessary Installation time: 15 minutes Recommended Temperature: 65°F – 75°F How to Video:
Installation - DIY Full Body Vinyl Wrap for Cybertruck
Online Course:Access the online course here, which includes all the information you need to successfully install your DIY wrap kit. View CourseTime: 12-16 hours NOTE: You will receive FREE access to course via email after purchase.
FAQ - Cybertruck Vinyl
Is it difficult to wrap my Cybertruck? Compared to other Tesla models, the Cybertruck is flatter, which makes it much easier to apply vinyl. We’ve been developing DIY vinyl kits for the past 5-7 years, and we’ve learned a lot...
FAQ - アクティブ 2.0
アクティブ 2.0 (SE01/SE02) とアクティブ VE52/VE56 の違いは何ですか? Active 2.0 は、Active VE52/VE56 と比較してポンプとモーターのライフサイクルを 2 倍にするための基礎開発です。ポンプとモーターは、韓国と日本から輸入されたか、耐久性を高めるために強化された複数の要素で構成されています。 アクティブ 2.0 (SE01) 高圧洗浄機のポンプ出口サイズはどれくらいですか? Active 2.0 (SE01) 高圧洗浄機には、M22-14mm 接続が付属しています。すべての M22-14mm アダプターは Active 2.0 (SE01) と互換性があります。 アクティブ 2.0 (SE01) ノズルにはどのサイズのノズル オリフィスが付属していますか? 市販サイズ以外では何を使用できますか? Active 2.0 (SE01) 高圧洗浄機には、サイズ 3.7 のオリフィスが付属しています。...
特別なフィット - 壁コネクタラップ
当社のフェイスプレート ラップは、第 2 世代と第 3 世代でのみご利用いただけます。年式に基づいてどちらを使用しているかを確認するには、以下のガイドを参照してください。
スペシャルフィット - モデル 3 センターコンソール
お持ちのセンターコンソールを確認するには、以下のガイドを参照してください。 1.0 (2017-2020): 1.0 は、中央で跳ね上げられる 3 ピースのセンター コンソールを備えています。 2.0 (2020-現在): 2.0 は、スライド ドア付きの 2 ピース センター コンソールを備えています。
Installation - DIY Full Body Vinyl Wrap for 3H
Online Course:Access the online course here, which includes all the information you need to successfully install your DIY wrap kit. *Course will be available shortly. Time: 12-16 hours NOTE: You will receive FREE access to course via email after purchase.
FAQ - 3H Color Vinyl
Is it difficult to wrap my Tesla Model 3? For the past 5–7 years, we’ve been perfecting DIY vinyl kits to make application as simple and beginner-friendly as possible. By offering pre-cut, smaller vinyl pieces and convenient backing cuts, our...
Installation - DIY Protection Kit - PPF for Cybertruck
Most customers install this kit themselves. Some experience with vinyl wrap or PPF installation is helpful, but not necessary Installation time: 8-12 HRS Recommended Temperature: 65°F – 75°F How to Install>
Installation - Frunk Panel Cybertruck
Most customers install this kit themselves. Some experience with vinyl wrap installation is helpful, but not necessary Installation time: 4-6 Hours Recommended Temperature: 65°F – 75°F How to Install>
Cybertruck wrap - Returns & Exchanges
Our Cybertruck kits typically ship out within 7 business days. The roll(s) are ordered within 24 hours of the order. We receive it in 1-3 business days and takes 1-2 days to cut and package the kit. Since the...
FAQ - ドロップロック
これらをどうやって取り除くのでしょうか? 皆様の安全を確保するため、公開はしておりませんが、各キットには DropLock の取り外しに関する説明ガイドが付属しています。 泥棒が入りたければこじ開けることができますよね? はい、それは本当ですが、DropLock は抑止力として機能します。泥棒がトランクから貴重品を盗むのを阻止するには十分な抑止力になるかもしれません。 これはYにも効果がありますか? いいえ、Y にはオープントランクがあるので、必要なほどではありません。 取り外しツールを紛失してしまいました。もう一つもらえますか? はい! support@tesbros.com までメールをお送りください。喜んで別のメールをお送りいたします。
スペシャルフィット - Hansshow トランク モデル 3
モデル 3 パワー トランクはモデルイヤーに基づいています。 2017 2018 の CANBUS コネクタはわずかに小さく、2019-2020 はわずかに大きくなります。コネクタが車両と通信できるように、コネクタが適合することを確認するために、正しい年式を必ずご注文ください。
FAQ - TPE Mats
What material is this made of? Each mat is made from high-grade Thermoplastic Elastomer (TPE), offering durability, odorlessness, and eco-friendliness.
Installation - B-pillar wrap
Most customers install this kit themselves. Some experience with vinyl wrap installation is helpful, but not necessary Installation time: 30 min Recommended Temperature: 65°F – 75°F How to Install:
Special Fit - Model Y HW3 vs HW4
NOTICE: Starting in 2023, Tesla starting rolling out HW4.0 to the Model Y. The rear camera placement is slightly off so the jig is different for HW3.0 and HW4.0. To figure out whether your Model Y has HW3.0 or HW4.0,...


