Before you start wrapping your Tesla, gathering the right materials and tools is essential for a smooth and professional-looking result. The good thing about TESBROS kits is that they have all the necessary tools. Here's what you'll need:
Materials
- Vinyl Wrap: Choose a high-quality vinyl wrap designed for automotive use. Brands like 3M and Avery Dennison are trusted for their durability and ease of application. Select your preferred finish: matte, gloss, satin, or specialty.
Tools
- Heat Gun: Essential for making the vinyl more pliable and helping it conform to curves and edges.
- Squeegee: Use a soft-edged squeegee to smooth out the vinyl and eliminate air bubbles.
- Surface Cleaner: Use an alcohol-based cleaner to remove dirt, grease, and wax from your Tesla’s surface before wrapping.
- Wrap Glove: A wrap glove helps smooth out edges that a squeegee can’t get.
Having these materials and tools prepared will make the DIY process much easier and help achieve a professional finish. Our DIY kits include all of the materials you’ll need to complete your project, so you won’t need to worry about purchasing separate materials.
Step-by-Step Guide To Wrapping Your Tesla
Wrapping your Tesla is a process that requires patience and attention to detail. Here’s a step-by-step guide to ensure a successful DIY car wrap:
Step 1: Position The Vinyl On The Surface
Carefully lay the vinyl over the area you are working on. Use wrap magnets or masking tape to hold the vinyl in place. Begin positioning the material from the center, ensuring it covers the section evenly. Avoid stretching it too much initially to prevent uneven tension.
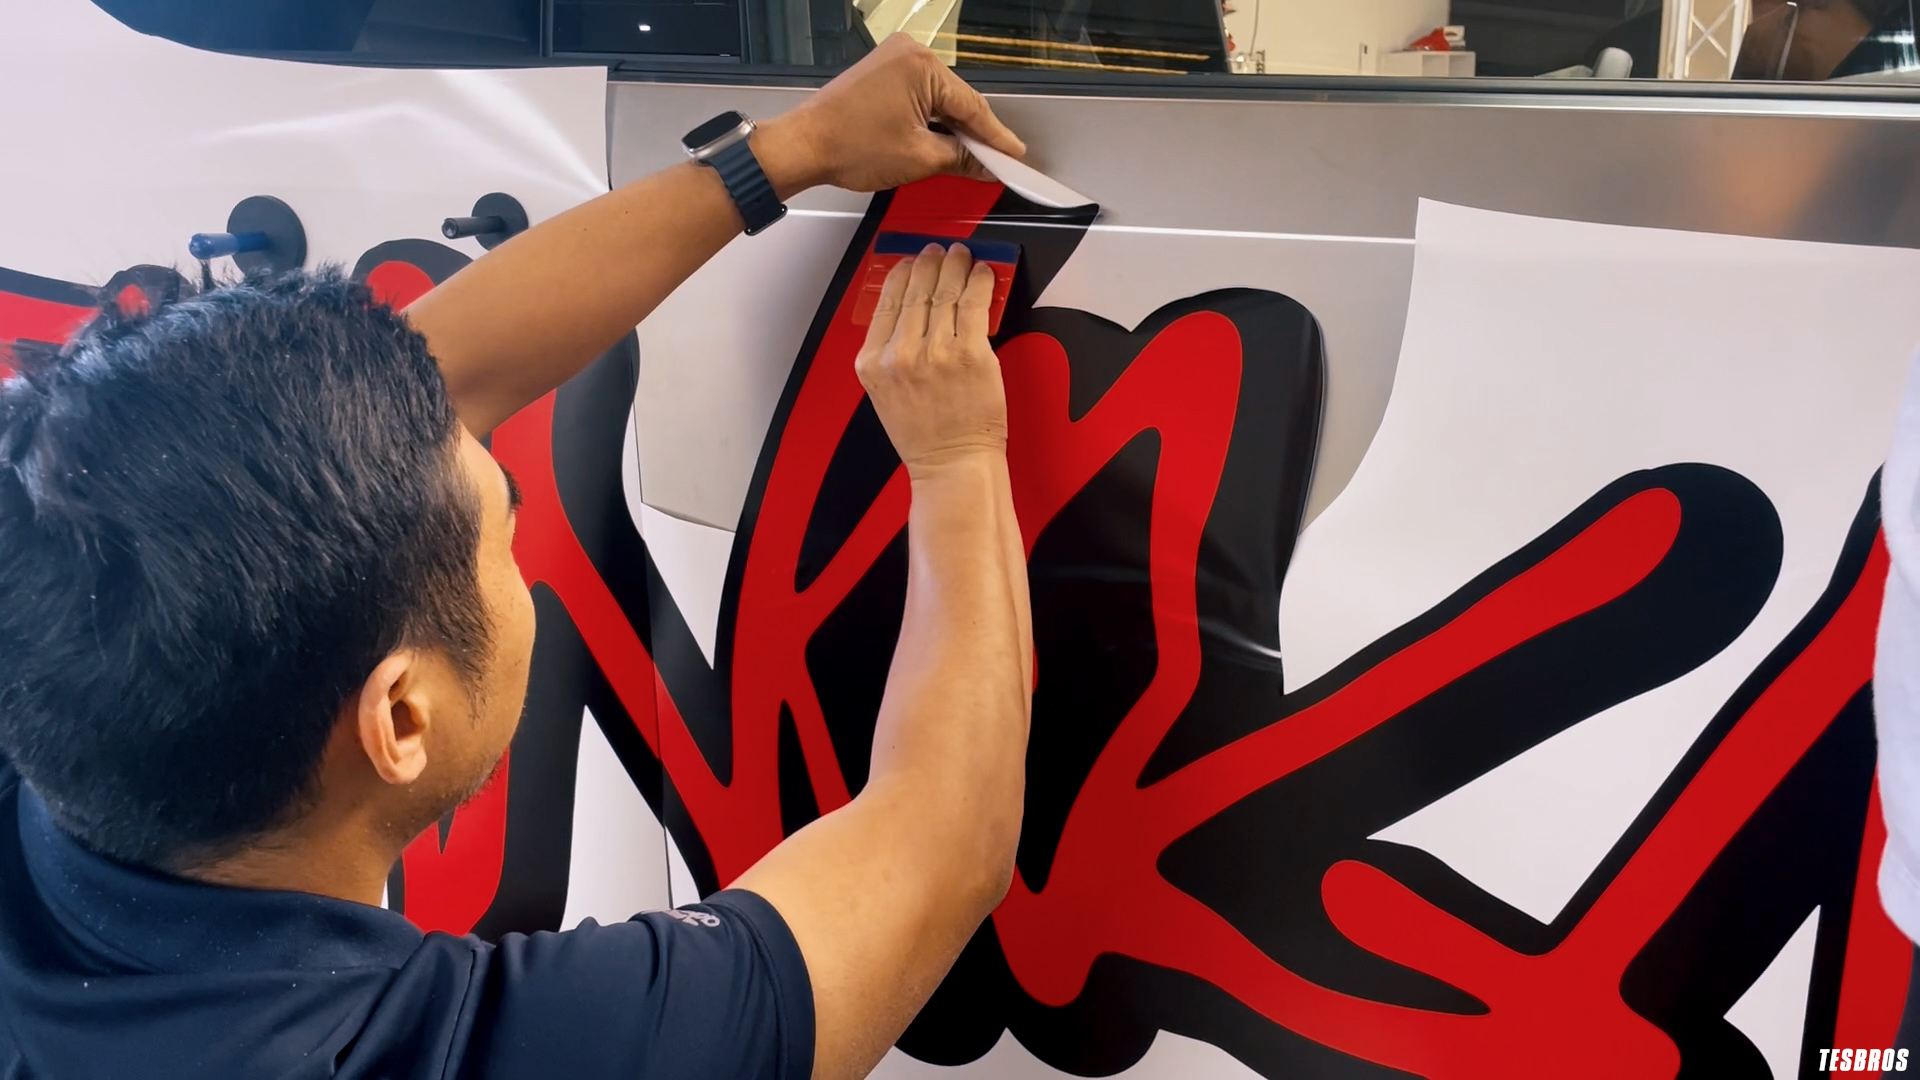
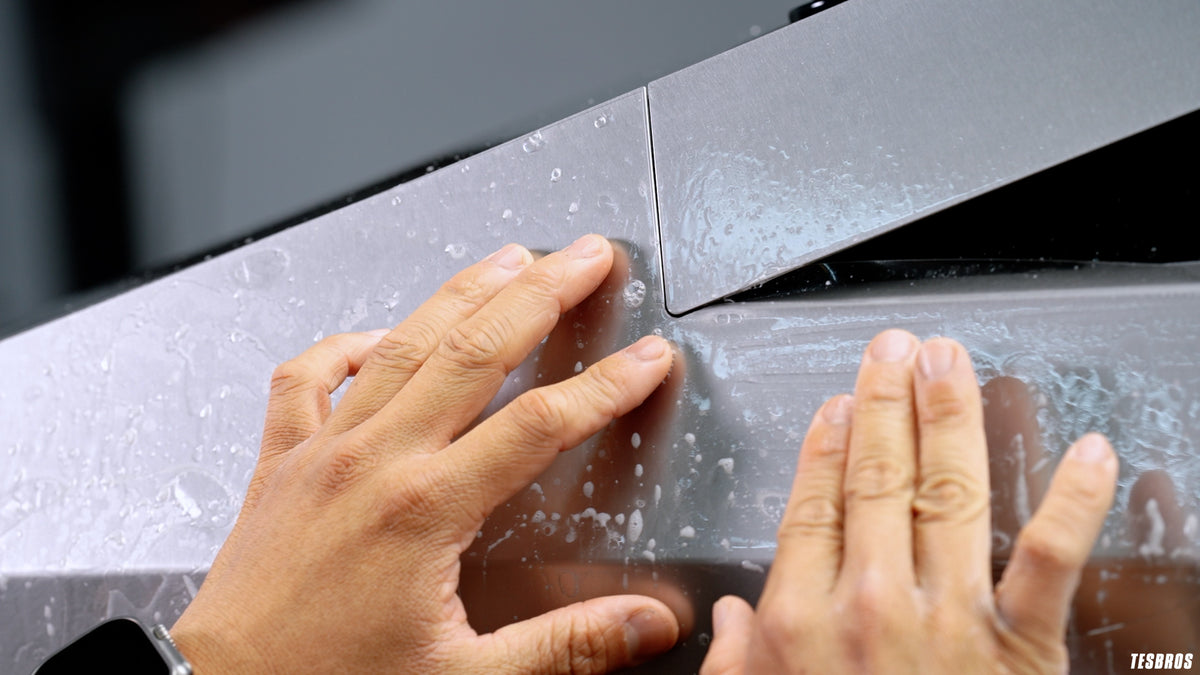
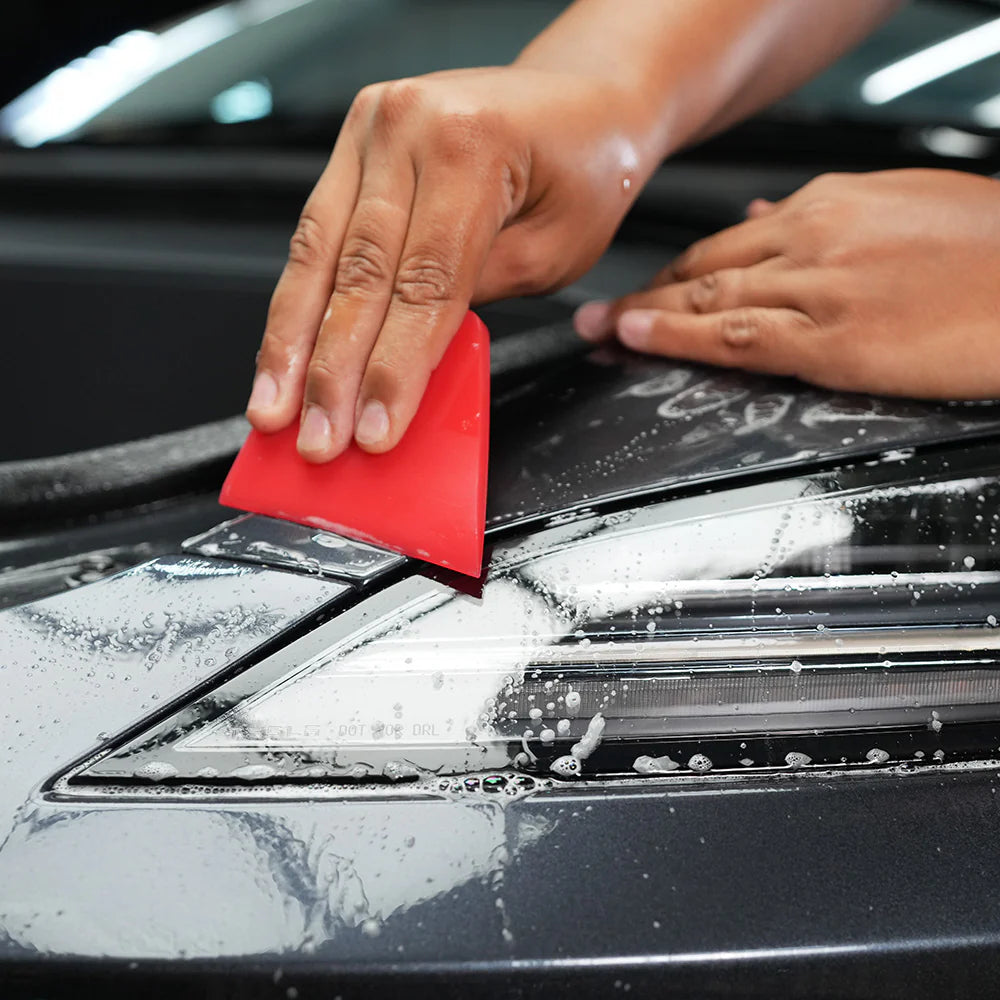
Step 2: Smooth Out The Vinyl
Using a soft-edged squeegee, start smoothing the vinyl from the center outward to remove air bubbles and creases. Work slowly and methodically, ensuring the material adheres evenly to the surface. Apply firm but gentle pressure to avoid damaging the vinyl.
Step 3: Use Heat To Shape The Vinyl
A heat gun is essential for working with curves and contours, such as those on Tesla’s sleek body. Apply heat to make the vinyl more pliable, allowing it to conform to the car's curves and edges. Be careful not to overheat, as this can damage the material.
Step 4: Tuck And Trim The Edges
Tuck and trim the edges once the vinyl is fully applied to the surface. Tuck the edges neatly under trims, door seals, or around emblems for a clean finish. Double-check that all edges are securely adhered to prevent peeling.
Step 5: Reapply Heat And Check For Imperfections
After the vinyl is in place, use the heat gun again to reapply heat across the wrapped surface. This activates the adhesive and ensures a strong bond. Inspect the wrapped area for any remaining bubbles or imperfections and smooth them out using the squeegee.
Step 6: Move To The Next Section
Repeat this process for each section of your Tesla. Take your time, and focus on one area at a time for the best results.
Maintenance Tips For Your Wrapped Tesla
Once your Tesla is wrapped, proper maintenance is key to keeping it looking sleek and preserving the vinyl’s longevity. Here are essential care tips to follow:
Wash Your Tesla Regularly
To maintain the appearance of the wrap, wash your Tesla regularly to remove dirt, dust, and grime. Use a mild car wash soap and soft microfiber cloths or sponges to avoid scratching the vinyl. Avoid harsh cleaning agents or abrasive brushes, as they can damage the wrap’s finish.
Avoid Automatic Car Washes
Automatic car washes, especially those with brushes, can scratch or peel the vinyl. Opt for hand washing instead, or use touchless car washes to minimize wear on the wrap.
Use A Vinyl-Safe Cleaning Solution
For stubborn stains, use a vinyl-safe cleaner designed specifically for wrapped vehicles. Avoid aggressive chemicals like solvents or petroleum-based products, which can degrade the vinyl and affect its adhesive properties.
Protect The Wrap From Harsh Conditions
Extended exposure to direct sunlight or extreme weather conditions can fade or damage the wrap. Whenever possible, park your Tesla in a garage or shaded area to protect it from UV rays. Using a car cover can also help safeguard the wrap from environmental elements.
Address Damage Promptly
If you notice small tears, peeling, or bubbles, address them promptly to prevent the issue from worsening. Minor damage can often be repaired using heat and pressure or by applying patch pieces of vinyl.
Avoid Pressure Washing
If you must use a pressure washer, keep the pressure low and hold the nozzle at least 12 inches away from the surface. Directing high-pressure water at edges or seams can lift the vinyl and cause peeling.
Waxing And Polishing
Avoid traditional waxing or polishing products unless they are specifically designed for vinyl wraps. Some products can create a hazy residue or affect the finish of the wrap. If you want to enhance the shine, look for wrap-safe detailing sprays.
Read also: