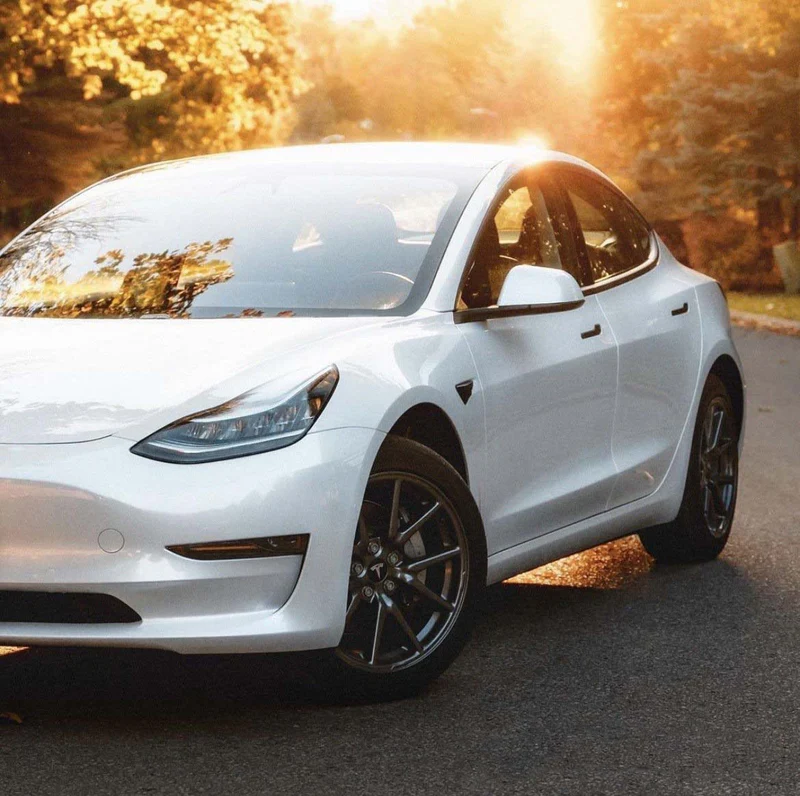
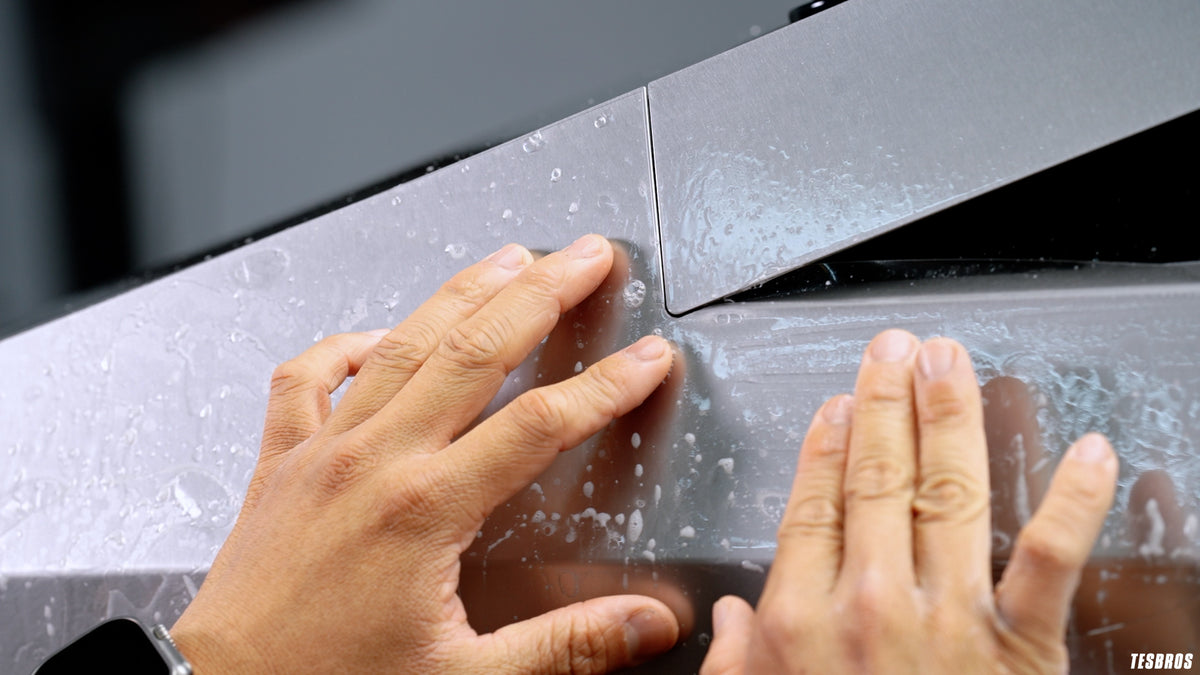
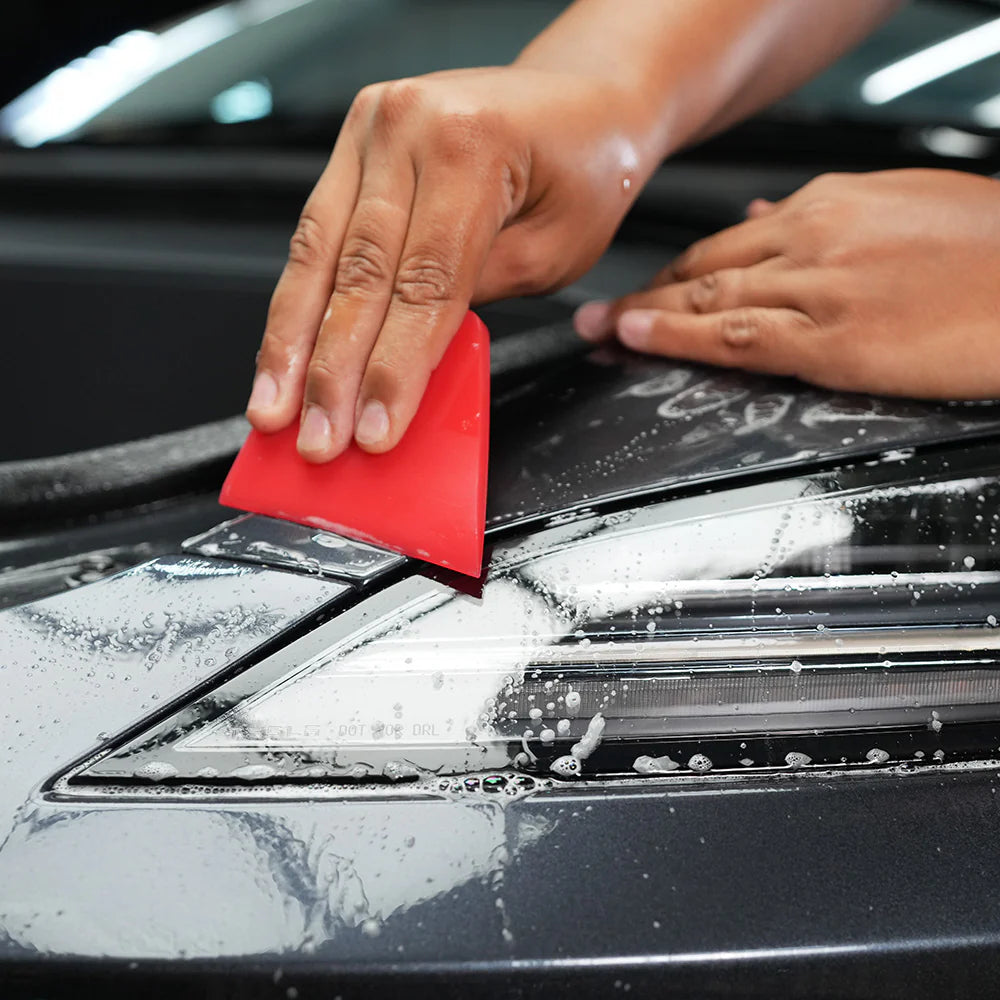
While ceramic coating isn’t mandatory, it’s highly beneficial for Tesla owners. It provides long-term protection against environmental contaminants, UV rays, and minor scratches while enhancing the vehicle’s glossy finish. Given Tesla’s unique paint finishes, ceramic coating is an excellent investment to maintain the car’s aesthetic and value.
- | / 最大 % 割引 % 節約 最大節約 を節約 販売 完売 在庫あり
DIYセラミックコーティング
TESBROSは、最高品質の製品と専門家によるアドバイスを提供することで、世界中のテスラオーナーの皆様から信頼をいただいております。お客様の愛車を最高の状態に保ち、最高のパフォーマンスを維持するためのサポートをいたします。ラッピングから塗装保護、セラミックコーティングまで、テスラ愛好家の皆様が大切な愛車を安全に保護できるようお手伝いいたします。
GYEON Q² モース エボ


GYEON Q² モース エボ
¥13,400 JPY
重要なポイント:
- 費用対効果の高い保護:DIY セラミック コーティングは、テスラのオーナーに手頃な価格で長持ちする保護を提供し、メンテナンスを簡素化しながら塗装を強化します。
- プロフェッショナルレベルの結果:完璧な仕上がりを実現するには、汚染除去や塗装の修正など、綿密な準備が必要ですが、適切なツールを使用すればプロレベルの結果が得られます。
- メンテナンスの重要なヒント:定期的な洗浄、セラミックブースターの塗布、そして刺激の強い化学薬品の使用を避けることで、セラミックコーティングの耐久性と効果が長期間維持されます。
セラミックコーティングとは何か?そしてなぜテスラに必要なのか?
セラミックコーティング塗布すると車の塗装と化学的に結合する液状ポリマーです。疎水性の保護層を形成し、テスラの光沢を高めるとともに、環境汚染物質、紫外線、小さな傷から車を長期間保護します。
テスラオーナーにとって、セラミックコーティングは、その高級感と革新的な塗装技術により、特に大きなメリットをもたらします。テスラ車は独特の塗装が施されていることが多く、路面の破片、厳しい天候、酸性の汚染物質によるダメージを受けやすい傾向があります。セラミックコーティングを施すことで、ショールームで見たような輝きを保ち、長期間の清掃やメンテナンスが容易になります。
テスラオーナーのためのDIYセラミックコーティングのメリット
選択するDIYセラミックコーティングテスラにはいくつかの利点があります:
コスト削減
プロのセラミックコーティングサービスは高額になる場合があり、サービスレベルに応じて数百ドルから数千ドルかかることもあります。DIYなら、わずかな費用で同様の仕上がりを実現できるため、予算を重視するテスラオーナーにとって理想的な選択肢となります。
カスタマイズ
ご自身でセラミックコーティングを施す場合、テスラの塗装色や仕上げに合わせて製品を自由にお選びいただけます。この柔軟性により、最適な性能が保証され、お客様のニーズに最適な高度な配合を探求することが可能になります。
満足と学習
セラミックコーティングを自分で施すことは、単に費用を節約するだけではありません。テスラの独特な塗装への理解を深め、充実したプロセスとなります。プロジェクトを成功させると、達成感と愛車の外観を維持するための個人的な投資が得られます。
ペイント保護
適切に塗布されたセラミックコーティングは、環境汚染物質、汚れ、有害な紫外線から耐久性のあるシールドを形成し、塗装の退色や軽微な損傷の可能性を大幅に低減します。この追加の保護により、テスラは長期間、高級感を保ちます。
美的魅力の向上
DIYセラミックコーティングは、テスラの仕上げを美しく仕上げ、鏡のような高光沢を実現し、モダンなデザインを引き立てます。このコーティングは、あなたの車を際立たせるだけでなく、ショールームで展示されたような新車のような外観を保つことで、再販価値を高めます。

テスラにセラミックコーティングを施すためのステップバイステップガイド
テスラに完璧なセラミックコーティングを施すには、入念な準備と施工が必要です。最良の結果を得るには、以下の手順に従ってください。
車を徹底的に洗って乾かす
まず、pHバランスのとれた洗剤を使ってテスラを徹底的に洗ってください。洗車用石鹸これにより、汚れや埃、道路の汚染物質が完全に除去され、作業しやすいきれいな表面が確保されます。石鹸の残留物をすべて洗い流し、乾いた布で拭き取ってください。マイクロファイバータオル水滴や水筋を防ぐため。
塗装面の汚染除去
洗った後、粘土棒または粘土製のミットと潤滑剤を使って、樹液、産業廃棄物、頑固な汚れなどの付着した汚れを取り除きます。これらの汚れは目に見えない場合もありますが、セラミックコーティングの接着を妨げる可能性があります。作業が終わったら、清潔なマイクロファイバークロスで表面を拭き、滑らかで汚れのない状態にしてください。
ペイント補正を実行する
塗装面に渦巻き状の傷、軽い傷、酸化などの欠陥がないか点検してください。欠陥がある場合は、研磨パッドと適切なコンパウンドを併用したデュアルアクションポリッシャーを使用して、これらの欠陥を修正してください。塗装修正を行うことで、セラミックコーティングが傷のない表面にしっかりと密着し、耐久性と輝きが向上します。研磨後は、イソプロピルアルコール(IPA)溶液で拭き取り、研磨剤の残留物や油分を取り除きます。新車やPPFを取り付けたばかりの場合は、この作業が必要になる可能性は低くなります。塗装修正は通常、プロまたはDIY愛好家が行う作業です。
セラミックコーティングを施す
アプリケーターパッドを、セラミックコーティングキットに付属のスエードクロスで包みます。クロスにセラミックコーティング溶液を数滴垂らします。車体の各部位を一箇所ずつ、直線的に塗布し、均一に塗布します。この方法により、コーティングが確実に塗布され、ムラや筋が残るのを防ぎます。
コーティングを平らにし、磨く
セラミックコーティングは、製品の説明書に記載されている推奨時間、そのまま放置してください。通常数分で、その間にコーティングが曇り始めます。曇ったら、清潔なマイクロファイバータオルで表面を優しく磨き、余分なコーティング剤を取り除き、コーティングを均一にします。滑らかで、ムラのない仕上がりになるよう注意してください。
コーティングを硬化させる
セラミックコーティングは、メーカーの指示に従って硬化させます。硬化期間中は、少なくとも24~48時間は車を屋内に保管し、水やほこりにさらさないようにすることが重要です。可能であれば、赤外線ランプを使用すると硬化が早まり、コーティングの塗装面への密着性が向上します。
検査と修正
コーティングが完全に硬化したら、テスラの表面を点検し、塗り残しやムラがないか確認してください。もし見つかった場合は、少量のセラミックコーティングを塗布し、優しく磨いてください。この最終工程により、均一で長持ちする仕上がりが実現し、最適な保護と輝きが得られます。
DIYセラミックコーティングに必要なツールと材料
テスラのDIYセラミックコーティングを始める前に、必要な工具と材料をすべて揃えることが重要です。必要なものは以下のとおりです。
必須ツール:
- マイクロファイバータオル: 表面の洗浄、研磨、乾燥に。
- フォームアプリケーターパッド:セラミックコーティング剤を均一に塗布します。
- クレイバーまたはクレイミット:塗装面に付着した汚れを除去します。
- マスキングテープ:適用中にプラスチックのトリムやバッジなどの領域を保護するため。
材料:
- セラミックコーティングキット: コーティング液、塗布布、説明書が含まれています。
- 洗車用石鹸: 車両を徹底的に洗浄するために、pH バランスが取れていることが望ましいです。
- イソプロピルアルコール(IPA)溶液: 脱脂、表面処理に。
これらのアイテムを準備しておくと、スムーズで効率的な DIY プロセスが保証され、プロレベルの結果が達成されます。
セラミックコーティングされたテスラのメンテナンス方法
セラミックコーティングされたテスラは、保護層の効果を維持し、車の外観を美しく保つために定期的なメンテナンスが必要です。コーティングにより集中的なメンテナンスの必要性が軽減されるだけでなく、適切なメンテナンスを行うことで、より長く使い続け、最適なパフォーマンスを発揮することができます。
テスラを定期的に洗車しましょう
セラミックコーティングを施しても、時間の経過とともに汚れやゴミが蓄積することがあります。pHバランスの取れた洗車用石鹸と柔らかいマイクロファイバーミットを使用して、2週間ごとにテスラを洗車してください。コーティングを劣化させる可能性があるため、強力な洗剤や研磨ブラシ付きの自動洗車機の使用は避けてください。
2つのバケツを使った洗浄法を使う
傷や渦巻き状の跡を防ぐには、バケツを2つ使う方法がおすすめです。1つのバケツには石鹸水を入れ、もう1つのバケツにはミットをすすぐためのきれいな水を入れます。こうすることで、洗車中に汚れが車体表面に戻るのを最小限に抑えることができます。
マイクロファイバータオルで完全に乾かす
洗車後は、柔らかいマイクロファイバータオルですぐに乾かしてください。こうすることで、コーティングの外観を損なう可能性のあるウォータースポットの発生を防ぐことができます。
刺激の強い化学薬品の使用を避ける
セラミックコーティングされた車専用の製品を使用してください。ワックス、研磨剤、研磨剤入りのクリーナーはコーティングを傷つけたり、疎水性を低下させたりする可能性があるため、使用を避けてください。
定期的な除染を実施する
セラミックコーティングを施しても、タール、樹液、産業廃棄物などの汚染物質が時間の経過とともに蓄積される可能性があります。6~12ヶ月ごとにクレイミットや低刺激性の除染液を使用してこれらの堆積物を除去し、コーティングの清潔さと効果を維持してください。
セラミックブースターを再塗布する
セラミックコーティングの疎水性と光沢性を維持するには、数ヶ月ごとにセラミックコーティングブースターまたはシーラントを塗布することを検討してください。これらの製品は塗布が簡単で、元のコーティングの耐久性を高めます。
コーティングを定期的に検査する
テスラの車体を定期的に点検し、水滴のつきやすさや光沢の低下など、摩耗の兆候がないか確認してください。問題があれば、コーティングの再塗布や必要に応じてタッチアップを行い、速やかに対処してください。
こちらもご覧ください:
-
-
Yes, but it requires careful preparation, attention to detail, and patience. Most ceramic coating kits include instructions to guide beginners through the process. Watching tutorials and practicing on small sections first can also help ensure success. We recommend Mohs Evo because we have found it to be the most beginner-friendly and forgiving when it comes to successful applications.
-
The longevity of a DIY ceramic coating depends on the quality of the product and how well it is applied and maintained. Most DIY coatings last between one and three years with proper care and periodic touch-ups.
-
Signs of a proper application include a uniform glossy finish and strong hydrophobic properties, such as water beading and rolling off the surface. If the coating looks streaky or uneven, it may require buffing or reapplication.
-
The most challenging aspect is surface preparation, which involves washing, decontaminating, and correcting the paint. These steps are crucial for the coating to bond properly and deliver optimal results.
-
No, applying wax over ceramic coating is unnecessary and can diminish its properties. Ceramic coatings already provide a protective, glossy layer, so additional wax isn’t required.

