


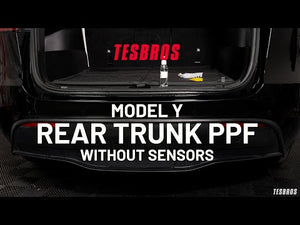


- トランク保護用PPF
- スリップボトル
- タックボトル
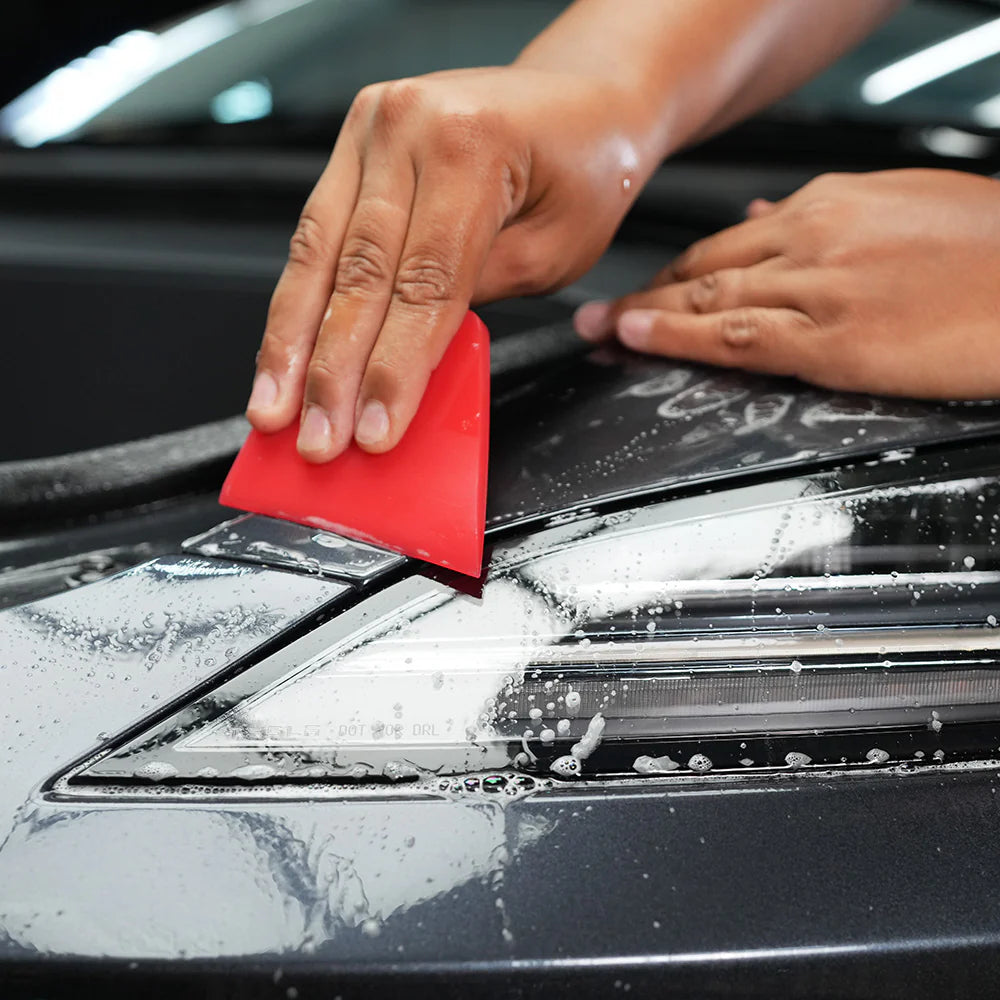
- スクイジー
- インストールガイド
- | / 最大 % 割引 % 節約 最大節約 を節約 販売 完売 在庫あり

.svg?v=144615871337664008991737747827)


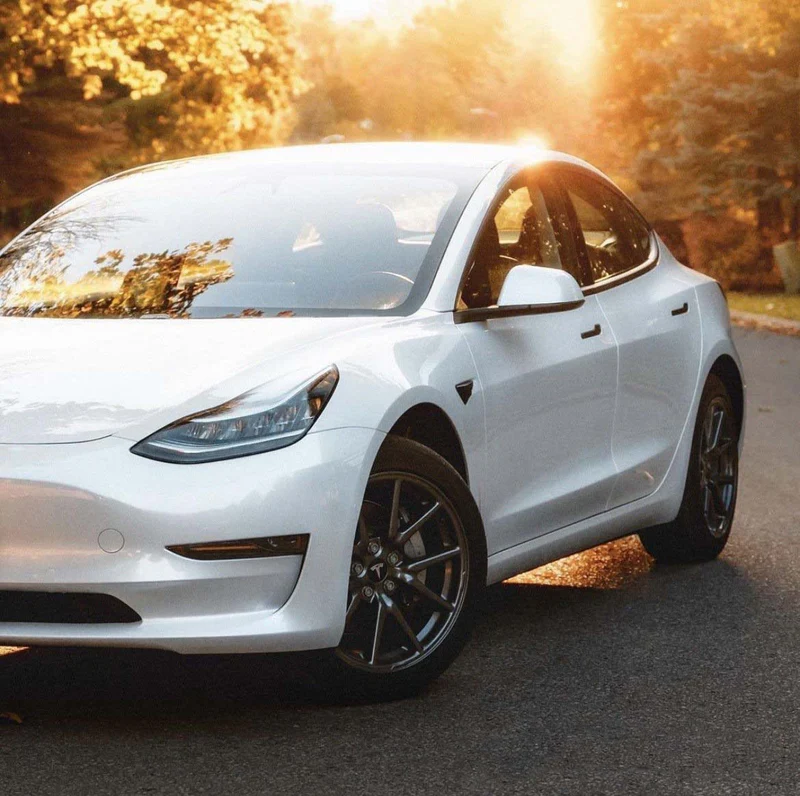
トランクに荷物や自転車、ベビーカーなどを積むことが多いオーナーに最適です。
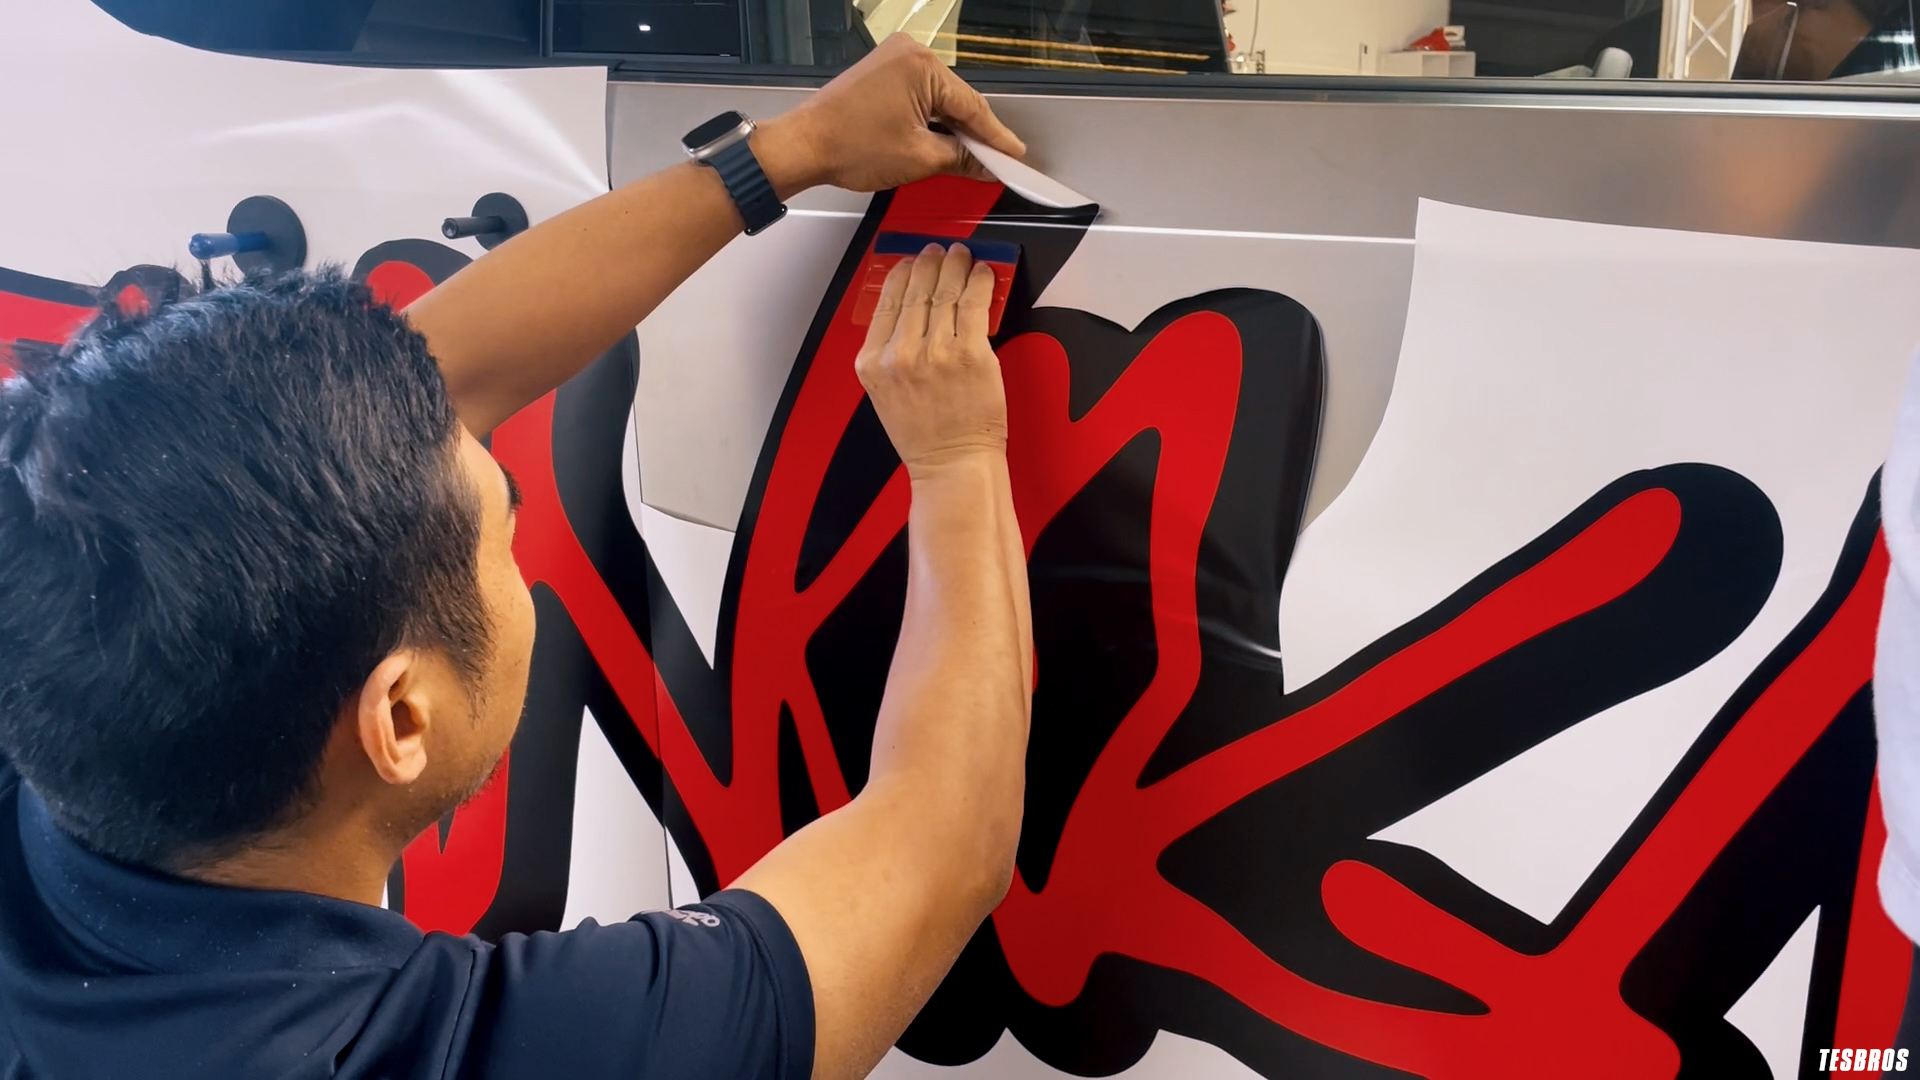
ほとんどのお客様はこのキットを自分で取り付けます。 PPF インストールに関するある程度の経験は役に立ちますが、必須ではありません。
取り付け時間: 0.5 時間
推奨温度: 65°F – 75°F
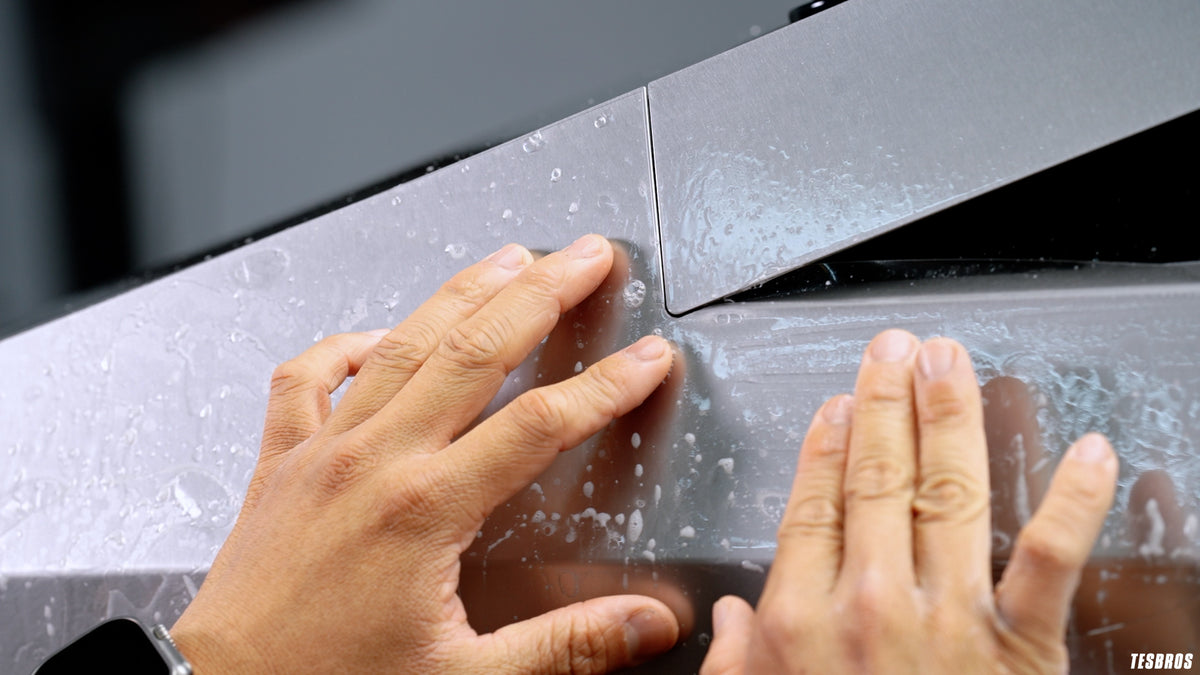
必要なツール:付属の取り付けボトルに水を加えるだけです。ビデオの作り方:
残念ながら、PPF はセラミックコーティングには接着しません。すでにセラミックコートを施してある場合は施工をお勧めしません。
少なくとも 24 時間待ってから運転することを強くお勧めします。これにより、PPF が完全に接着する時間が確保され、水や破片が表面の下に入り込むことがなくなります。
PPF は 65 ~ 75 °F の温度で取り付けるのが最適です。寒すぎると硬く感じる場合があります。熱すぎるとさらに伸びてしまいます。
指が小さい場合は、タック溶液を使用してスキージで押し込むのが最も簡単な方法です。それでも続く場合は、スキージをマイクロファイバーで包み、スキージで押し下げます。マイクロファイバーが水を吸収し、粘着性が高くなります。
ニッケルよりも大きい場合は、PPF を持ち上げて、再度押し下げます。ニッケルより小さい場合は、時間内に消散して蒸発するはずです。
安全を確保するために、少なくとも 24 時間、ただし 48 時間待つことをお勧めします。
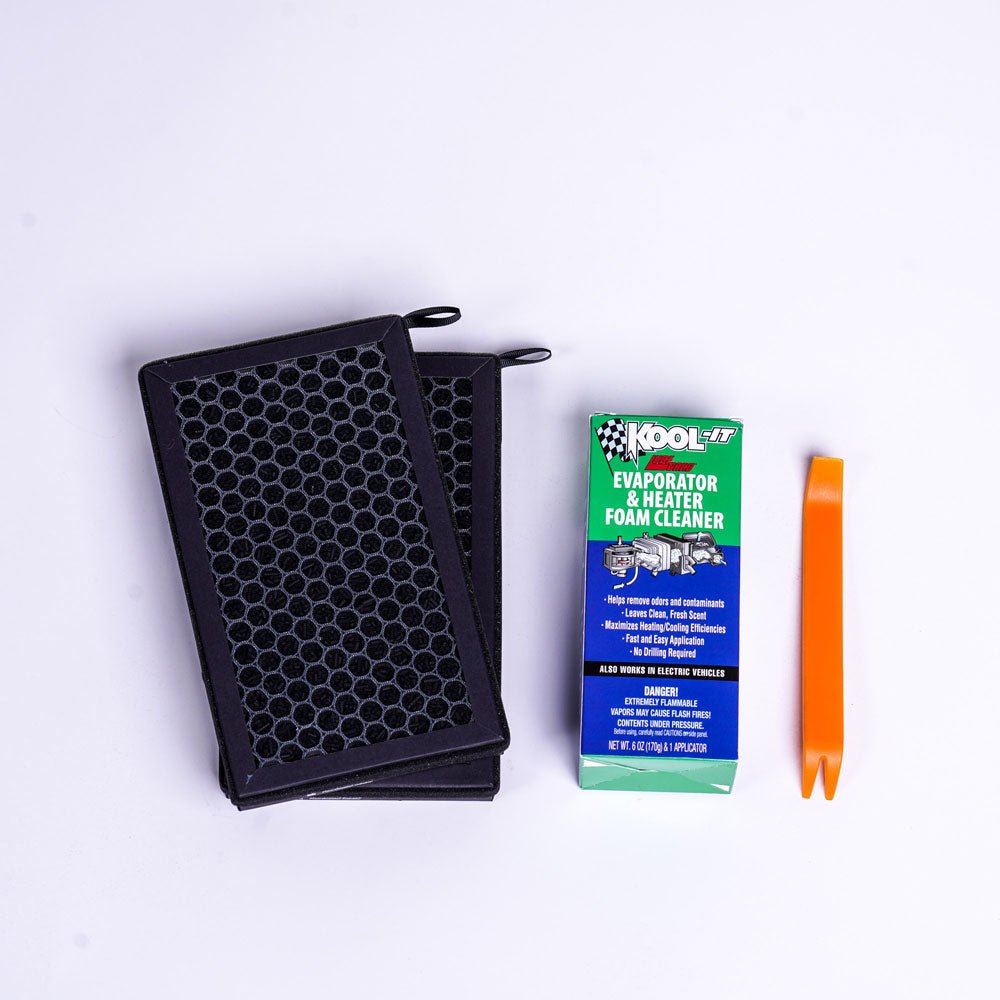
はい、必要なものはすべてキットに含まれています。追加する必要があるのは、スリップ アンド タック ボトルに水を加えるだけです。
いいえ、当社のキットは簡単に取り付けられるようにカット済みでお届けします。
可能ですが、十分にご注意ください。隅々まで注意が必要です。スプレーガンを直接端付近に向けるとフィルムが剥がれる場合があります。端に直接スプレーしないでください。大丈夫です。
PPF は乾式取り付けであるビニールと比較して湿式取り付けであるため、調整が簡単です。間違いがあった場合は、当社までご連絡ください。有償で交換品をお送りいたします。
私たちの映画は10年間評価されています。
絶対に。車をさらに簡単にきれいに保つことができる、PPF 専用のセラミック コーティングが多数あります。
@teslabros

最高です!!!! 本当に最高でした!皆さんのコミュニケーションは素晴らしく、部品の一つを壊してしまった時にも助けてくれて本当に感謝しています。サイバートラックは今では見事に輝き、みんなどうやって黒に変えたのか聞いてきます!
ダニエル
アメリカ合衆国

すごい!説明動画はとても役立ち、貼り付けに必要な手順をすべて網羅していました。手順は分かりやすかったです。パーツによっては、少し時間と注意が必要なものもありますが。全体的にとても気に入りました!
ジョーダン
アメリカ合衆国

大変身!他の白いモデル3と一線を画したかったので、ピラーデリートを注文しました。全てがぴったり合うようにカットされていました。初めての取り付けでしたが、仕上がりに大満足です。キットには必要な工具がすべて揃っていました。Tesbrosの製品とサービスは素晴らしかったです!
エドワード
アメリカ合衆国

先週末、M3Pのインストールを初めて行いました。全体的に良い経験でした…2人目の人がいてくれたので本当に助かりました。無事に完了し、保護されて良かったです。乾杯!
アレックス
アメリカ合衆国

素晴らしい製品です。このキットは、パッケージからチュートリアル動画、工具、フィルムに至るまで、すべて最高品質でした。DIY初心者でも簡単に施工でき、仕上がりにも大変満足しています。絶対にお勧めします。10点満点中10点です!
ミシェル
アメリカ合衆国

保護キットは機能的で、DIYの説明も分かりやすいです。素晴らしい製品です!
ティファニー
アメリカ合衆国


当社の DIY 保護キットには、Tesla を日常的なダメージから保護するための、耐久性があり簡単に貼り付けられる素材が揃っています。

ドアハンドル、ミニロッカー、B ピラーなどの重要な場所を傷、欠け、日常的な摩耗から保護します。

当社の保護フィルムは軽量でありながら耐久性に優れているため、簡単に貼り付けることができます。

各パーツは精密にカットされており、Tesla の最も傷つきやすい小さな表面にシームレスにフィットします。
プレカットPPF保護

必要なツールがすべて含まれています

ステップバイステップのインストールガイド
I was a little concerned with this installation due to the corner on the bumper. I watched & followed the video instructions carefully & the result turned out quite good. Not bad for a beginner.
My 2023 Model Y has no bumper sensors. I used only the left vinyl guide. Once I had the left side anchored, the rest was relatively straightforward.
It’s difficult to see the edge of the PPF so the picture provided is from the left side where a scratch is visible from someone’s luggage (LOL).
After using the "Test Kit" provided with the order and doing really well with the mirror, I decided to attack the task! Took me 2 afternoons to do the job, and it came out pretty good, I end up with couple bobbles that went away with couple weeks.
TESBROS installation videos are great. Great product, ppf is cut exactly to size and specs of the vehicle
Very easy to install. Spray the slip solution liberally, in this case, less is not more.
Here are my few notes, which made me take a star off. Since I have a MYLR '23, I do not have sensor hole cut outs. There was no obvious way of knowing if the straight edge of the PPF, or the curved edge of the PPF went towards the rubber seal of the hatch. The answer: the curved side goes towards the seat, the flat edge goes towards the ground/plastic trim.
So once I got everything set properly, I realized the error, and had to peel it off, quickly make more slip solution with some baby shampoo - and reapply it.
The second - it includes two pieces of vinyl as guides to install the film. I applied the vinyl in the right place - and either it's cut in the incorrect size, or the PPF is cut too small. The distance between the PPF and the vinyl guides was about a half inch either side. I would've expected tolerances that were a little closer, to help eyeball center.
Final note - the PPF towards the hatch gasket stops after the first lip of the bumper - it does not extend past that horizontal flat surface, and continue vertically - under the gasket. Not the end of the world - however just be careful, that flat surface gathers water and road grim easily, and a quick swipe with a microfiber will scratch it. It's visible from the back the car - but fortunately it's not an area that is generally looked at - and difficult to see when the hatch is closed.
If I were asked if I would…
Excellent product. Feels durable and easy to apply.