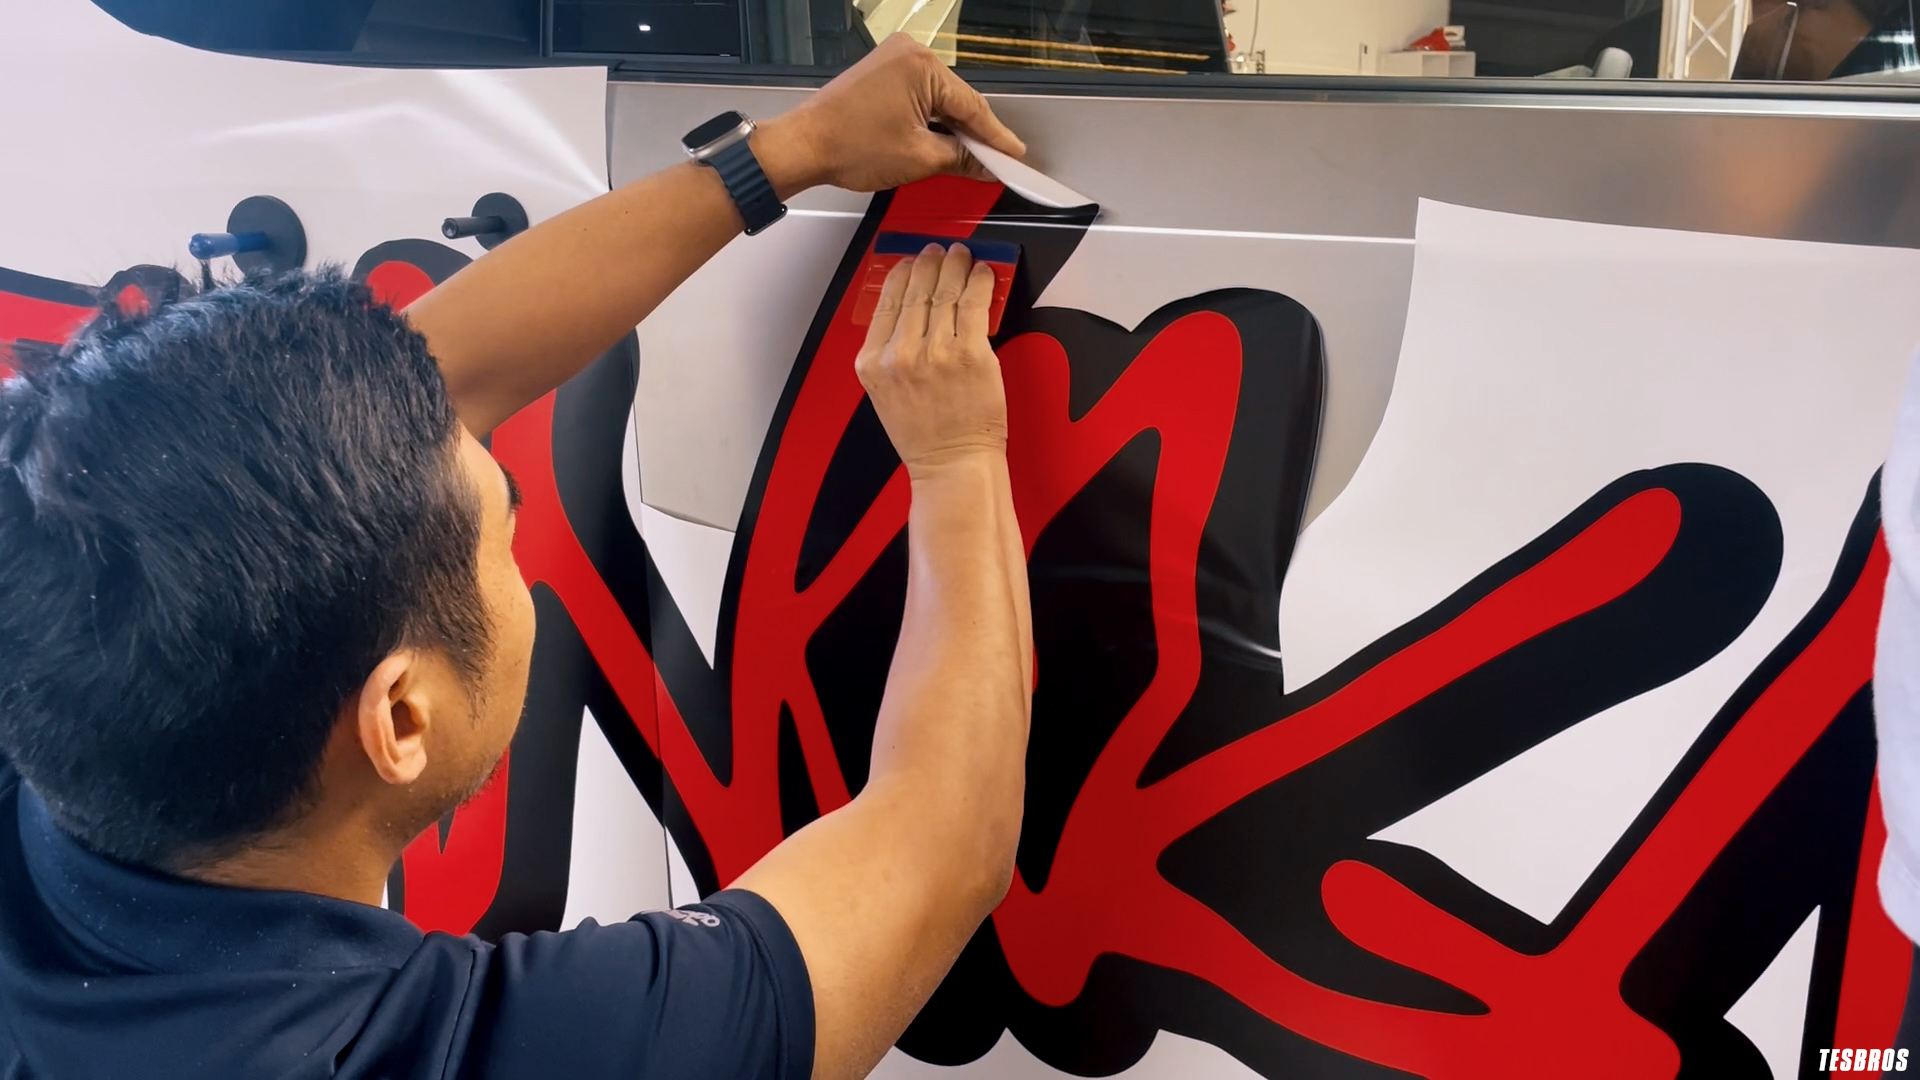
Easy install, 10/10 tutorial training courses and guides from Tesbros ( 2023 Model 3 )
9.8/10 installation for a DIY kit. I even did this outside because I have no garage (Very Early morning, non-windy day, 50- 67 degree F outdoor temp), AND all by my self. It came out pretty much perfect.
I have had some experience in vinyl wrapping of my previous car (roof and interior trims). I will say PPF is WAY easier because it is a wet installation so don't be intimidated.
My advice is to watch the Tesbro Video Guides before.
-0.2 points because I do wish the front bumper/fender did not have any seams and just came in one PFF piece.. , But at the end of the day this was probably a better idea for noobs since it would be a lot more difficult to install a single sheet, which requires stretching of the PPF material.
Some tips while installing:
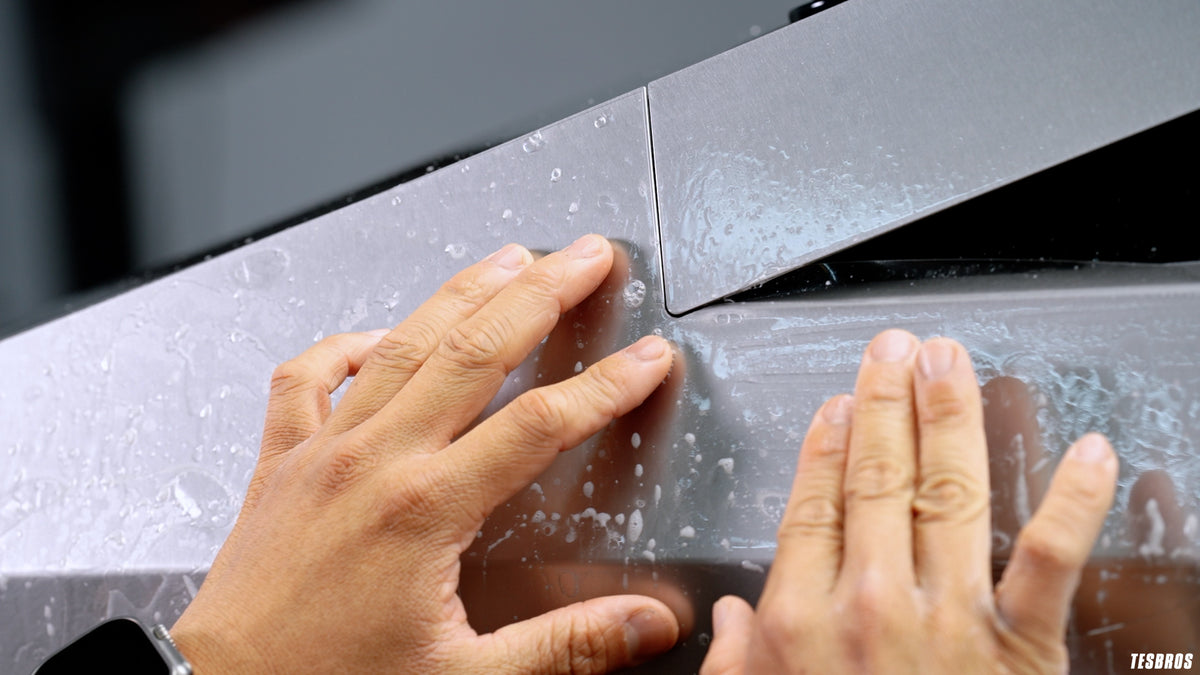
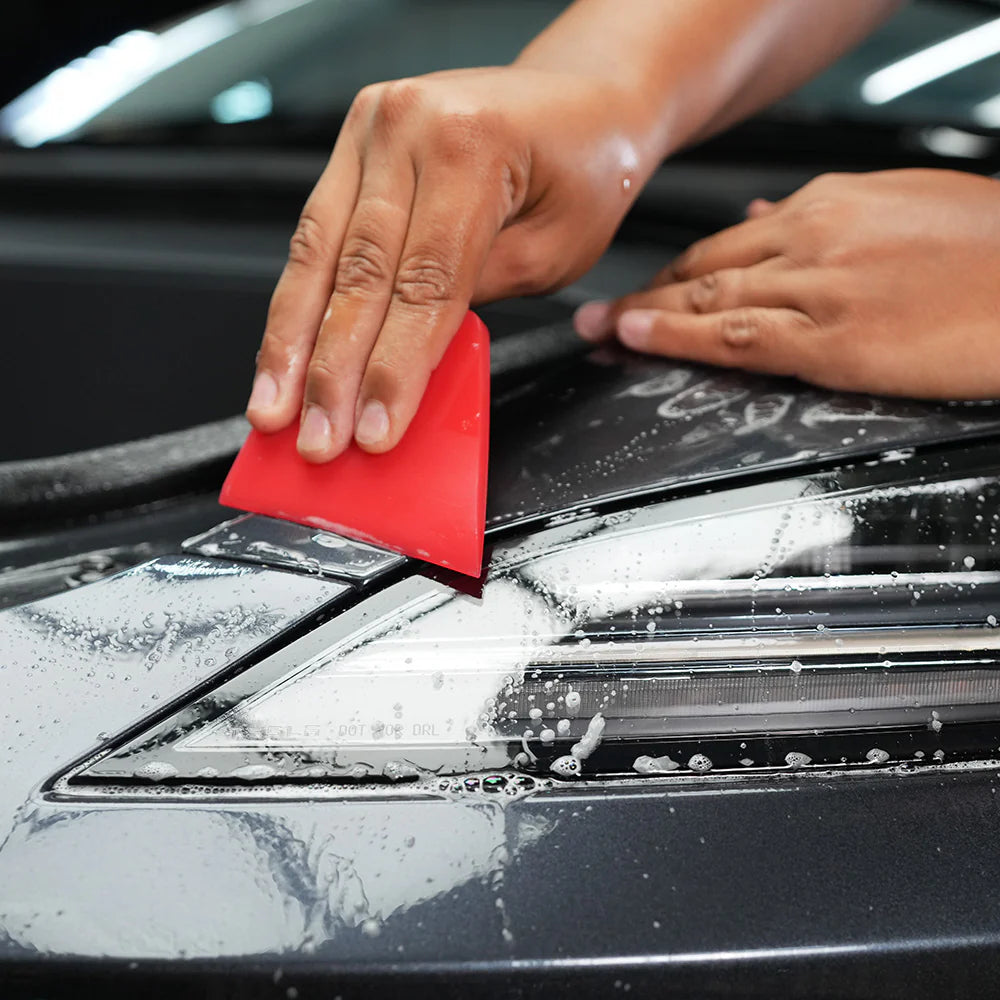
1. Make sure you thoroughly squeegee all parts of the film to get out all the air bubbles. Even though I was slow and methodical when squeegeeing, I thought everything came out perfectly, except a small bubble in the front bumper corner areas. There was couple slip solution bubbles which I happen to miss. But it's so small, no one will ever notice except me... :( lol
2. If you get any specs of dust, simply use the slip spray bottle to wash out from underneath the film. I recommend not to wear (polyester shirts) NO cotton shirts or pants during install which could potential shed cotton lint. .
3. Make sure you take your time and "sew" the seams right up against each other. This is probably the main advice I would give.…


.svg?v=144615871337664008991737747827)


