Free Continental U.S. Shipping Orders $99+ SHOP NOW

    DIY Protection Kit for Model Y

    Tempered Glass (9H) Screen Protector for Model 3/Y

    Complete Chrome Delete Kit for Models 3, S, & X

    Stealth Bundle for Model 3 & Y

    DIY Front Protection Kit - PPF for Model 3

    Best Seller

    DIY Front Protection Kit - PPF for Model 3

    Best Seller
    Style: With Sensor Cutouts (2017-2024)

    Free Continental U.S. Shipping $99+

    Installation Level: Intermediate

    Installation Intermediate

    Free Video Guides

    All Tools Included

    USA Support
    PRICE MATCH GUARANTEE Found a better price? Let us know and we'll match it!
    Match It

    *This kit does not fit the Highland Model 3

    Note: Orders outside of the continental U.S. do not come with 70% Isopropyl Alcohol due to shipping restrictions. U.S. orders can only be sent through ground shipping.

    Protect your Tesla's most vulnerable areas from rocks, scratches, and insects. 

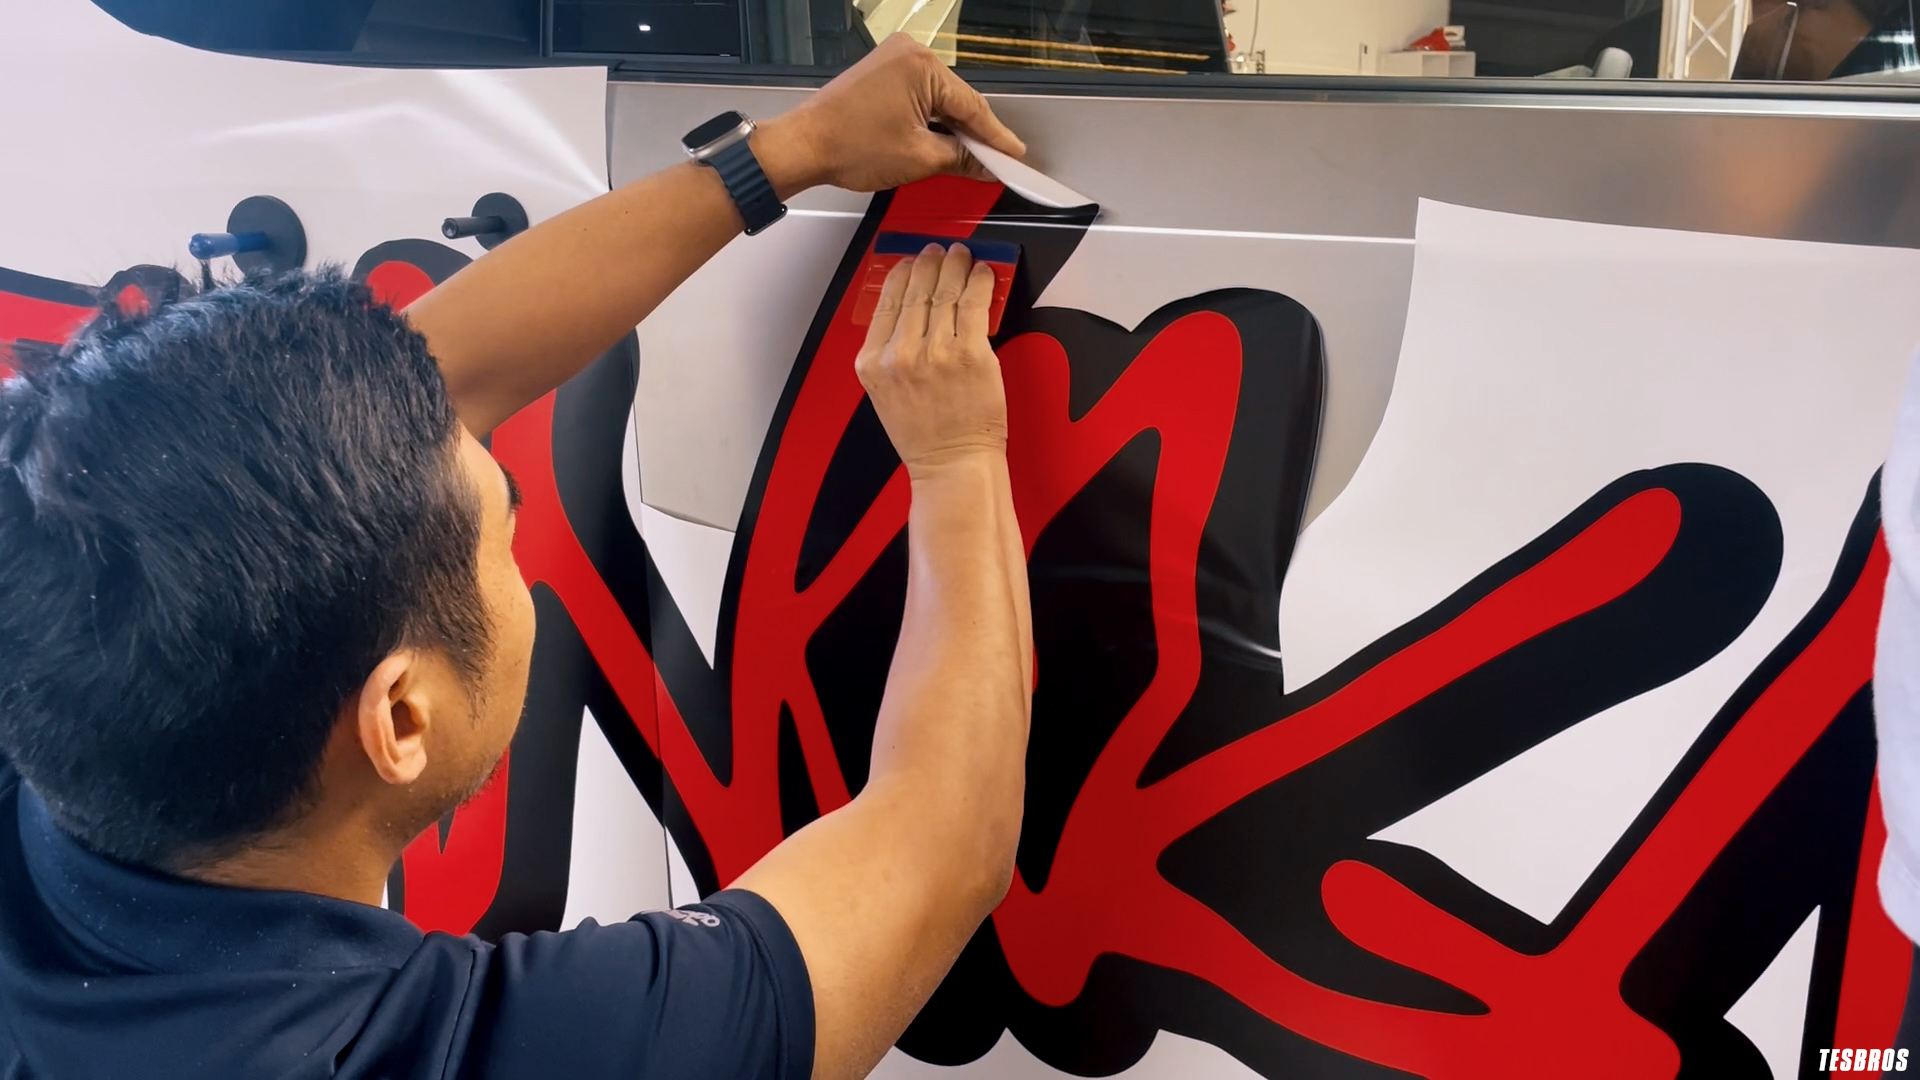
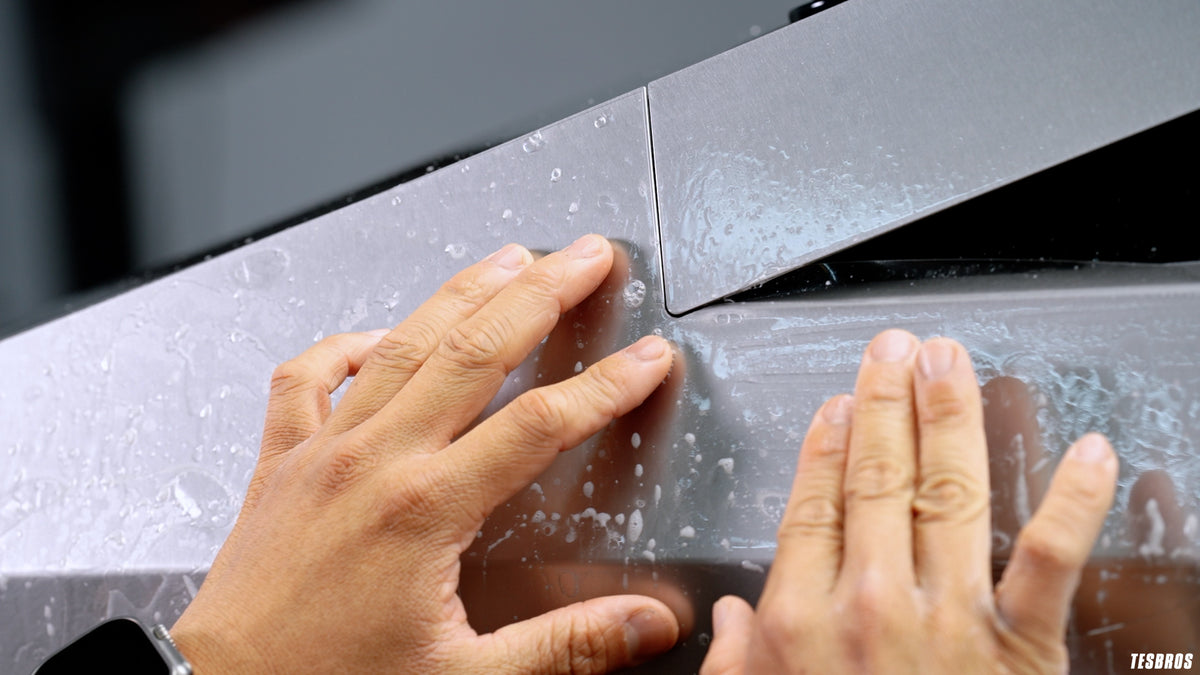
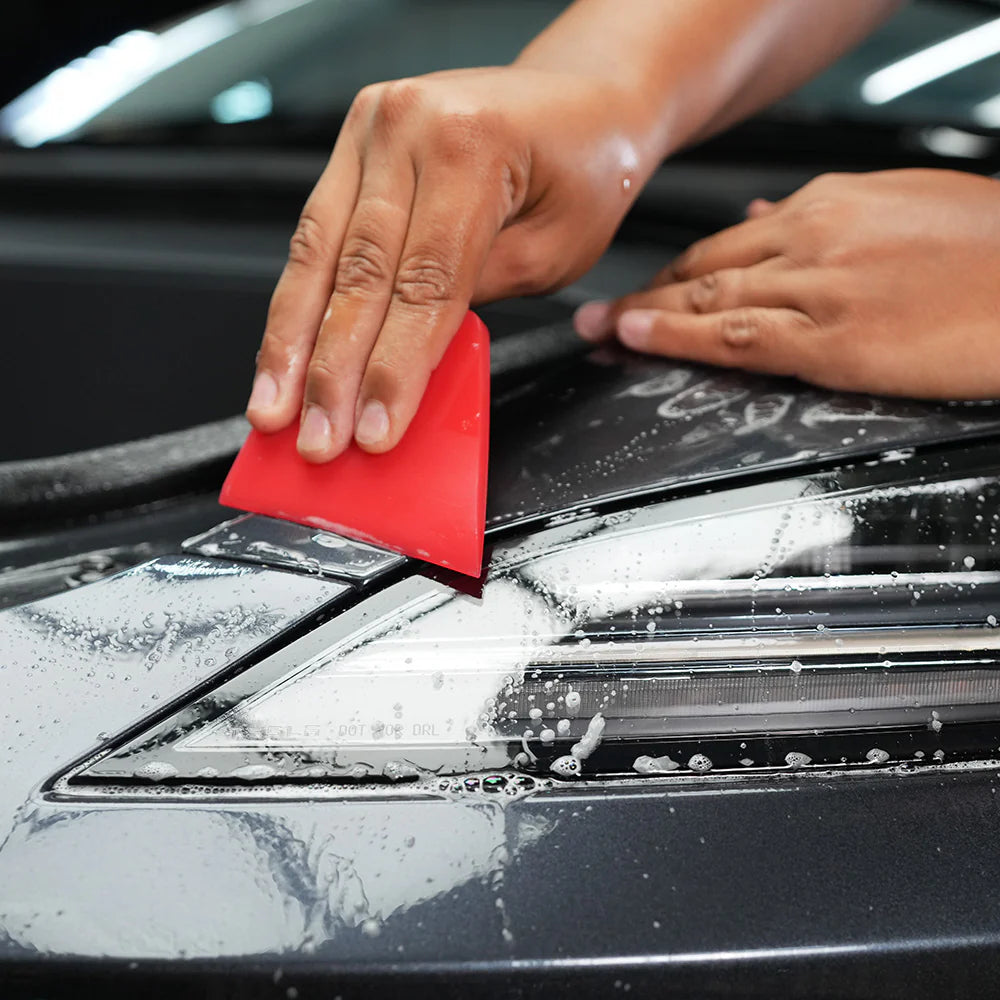
    Our DIY Front Protection Kit comes with everything you need to keep your Tesla safe from the elements, including a video course and expert support so you can get all the help you need. 

    We've taken all the pain points from a professional install and either eliminated them or made them easier for anyone to do. We've also included all the tools that we've decided over our install experience are the best. Get yours today and let's get started talking all things PPF! 

    • DIY peel & apply application 
    • Tools & online courses provided 
    • Lasts 10 years
    • Designed and made in the USA

    Includes:

    • Front Bumper PPF
    • Hood PPF
    • Fenders PPF 
    • Headlights/Fog lights PPF 
    • Mirrors PPF 
    • Premium Slip Bottle
    • Premium Tack Bottle
    • 5-Piece Squeegee Set 
    • 70% Isopropyl Alcohol 
    • 5 x Microfiber Towels
    • 1 x Wash Mitt
    • TESBROS Car Wash Shampoo
    • TESBROS Prep Wash
    • Clay Bar
    • 1 pair of Nitrile Gloves 
    • Slip Solution Packets 
    • Electronic Step-by-Step Install Course

    Specs:

    • Avery Supreme Defense PPF
    • Fits Tesla Model 3 2017-2023

    This kit is not eligible for returns or refunds.

    NOTICE: Tesla recently announced that all Model 3 and Model Y's will no longer be equipped with Ultrasonic Sensors in favor of its "Tesla Vision" system. 

    To figure out whether your Tesla is equipped with ultrasonic sensors or not, please review the image below.


    If you purchased our kit prior to your delivery and your Tesla does NOT have the sensors, please email us at support@tesbros.com for a replacement piece free of charge. 

    If your car has 6 round sensors in the front or rear bumper, please choose "WITH SENSOR CUTOUTS". 

    If your car has no round sensors anywhere on the front or rear bumper, please choose "NO SENSOR CUTOUTS" as your option. 

    Thinking about whether you can do this or not? Our kit was designed with beginners in mind! If this is your first PPF install, click here to see how it works. 

    Online Course:

    The first step is to access your online course which includes all the information you need to successfully install your DIY PPF Kit. 
    Access Course Here

    NOTE: You will receive FREE access to courses via email after purchase.

    Whats the difference between Model 3, Model 3 Highland Standard, and Model 3 Highland Performance?


    Is this PPF a gloss or stealth (matte) finish?

    We currently only offer the Gloss finish.

    Can I install PPF over ceramic coating?

    Unfortunately, PPF will not adhere to ceramic coating. We do not recommend installing if you already have a ceramic coat.

    Do I have to disassemble parts of the car to apply the wrap?

    Not at all! Our kit was carefully designed to fit without removing anything or having to use a knife on the car.

    How long does PPF last?

    We use Avery Supreme Defense PPF that is rated for 10-years of durability. The film will not yellow or crack over time.

    Do I need prior experience with PPF?

    Nope! We designed this kit for the average Joe. We include everything you need to learn as you go.

    How long does it take to install?

    This can depend on the person, but we estimate it will take 8-12 hours if installed alone. 

    What’s the difference between your kit and other PPF kits?

    We include in-depth courses that walk you through the installation process. Other kits require prior PPF knowledge, while ours is completely beginner-friendly.

    Can I put ceramic coating over PPF?

    Absolutely. There are many ceramic coatings that are specifically for PPF which will make the car even easier to keep clean!

    This kit is not eligible for returns or refunds. Reach out to us at   support@tesbros.com with any questions or replacement needs.
    5.0
    Rated 5.0 out of 5 stars
    Based on 54 reviews
    Total 5 star reviews: 52 Total 4 star reviews: 2 Total 3 star reviews: 0 Total 2 star reviews: 0 Total 1 star reviews: 0
    100%would recommend this product
    Slide 1 selected
    54 reviews
    • A
      Anonymous
      Flag of United States
      Verified Buyer
      10 months ago
      Rated 4 out of 5 stars
      DIY PPF

      Overall this is a well put together kit and the instructional videos were very helpful. Patience is key as it will take several hours to get a quality result.

    • R
      Ryan
      1 year ago
      Rated 5 out of 5 stars
      Great Investment

      I couldn’t be more pleased with how the finished product looks. You won’t find a better DIY kit. Since I had no previous experience I watched the videos twice, it still took me several hours to complete, but looks better than I expected. Seal edges well to avoid dirt entering while driving after. I used a larger table and brought an extra light in the garage. I only had my wife help with larger bumper pieces, but it can be done by yourself. The fender and bumper seams were the most challenging part, but if you take your time you won’t see them! I did have a few bubbles when I was done, but all but 1 or 2 went away within a week. The others are easily fixed. My car was only 2 weeks old, but I still did the entire prep routine and that helped. I had to do many pieces a 2nd or 3rd time due to dirt or not being perfect, just spray your slip solution and start over. Tips: spray plenty of slip when peeling film and take your time - larger pieces are a challenger. 2) remember to always push away from Tack areas and squeegee all moisture out. It will take patience, but it’s so worth it, I feel so much more comfortable driving now. Thanks Tesbros for an awesome product (use Facebook page, Ji is awesome!) Picture shows completed mirror and a couple hood bubbles that went away.

    • S
      Scott
      Flag of United States
      Verified Buyer
      1 year ago
      Rated 5 out of 5 stars
      Easy install, 10/10 tutorial training courses and guides from Tesbros ( 2023 Model 3 )

      9.8/10 installation for a DIY kit. I even did this outside because I have no garage (Very Early morning, non-windy day, 50- 67 degree F outdoor temp), AND all by my self. It came out pretty much perfect.

      I have had some experience in vinyl wrapping of my previous car (roof and interior trims). I will say PPF is WAY easier because it is a wet installation so don't be intimidated.

      My advice is to watch the Tesbro Video Guides before.

      -0.2 points because I do wish the front bumper/fender did not have any seams and just came in one PFF piece.. , But at the end of the day this was probably a better idea for noobs since it would be a lot more difficult to install a single sheet, which requires stretching of the PPF material.

      Some tips while installing:

      1. Make sure you thoroughly squeegee all parts of the film to get out all the air bubbles. Even though I was slow and methodical when squeegeeing, I thought everything came out perfectly, except a small bubble in the front bumper corner areas. There was couple slip solution bubbles which I happen to miss. But it's so small, no one will ever notice except me... :( lol

      2. If you get any specs of dust, simply use the slip spray bottle to wash out from underneath the film. I recommend not to wear (polyester shirts) NO cotton shirts or pants during install which could potential shed cotton lint. .

      3. Make sure you take your time and "sew" the seams right up against each other. This is probably the main advice I would give.…


    • A
      Anonymous
      Flag of United States
      Verified Buyer
      1 year ago
      Rated 5 out of 5 stars
      Model 3 Full frontal PPF kit

      Video instructions really make a world of difference when installing the PPF. The kit is well put together and I would recommend it to anyone considering PPF on their Tesla.

    • AA
      Ali Al H.
      Flag of United States
      Verified Buyer
      1 year ago
      Rated 5 out of 5 stars
      Overall this kit is a budget DIY protection that saved me $1100

      I was not sure to buy this kit then I decided to pull the triger and get it. My local ppf shop asked for $600 to install the front bumper only and $1650 for full front. I get this kit for about $680 with sales deal 😍 👌. It save me money, the local shop asked to drop the car for 4 days at thier shop that will add extra uber cost to me like $100.

      I watched tesbros YouTube videos like 2-3 times and then when I started installing I was following the steps and YouTube like watch each part for each piece before starting then I start installing one piece at a time, this will help to minimize errors. I spent 4 hours prep my car and 12 -14 hours including watching time to installing it. I wash the car on Friday night and start working on it on full Saturday and Sunday.

      Tips:

      Get 3 Glallon on distilled water before starting

      Get big table or 2 tables sit next to each other

      Get Ramp to raise the car ( it will give you better access to the lower bumper)

      Get someone to help you, my wife was a great help to me

      Get big light and tourch light too

      Clean the space well

      Challenging

      The kit designed to have seam lines I understand why they did it because I can't imagine how to installing it without them as it will require more stretch and professional level. However, butt seam eadges is taking time and effort to make it looks good but not easy.

      I found some hair dirt inside the film in some areas which cannot removed. These hair dirt was not mine it was some contaminated…

    Reviews LoadedReviews Added
    PRICE MATCH GUARANTEE Found a better price? Let us know and we'll match it!
    Match It