


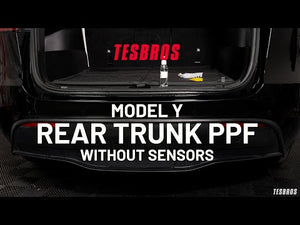


- PPF for Trunk Protection
- Slip Bottle
- Tack Bottle
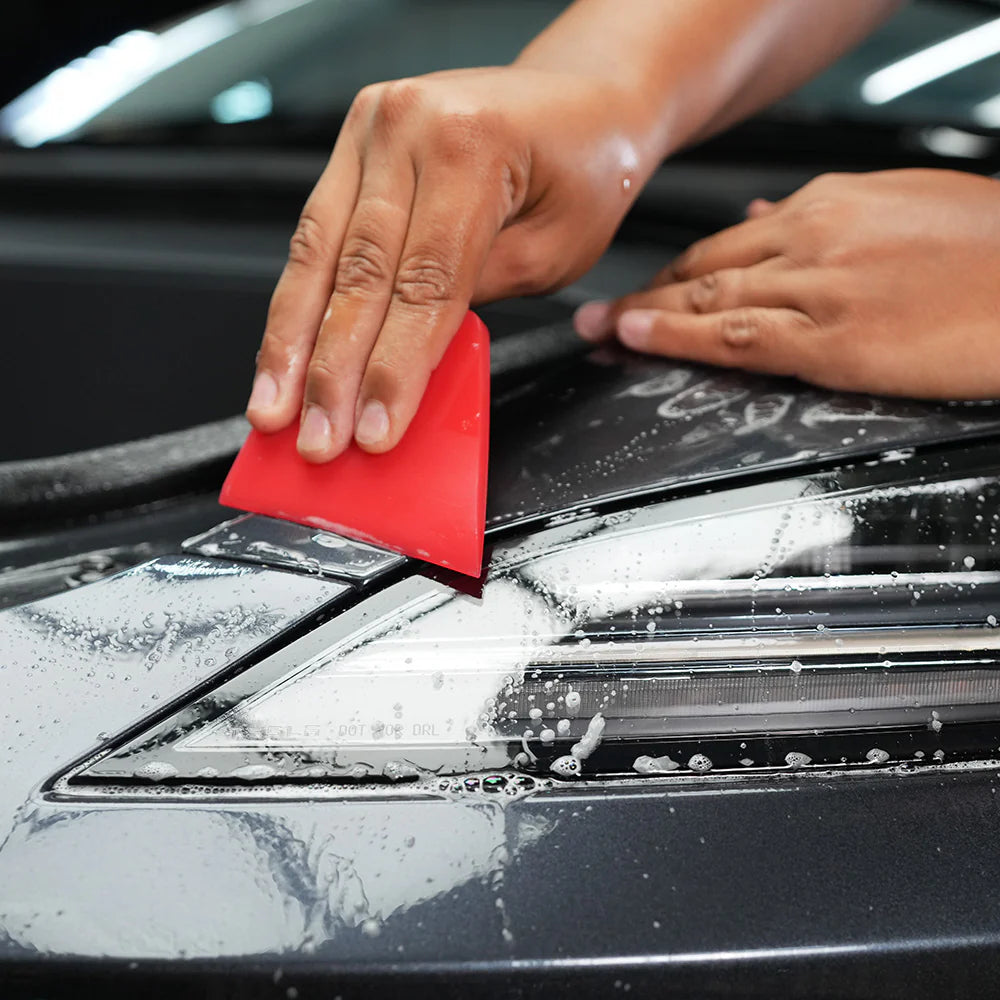
- Squeegee
- Install Guide
- | / Save up to % Save % Save up to Save Sale Sold out In stock

.svg?v=144615871337664008991737747827)


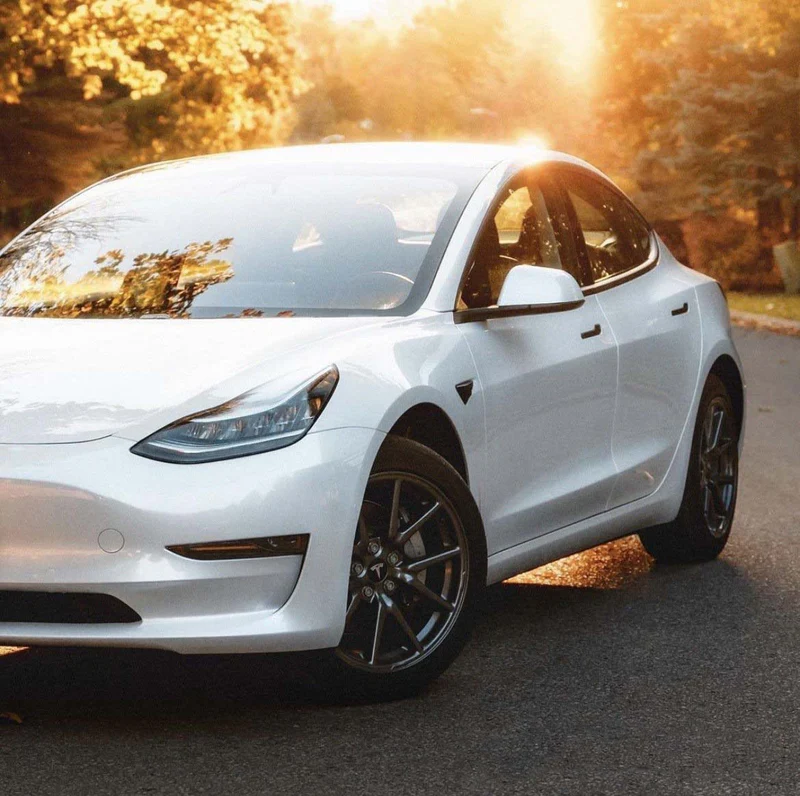
It's perfect for owners who often use their trunk to haul baggage, bikes, baby strollers, etc.
Most customers install this kit themselves. Some experience with PPF installation is helpful, but not necessary.
Installation time: .5 hours
Recommended Temperature: 65°F – 75°F
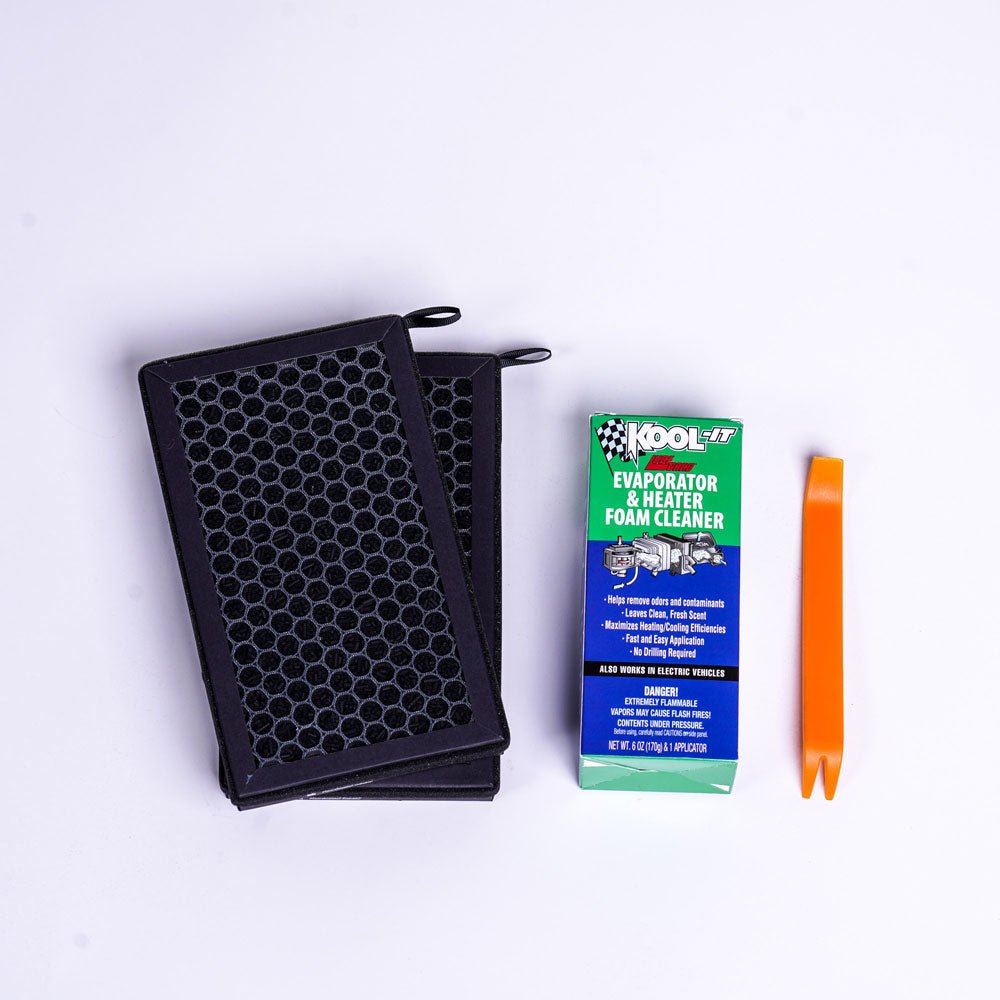
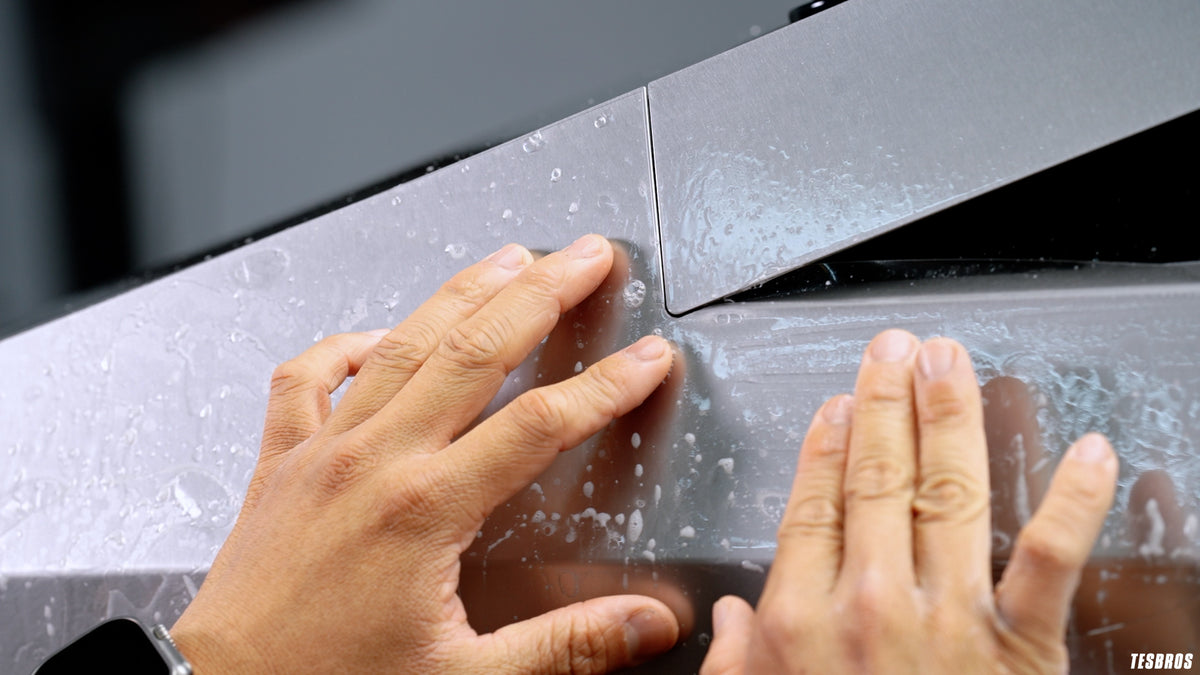
Tools needed: Simply add water to provided installation bottles.
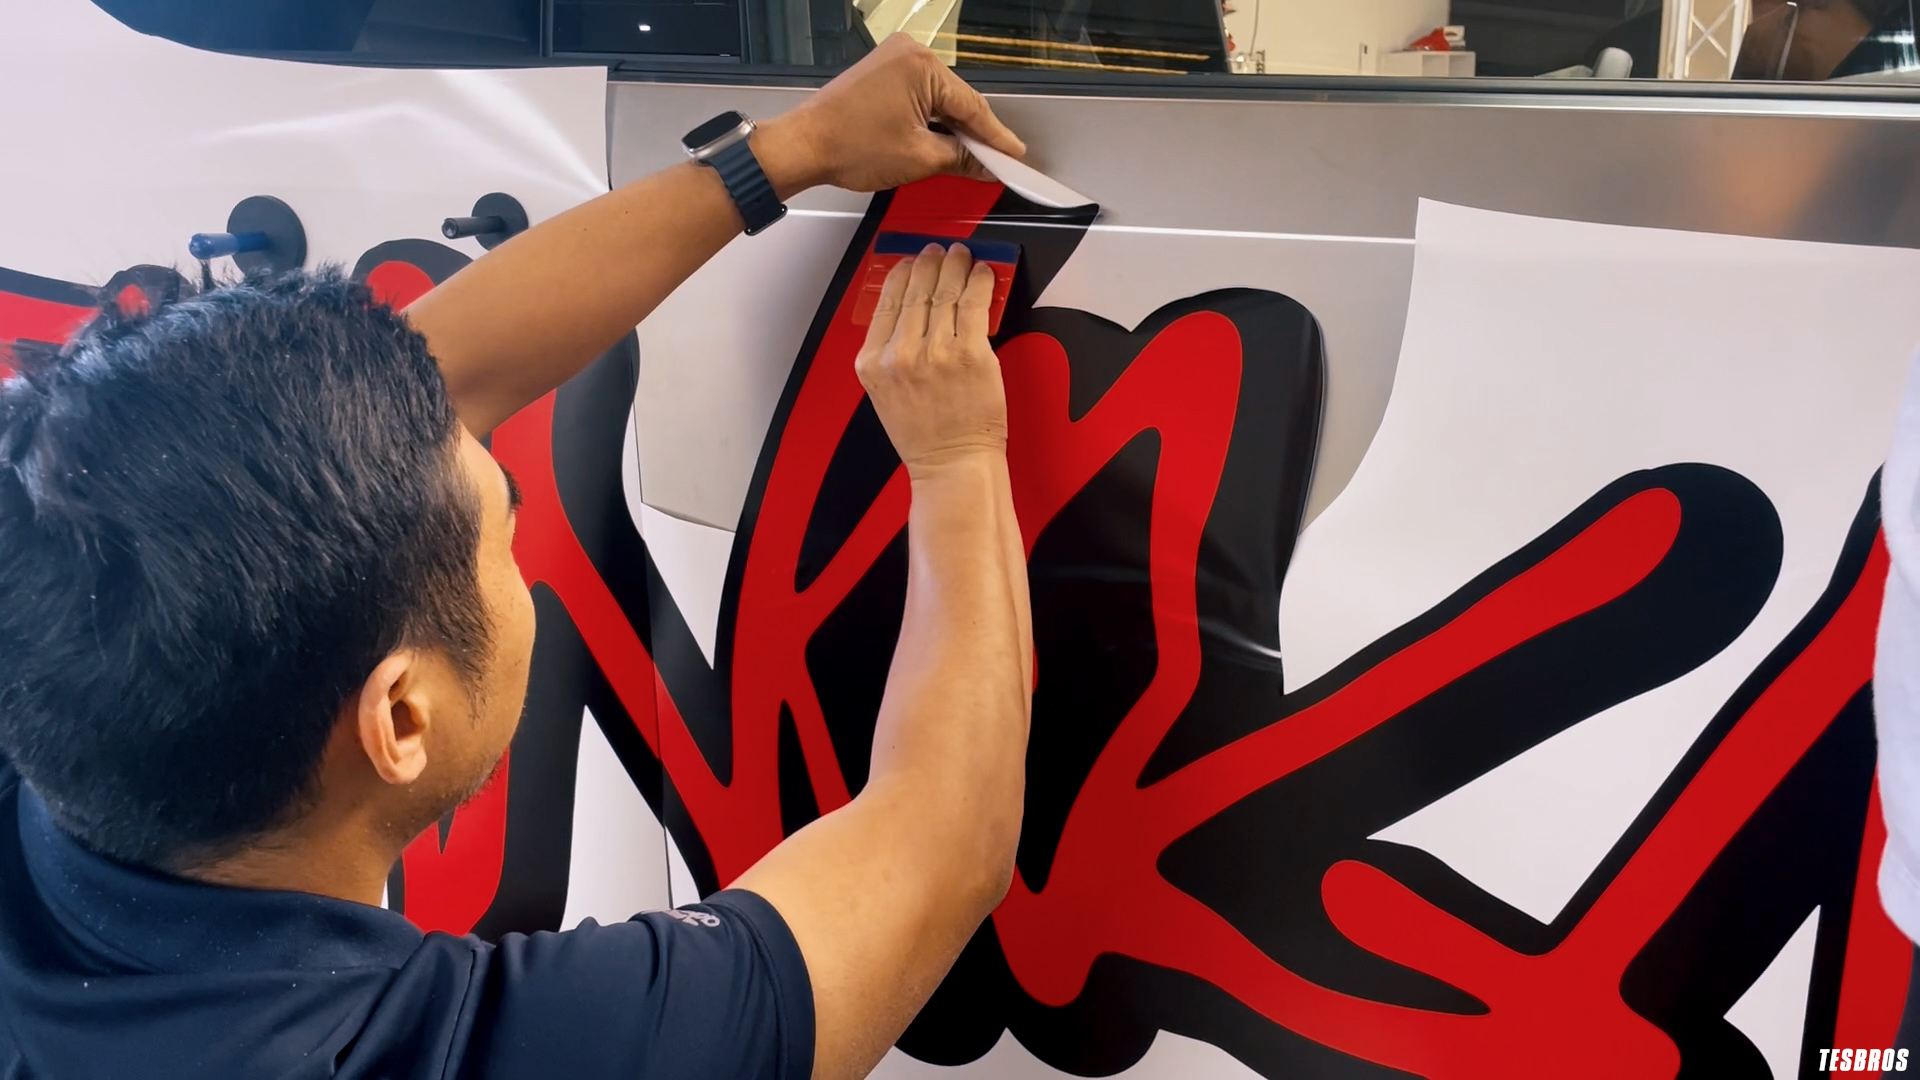
How to Video:
Unfortunately, PPF will not adhere to ceramic coating. We do not recommend installing if you already have a ceramic coat.
We highly recommend waiting at least 24 hours before driving. This ensures your PPF has had time to adhere fully so water and debris can’t get under the surface.
PPF is best installed in temperatures between 65 and 75 degrees F. If it’s too cold, it may feel stiffer. If it’s too hot, it’ll stretch more.
If it’s a small finger, the easiest way to push it down is to use your tack solution and then push it down with your squeegee. If it persists, wrap your squeegee with microfiber and squeegee it down. The microfiber will absorb the water, making it tackier.
If it is larger than a nickel, you want to lift the PPF and squeegee it down again. If it’s smaller than a nickel, it should dissipate and evaporate within time.
We recommend waiting at least 24 hours but 48 hours to be safe.
Yes, everything you need is provided in the kits. All you’ll need to add is water to the slip and tack bottles.
No, our kits come pre-cut to make installation easier for you!
You can, but please be extremely careful. You want to be careful around all the edges. If you directly point the spray gun near the edge, it may remove the film. Don’t directly spray on the edges, and you’ll be fine.
PPF is easier to adjust since it is a wet install compared to vinyl which is a dry install. If you do make a mistake, reach out to us, and we can send you a replacement at cost.
Our film is rated for 10 years.
Absolutely. There are many ceramic coatings that are specifically for PPF which will make the car even easier to keep clean!
@teslabros

Exceptional!!!! This was 100% amazing! You guys are super with communication and I appreciate how you helped me out when I ruined one of the pieces. My Cybertruck looks amazing now and everyone keeps asking how I changed it to black!
Daniel
united states

Amazing! The instructional videos were so helpful and covered every step required for applying. Easy to follow along. Some pieces take a little more time and attention. Overall love it!
Jordann
united states

Transformed!! I really wanted to stand out from all the other white model 3s, so I ordered the pillar delete. Everything was pre-cut to fit. This was my first time applying and I couldn't be more happier with the results. The kit came with all the tools needed. Excellent product and excellent service with Tesbros!
Edward
united states

M3P install this past weekend, first timer. Experience overall was good...having a 2nd person helps a lot. Glad it’s done and protected, cheers!
Alex
united states

Fantastic Product. This kit was top notch quality from packaging to tutorial vids, tools and film. The application was very doable for the DIY novice and I'm super impressed with my results. Definitely will recommend..10 out of 10 plus 10!
Michele
united states

Protection kit works and easy DIY instructions. Great product!
Tiffany
united states


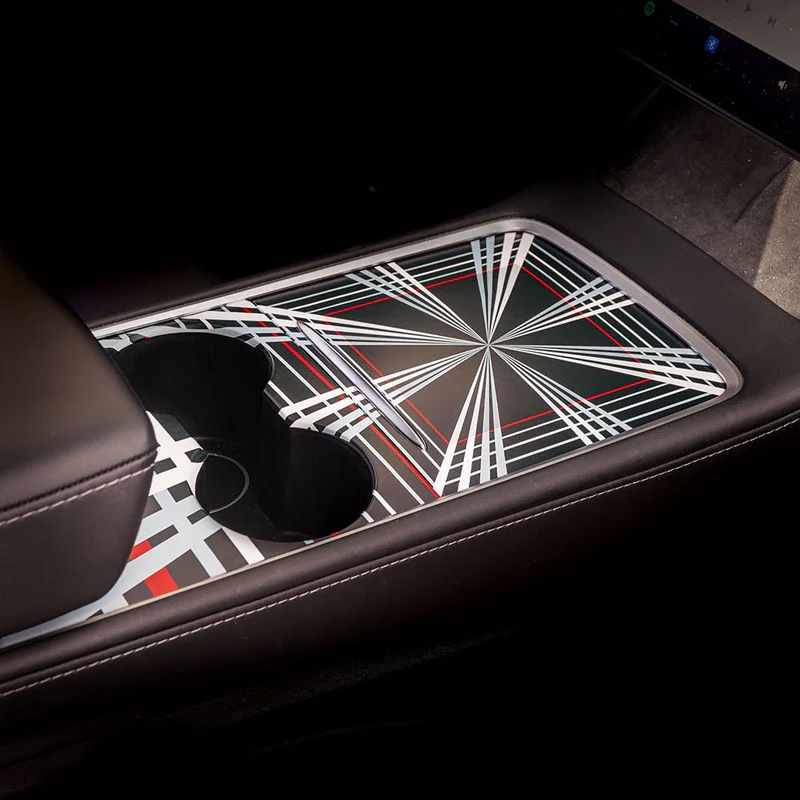
Our DIY Protection Kit offers durable, easy-to-apply materials to shield your Tesla from everyday damage.

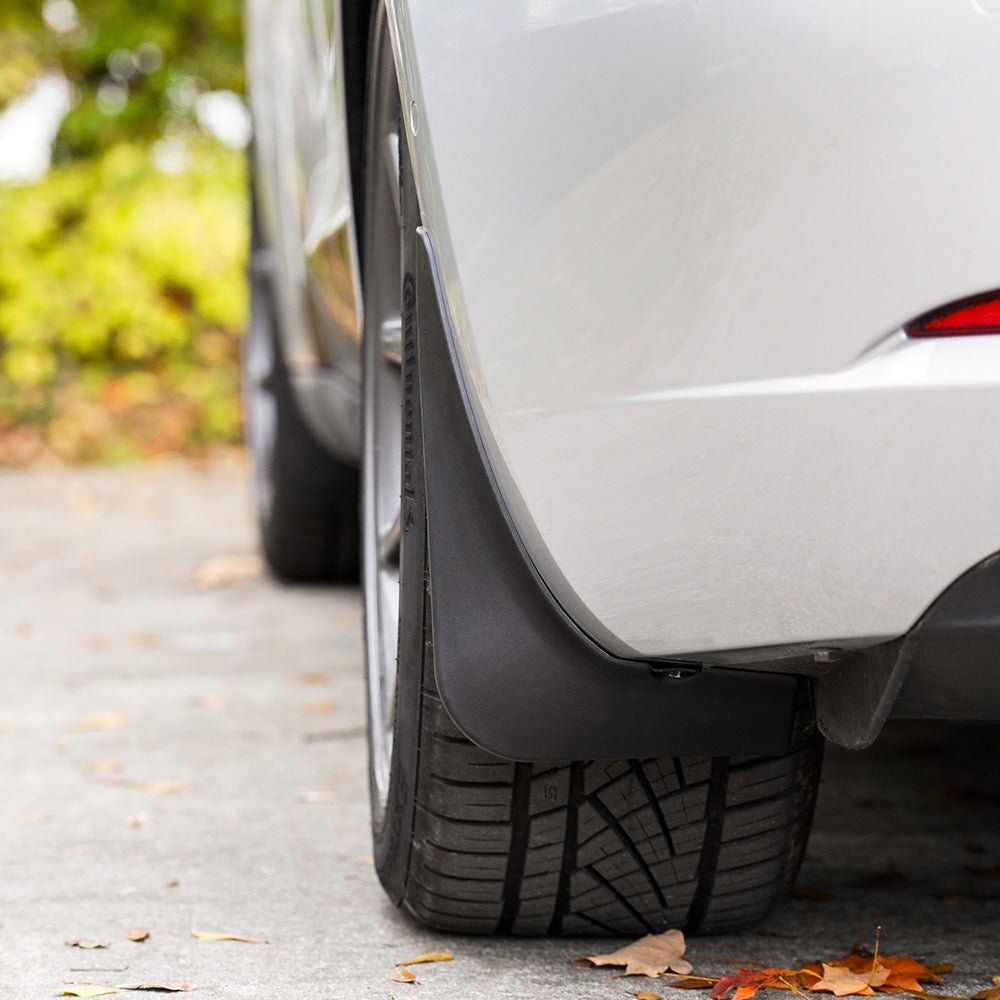
Shields key spots like door handles, mini rockers, and B-pillars from scratches, chips, and daily wear.

Our protection film is lightweight yet durable, making application a breeze.

Each piece is precision cut for a seamless fit on your Tesla’s most vulnerable small surfaces.
Your Pre-Cut PPF Protection

All Required Tools Included

Step-by-Step Installation Guide
I was a little concerned with this installation due to the corner on the bumper. I watched & followed the video instructions carefully & the result turned out quite good. Not bad for a beginner.
My 2023 Model Y has no bumper sensors. I used only the left vinyl guide. Once I had the left side anchored, the rest was relatively straightforward.
It’s difficult to see the edge of the PPF so the picture provided is from the left side where a scratch is visible from someone’s luggage (LOL).
After using the "Test Kit" provided with the order and doing really well with the mirror, I decided to attack the task! Took me 2 afternoons to do the job, and it came out pretty good, I end up with couple bobbles that went away with couple weeks.
TESBROS installation videos are great. Great product, ppf is cut exactly to size and specs of the vehicle
Very easy to install. Spray the slip solution liberally, in this case, less is not more.
Here are my few notes, which made me take a star off. Since I have a MYLR '23, I do not have sensor hole cut outs. There was no obvious way of knowing if the straight edge of the PPF, or the curved edge of the PPF went towards the rubber seal of the hatch. The answer: the curved side goes towards the seat, the flat edge goes towards the ground/plastic trim.
So once I got everything set properly, I realized the error, and had to peel it off, quickly make more slip solution with some baby shampoo - and reapply it.
The second - it includes two pieces of vinyl as guides to install the film. I applied the vinyl in the right place - and either it's cut in the incorrect size, or the PPF is cut too small. The distance between the PPF and the vinyl guides was about a half inch either side. I would've expected tolerances that were a little closer, to help eyeball center.
Final note - the PPF towards the hatch gasket stops after the first lip of the bumper - it does not extend past that horizontal flat surface, and continue vertically - under the gasket. Not the end of the world - however just be careful, that flat surface gathers water and road grim easily, and a quick swipe with a microfiber will scratch it. It's visible from the back the car - but fortunately it's not an area that is generally looked at - and difficult to see when the hatch is closed.
If I were asked if I would…
Excellent product. Feels durable and easy to apply.