DIYビニールラップ - TESBROS
-
|
/
最大
% 割引
% 節約
最大
節約
を節約
販売
完売
在庫あり
米国本土への送料無料 $99以上
今すぐ購入
ログイン
0
カート
ベストセラー
すべて購入
ベストセラー
新着
モデル別
モデル3ハイランドリフレッシュ
モデルY ジュニパー 2026+
サイバートラック
モデルY
モデル3
モデルS
モデルX
カスタマイズ
保護とケア
アクセサリー
テスラホイール
モッズ
Deal Zone
スタイルクイズ
すべて見る
ベストセラー
すべて購入
ベストセラー
新着
モデル別
モデル3ハイランドリフレッシュ
モデルY ジュニパー 2026+
サイバートラック
モデルY
モデル3
モデルS
モデルX
カスタマイズ
保護とケア
アクセサリー
テスラホイール
モッズ
Deal Zone
スタイルクイズ
すべて見る
すべての商品を見る
米国本土への送料無料 $99以上
スタイルクイズ
Tesla のニーズに最適な DIY キットを入手してください。
1分間のスタイルクイズに挑戦
について
サポートセンター
インストール
戻り値
お問い合わせ
検索
0
カート
Search
テスラアクセサリー
すべてのアクセサリーを見る
ベストセラー
新着
バンドルして節約
タイプ別に探す
Tesla Wheels
インサートとオーガナイザー
フロアマット
ツール
アップグレード
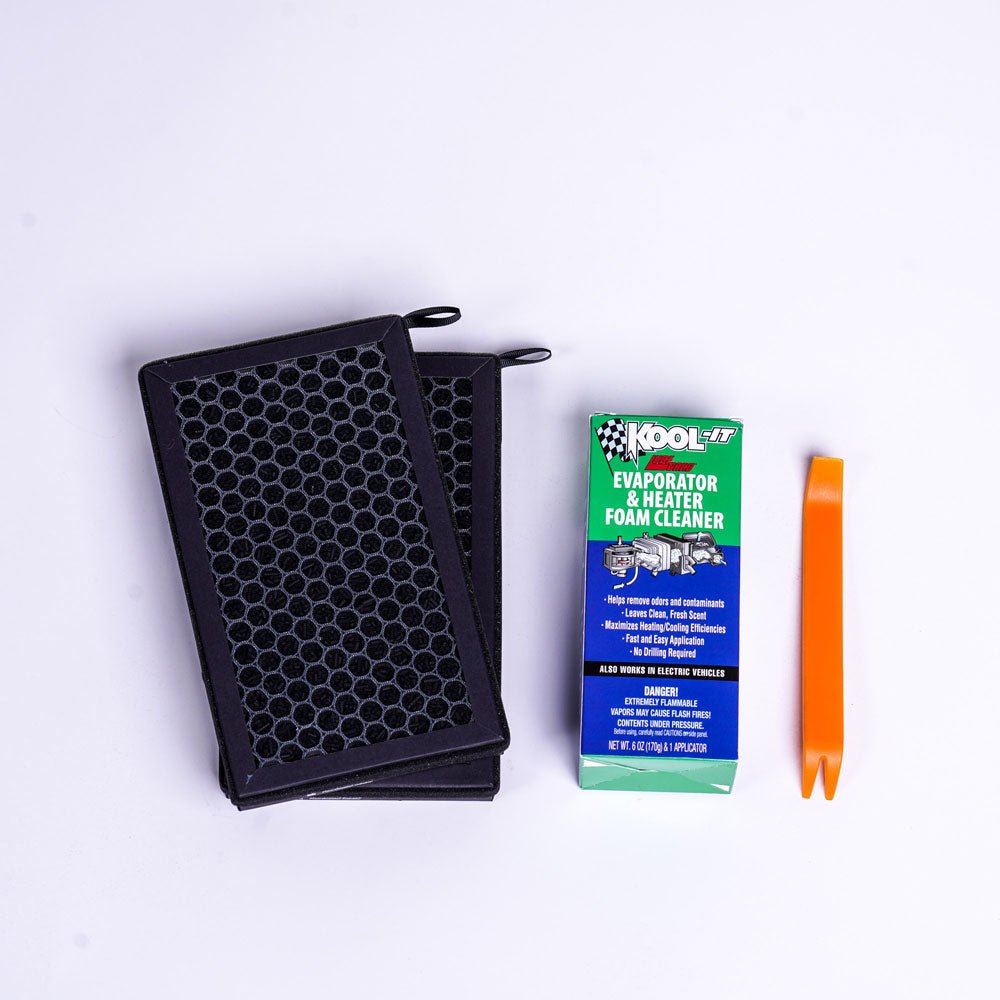
HEPAグレード
エアフィルター交換キット
モデル3/Y
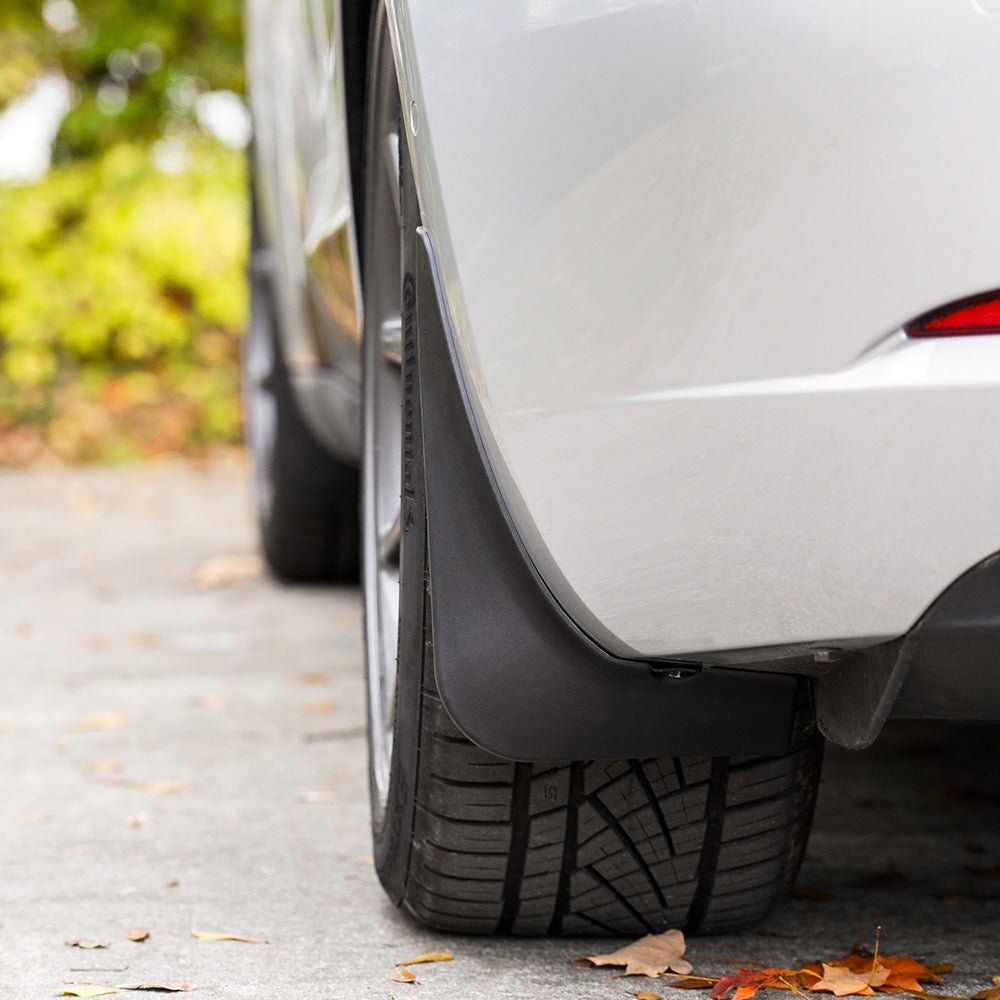
ロードシールド
マッドフラッププロテクション
モデル3、Y、S、CT用
外観
すべての外装カスタマイズを見る
ベストセラー
新着
バンドルして節約
テスラホイール
カラーラップ
クロムの削除
柱の削除
スタイル別にショッピング
停電
スポーツ
アップグレード済み
インテリア
すべてのインテリアカスタマイズを見る
ベストセラー
新着
バンドルして節約
限定版
ドア
ダッシュボードとコンソール
充電
座席
ハンドル
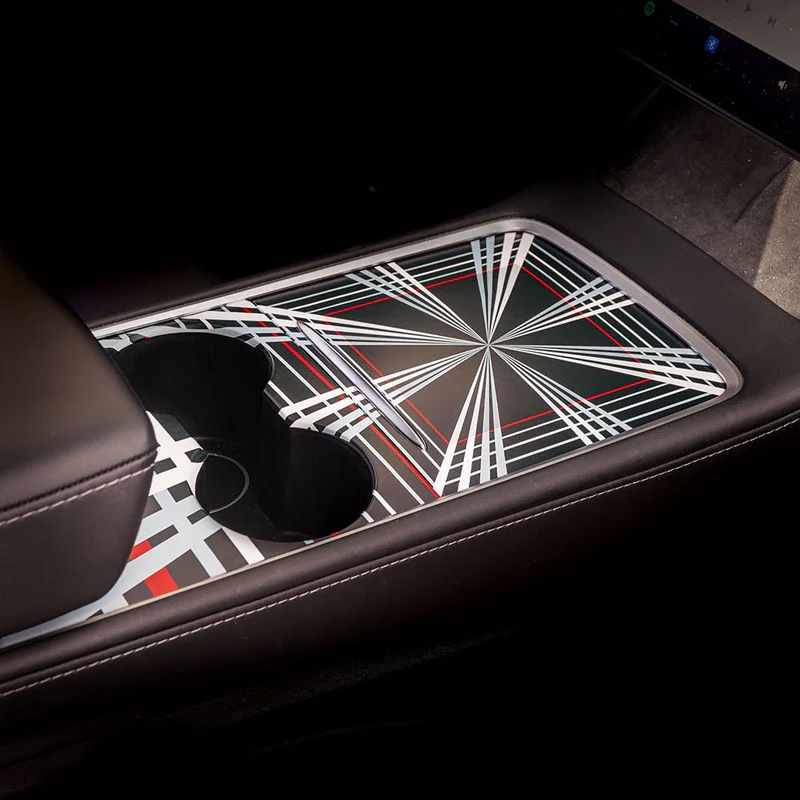
限定版センターコンソールラップ
モデル3/Y
ベストセラー
完全なクロム削除キット
モデル3
テスラプロテクション
すべて見る
ベストセラー
バンドルして節約
外観
すべての外装保護製品を見る
フロントプロテクション
全身保護
摩耗の激しい領域
ライト
インテリア
すべてのインテリア保護製品を見る
コンソールとダッシュボード
ドア
座席
カーケア
すべて見る
クリーナー
マイクロファイバーとブラシ
クリーニングアクセサリ
バンドル
カラーとクリアをご用意
ペイントプロテクションフィルムキット
サイバートラック
光沢とマット仕上げをご用意
ペイントプロテクションフィルムキット
モデル3 ハイランド
家
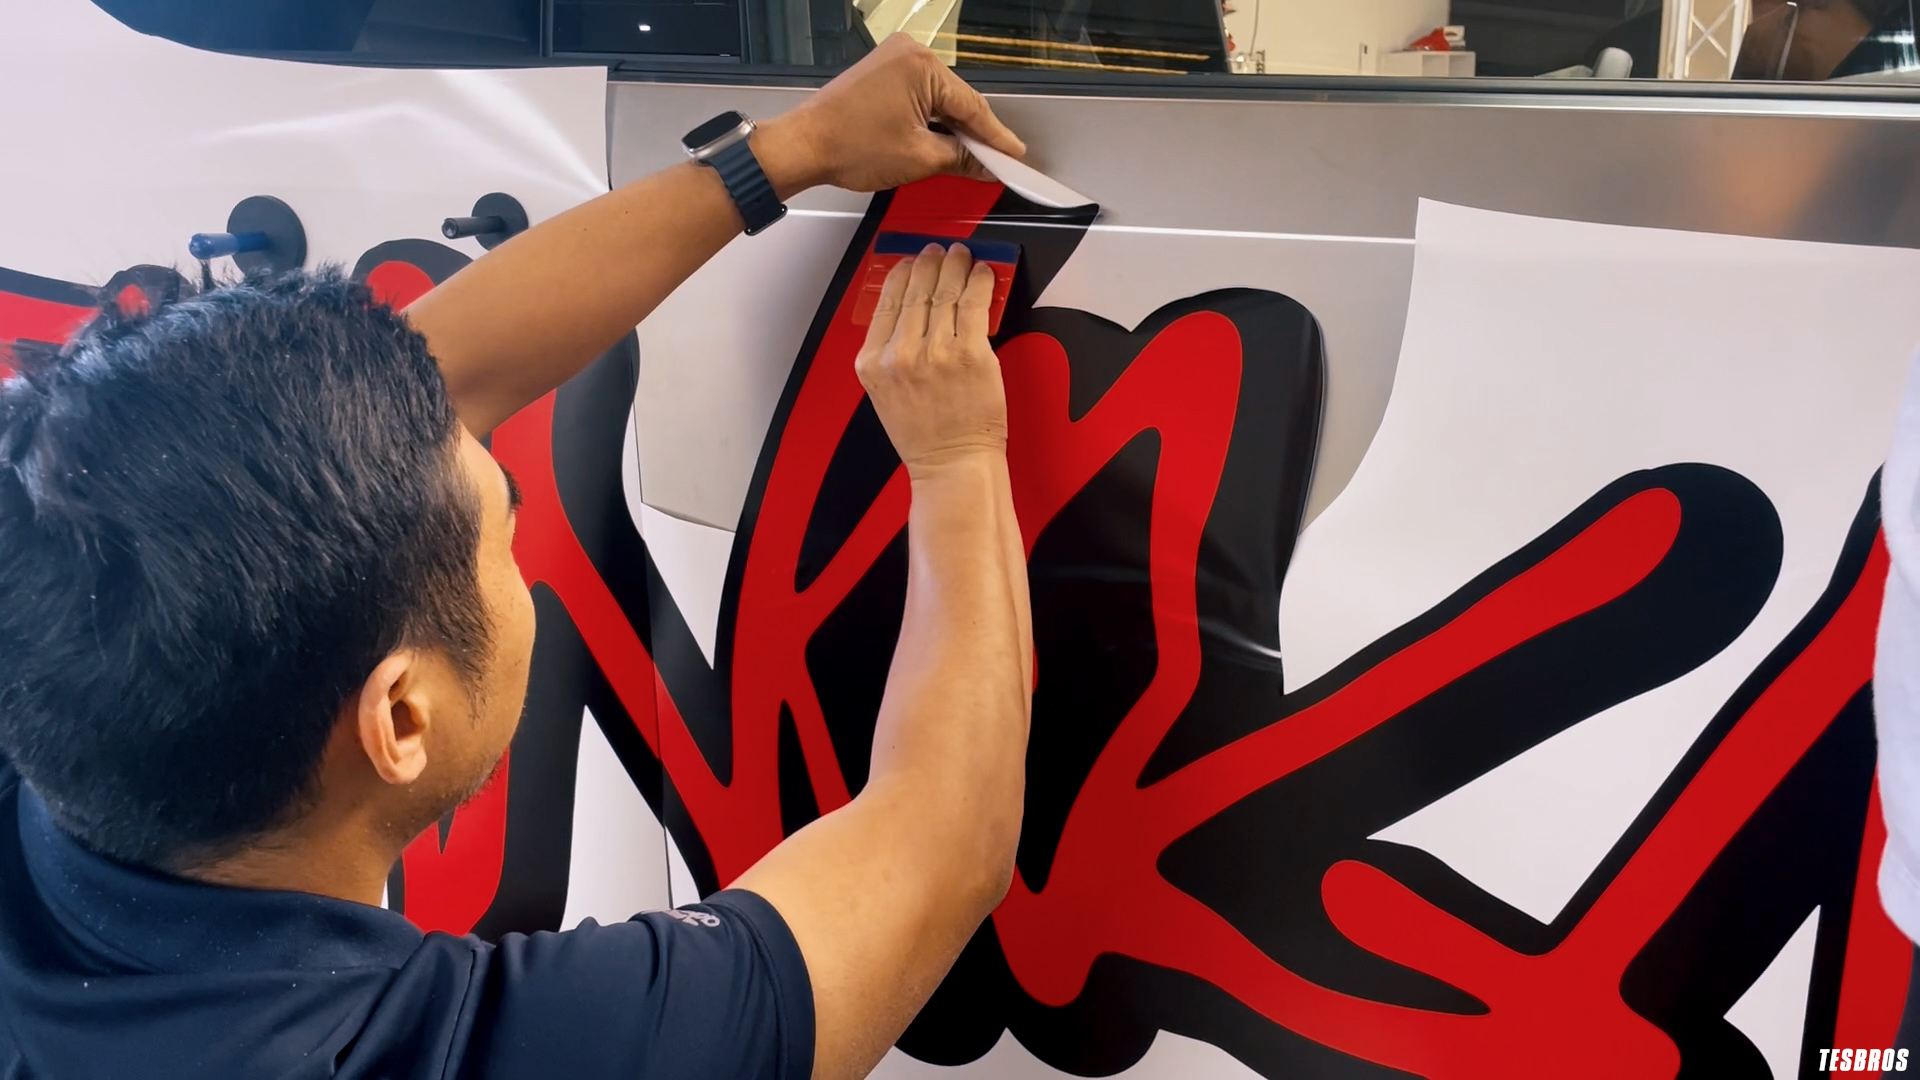
DIYビニールラップ
DIYビニールラップ
Filter
4個の商品
すべて削除
すべてのDIYビニールラップ
3H-DIYKIT
3H-Vinyl-Courses
3m
Color Customization
color wrap
Color Wraps
CT
CT-DIYKIT
CT-Vinyl-Courses
customization
cybertruck
exclude_rebuy
exterior
Exterior Customization
Highland
HV
JG199
JG299
Live
newowners
On Sale
prime
replacement-eligible
TB
特徴
ベストセラー
アルファベット順: AZ
アルファベット順: ZA
価格: 低価格から高価格
価格: 高から安
日付: 新しい順
日付: 古い順
販売
エイブリィ・デニソン DIY カラービニールラップ サイバートラック用
から
¥179,900 JPY
¥224,900 JPY
Save ¥45,000 JPY
Fits
Does not fit
May fit
Check if this fits your Tesla
販売
サイバートラック用X線ビニールラップキット
¥314,900 JPY
¥404,900 JPY
Save ¥90,000 JPY
Fits
Does not fit
May fit
Check if this fits your Tesla
販売
サイバートラック用3M DIYカラービニールラップ
から
¥187,400 JPY
¥239,900 JPY
Save ¥52,500 JPY
Fits
Does not fit
May fit
Check if this fits your Tesla
販売
モデル3ハイランド用DIYカラービニールラップキット
から
¥206,900 JPY
¥224,900 JPY
Save ¥18,000 JPY
Fits
Does not fit
May fit
Check if this fits your Tesla
Search
カートの中の1つ以上のアイテムは、定期購入または後払い購入です。続行することにより、
キャンセルポリシー
に同意し、注文がフルフィルメントされるまで、もしくは許可される場合はキャンセルするまで、このページに記載されている価格、頻度、日付で選択した決済方法に請求することを承認するものとします。